How to Lace Boots: Quick Steps
Heel slippage, painful pressure on the top of your foot, or laces that refuse to stay tight often stem from a simple error in technique rather than a defect in your footwear. Mastering how to lace boots correctly transforms stiff leather into a supportive extension of your body while eliminating blisters and instability.
This guide details ten specific lacing methods tailored to solve distinct fit issues ranging from high arches to tactical security needs. You will learn step-by-step execution for each style along with critical troubleshooting tips to ensure your boots perform flawlessly in any environment.
Select the Ideal Lacing Strategy for Your Boots
Choosing the right method depends entirely on your boot type and the specific discomfort you face during wear. A hiker needs ankle lock while a worker in stiff leather requires flexibility to prevent dig-in.
- Flat Lace Method: Best for stiff leather boots needing clean tension
- Army Lacing: Ideal for long marches and flexible support
- Heel Lock: Stops heel slippage during hikes or runs
- Straight Bar Lacing: Relieves pressure on high arches
- Ladder Lacing: Maximum security for intense activity
- Eastland Knot: Slip-on convenience for casual wear
- Zipper Lacing: Dynamic tightening with every step
Identify your primary goal before threading your first eyelet to ensure maximum effectiveness.
Flat Lace Method for Stiff Leather Boots
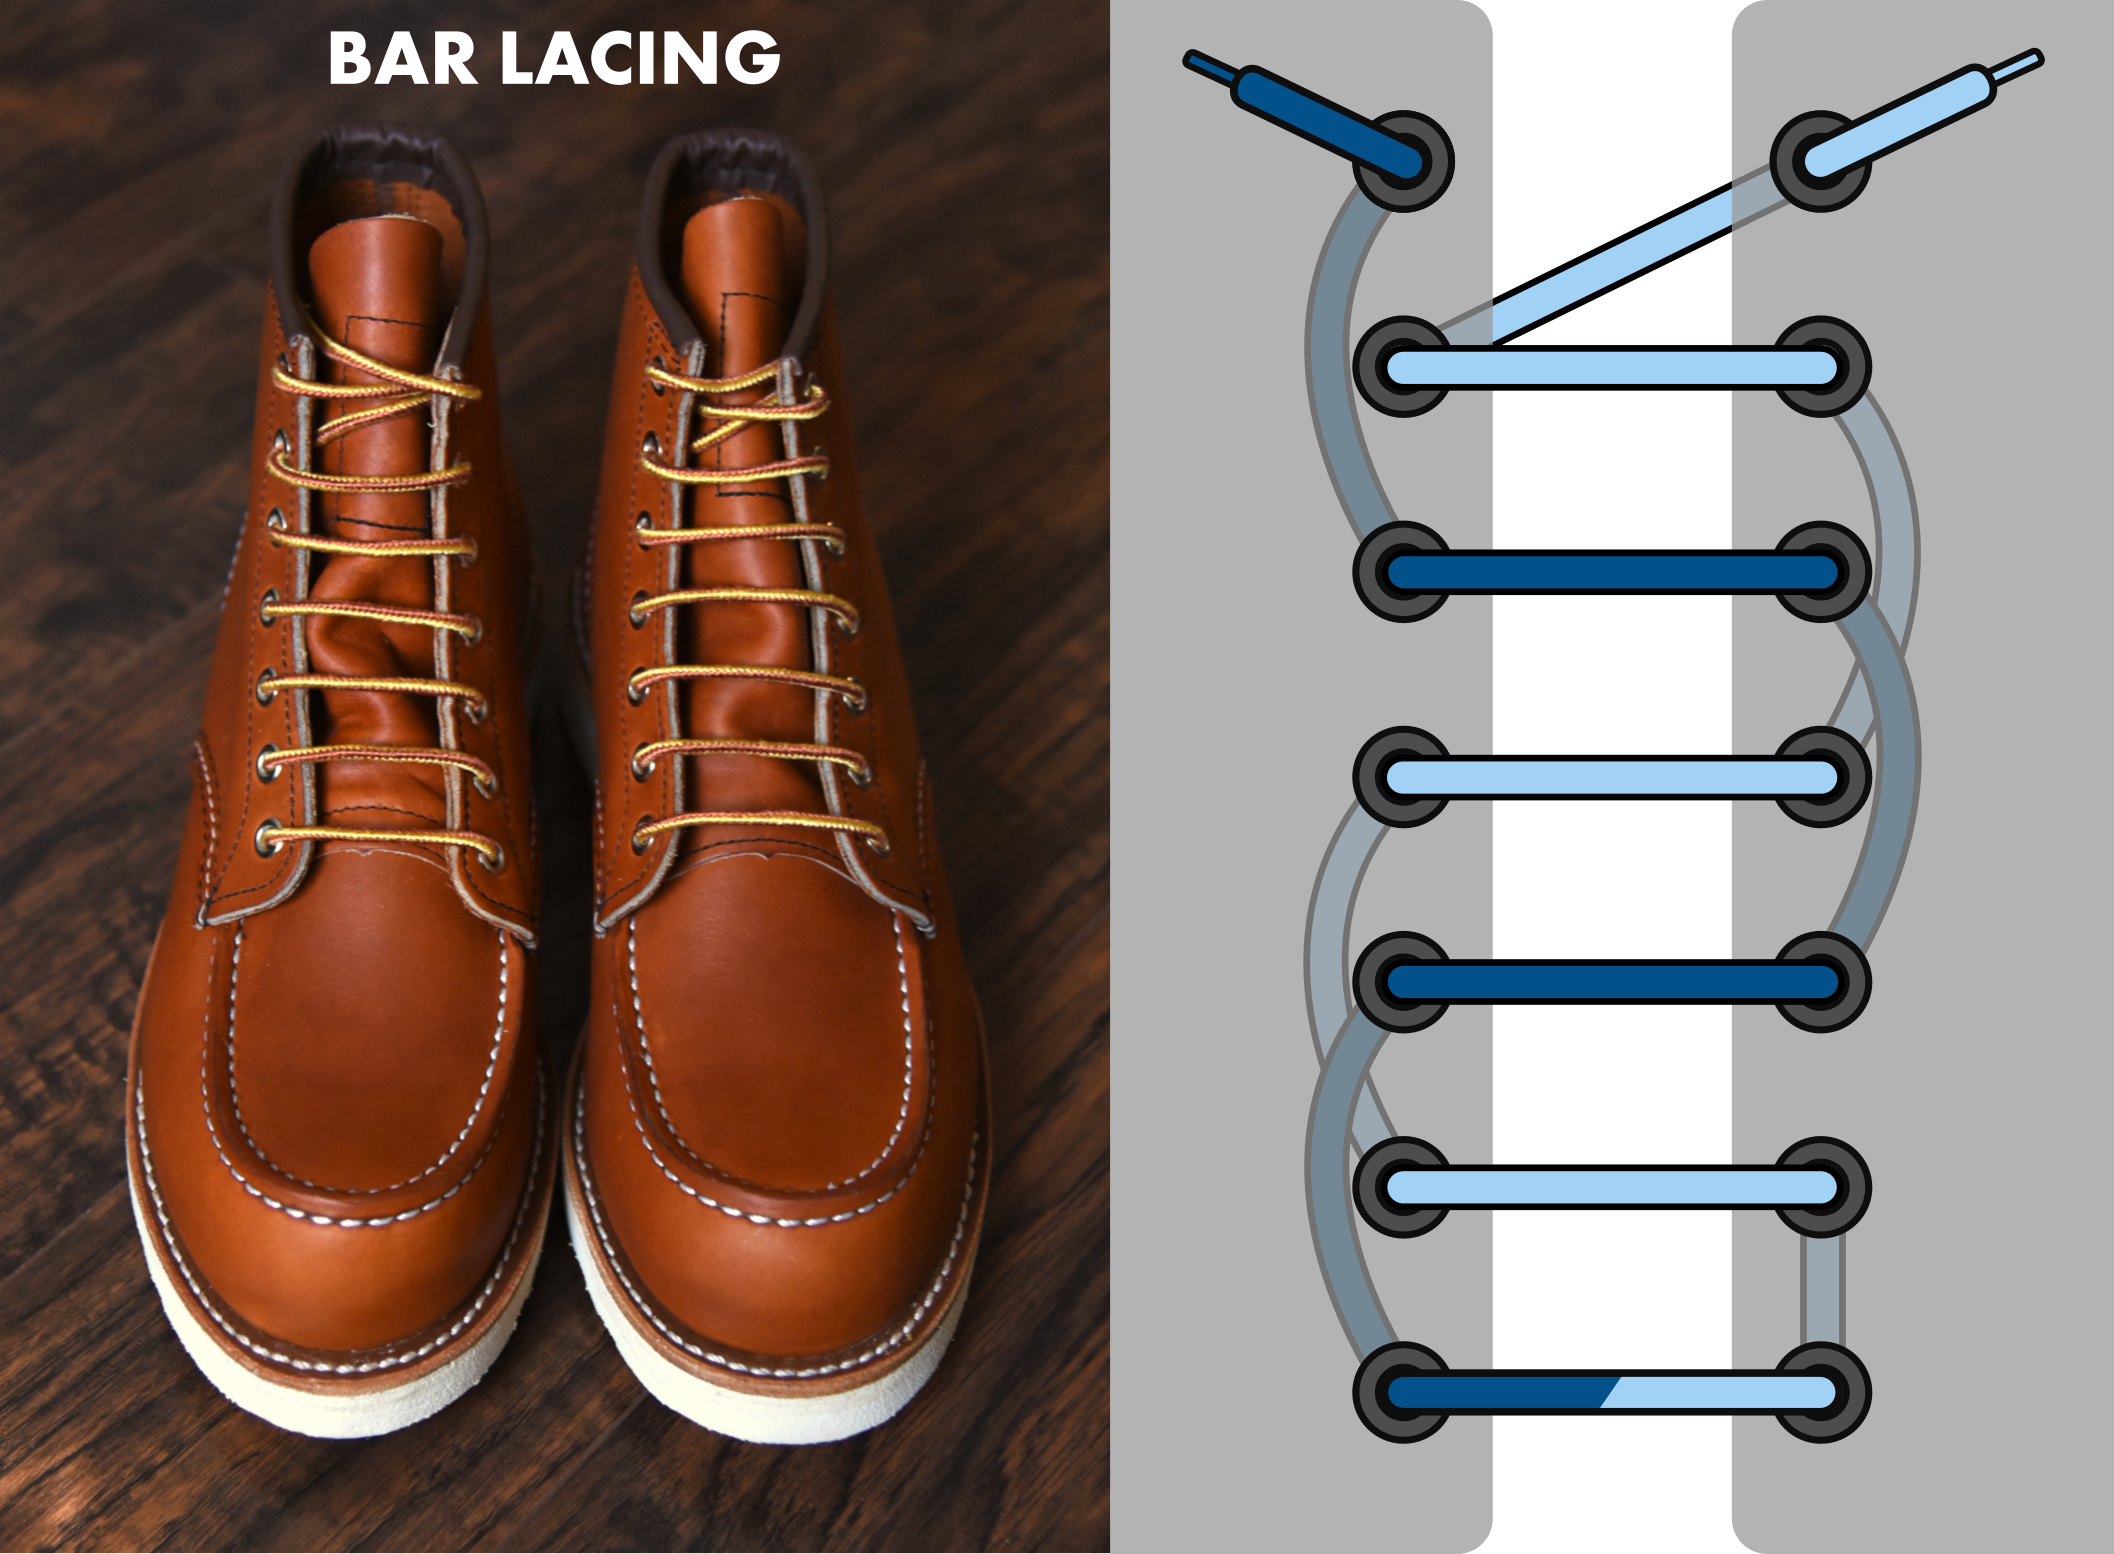
The Flat Lace Method serves as the gold standard for heavy-duty leather boots like Red Wings or Oak Street models. It prevents laces from twisting and ensures even tension by pulling from the inside out for a snug fit.
Step-by-Step Execution Protocol
- Start Inside Out: Insert the lace from the inside out at the bottom eyelets moving left to right on the right boot.
- Continue Flat Across: Move up to the next eyelet on the same side and thread inside out again on both sides.
- Maintain Tension: Keep light consistent tension as you go to prevent kinking and keep laces lying flat.
- Follow the Pattern: Adhere to the sequence of inside out then outside in then inside out so the lace crosses under the tongue.
- Finish Tight: When tied the pull comes from the inside locking the fit securely without twisting.
Pro Tip: If laces twist stop immediately and rethread slowly because flatness is key to this method.
Diagonal Cross Lacing for Style and Support
Diagonal Cross Lacing creates a dynamic crisscross pattern that adds visual depth to dress or casual boots while maintaining solid support. It offers a subtle upgrade for low-stress wear where appearance matters alongside function.
How to Execute the Pattern
- Begin Outside In: Start at the bottom eyelet threading from outside in right to left on the right boot.
- Alternate Threading: Thread the next eyelet inside out moving left to right to continue the pattern.
- Cross Under Tongue: Bring the lace across and feed it into the opposite eyelet from the inside.
- Repeat the Pattern: Alternate between outside in and inside out up the boot for a clean diagonal weave.
This method provides a distinct visual texture without adding bulk to the front of your boot.
Sneaker-Style Criss-Cross for Casual Wear
Sneaker-style lacing delivers a sleek low-profile fit perfect for daily wear on boots that resemble athletic shoes. It is fast to tie and easy to adjust though it offers less control over tightness on stiff boots.
Tactical Variation for Security
In military or field use reverse the start by beginning inside out instead of outside in. This keeps laces flatter against the foot reducing snag hazards during movement.
- Start outside in at the bottom eyelets.
- Continue threading outside in at every eyelet up the boot.
- Cross laces over the tongue each time you move upward.
- Tie as usual knowing this method is less secure than flat or ladder styles.
Avoid this method for heavy-duty use where maximum security is required.
Army Lacing for Flexibility and Endurance

Army Lacing allows stiff leather uppers to flex during long marches while preventing pressure points. It balances support with comfort making it critical for combat boots where every mile counts.
Step-by-Step Guide
- Straight Across at Bottom: Run lace from inside out through both bottom eyelets.
- Vertical Rise: Take one end run it straight up the outside and thread outside in to the eyelet directly above.
- Cross Under Tongue: Cross the laces inside the boot and feed through the next eyelets from inside out.
- Repeat Pattern: Continue vertical on the outside then cross under the tongue to repeat up the boot.
The result features vertical lines on the exterior with diagonal crosses inside for a clean functional look.
Ladder Lacing for Maximum Lockdown
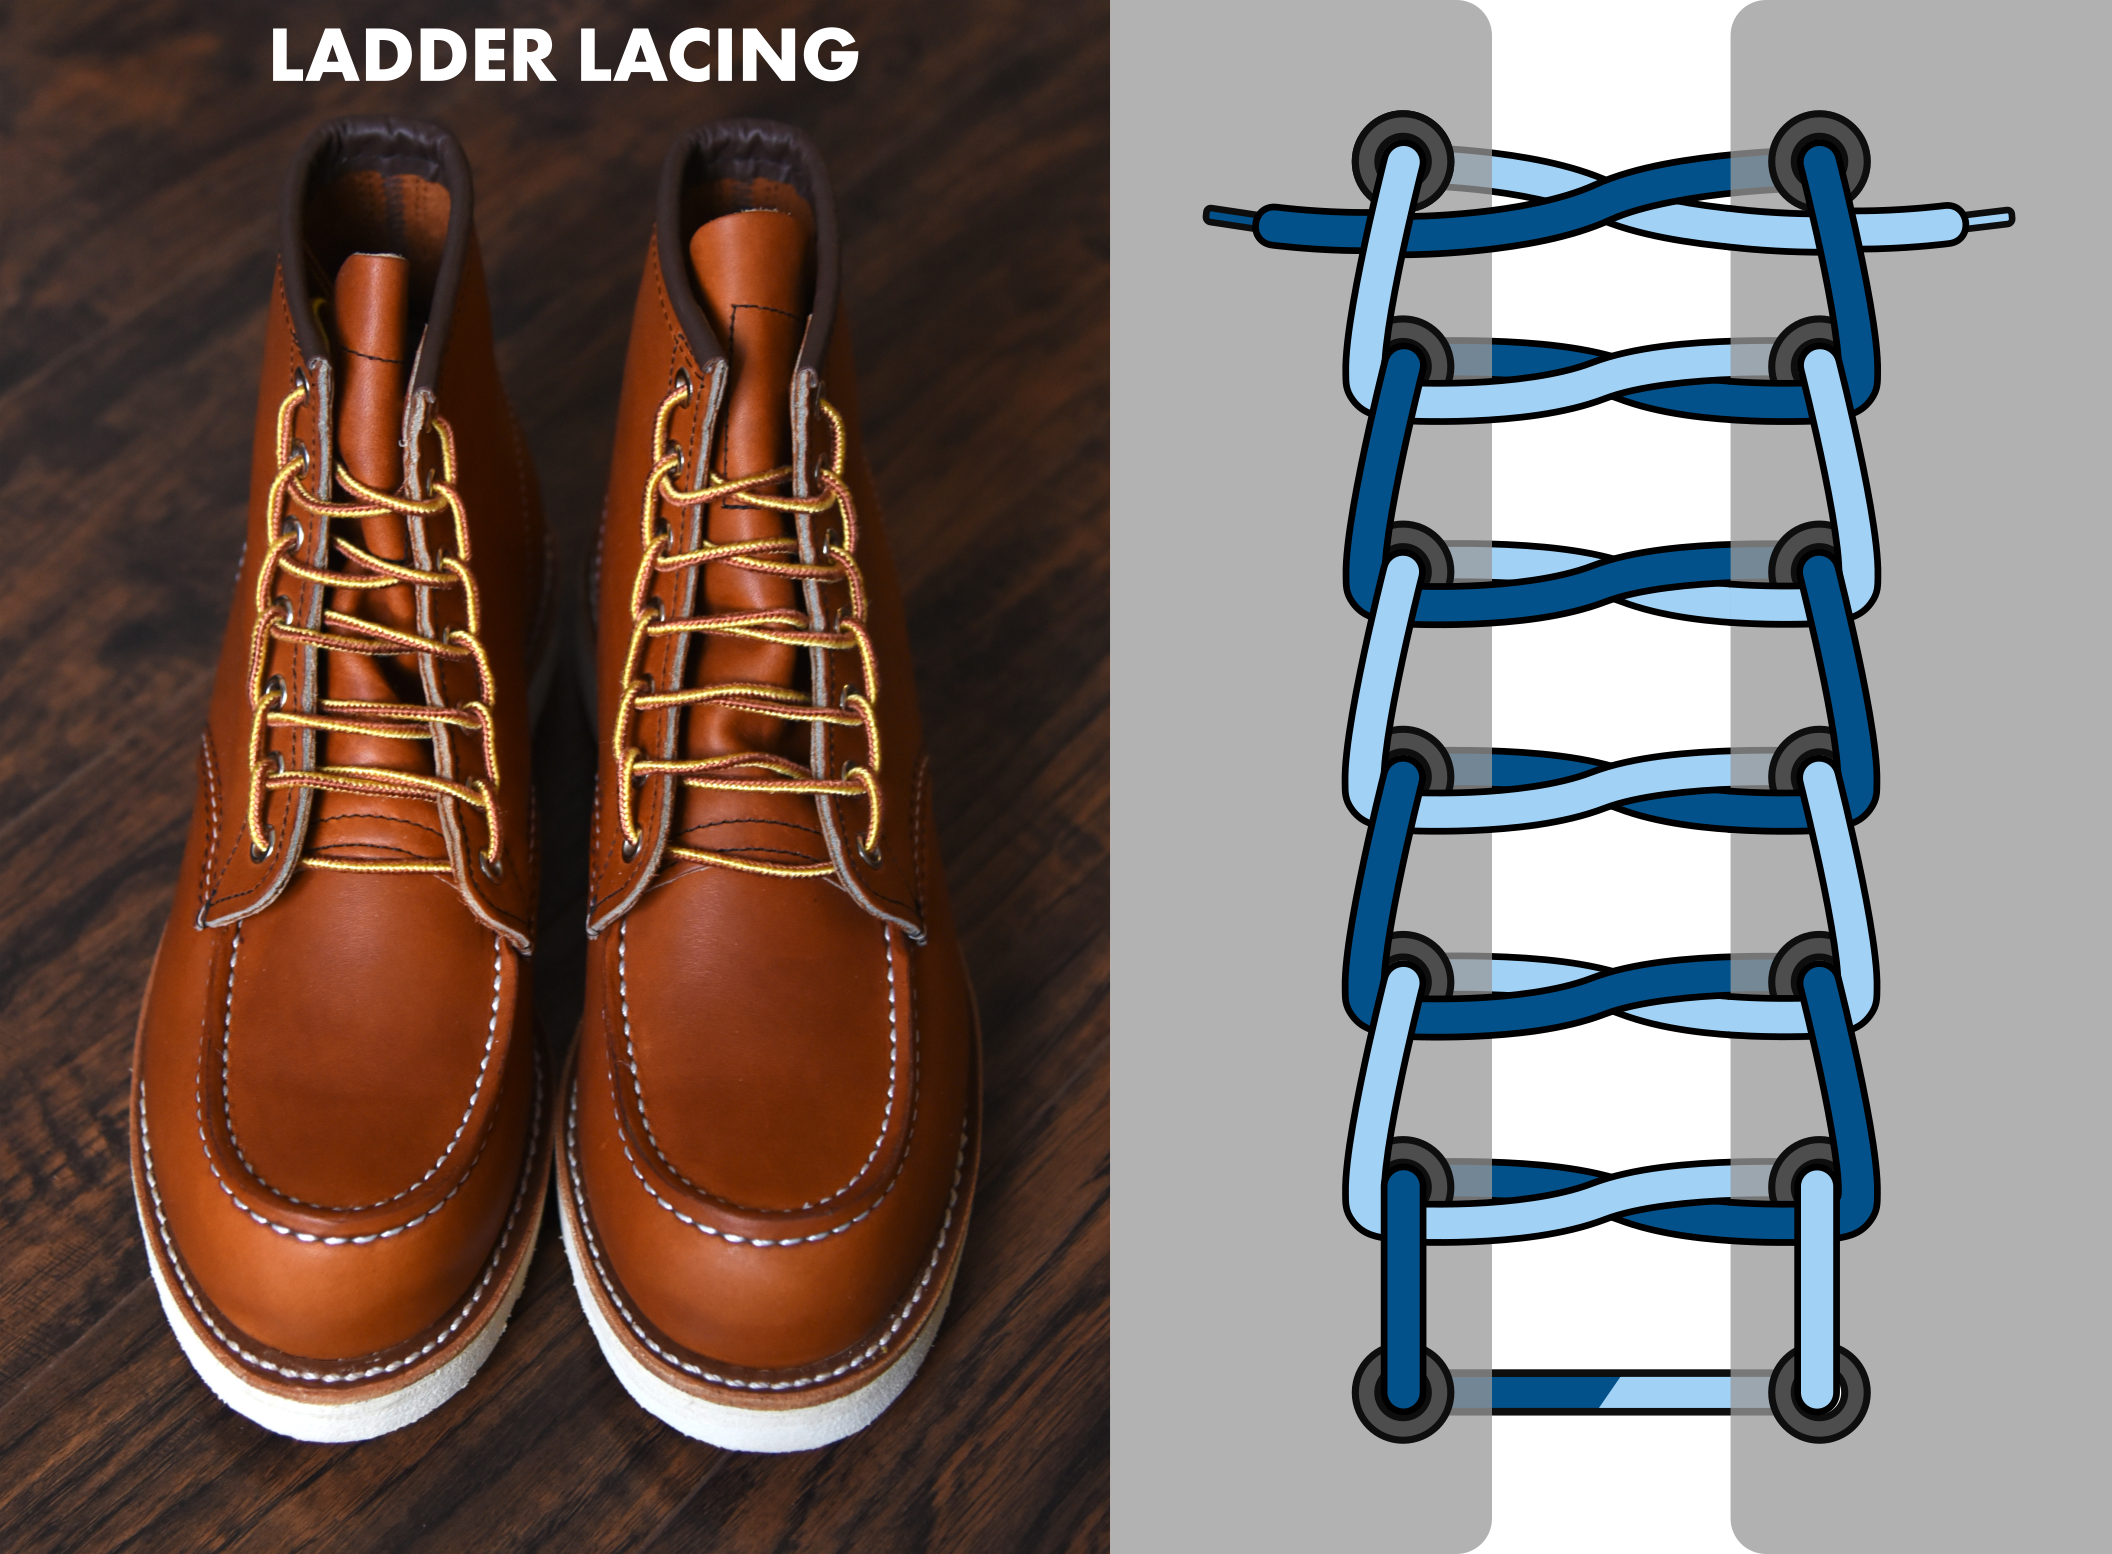
Ladder Lacing locks each eyelet with a horizontal bar preventing any loosening during intense movement. Paratroopers and security personnel use this method when boots must stay tight without mid-mission retightening.
How to Build the Ladder
- Start Straight Across: Run lace straight across the inside of the bottom eyelets exiting outside.
- Run Up Vertically: Take both ends straight up to the next eyelets and thread outside in.
- Create the Lock: Cross the laces over the tongue then thread each end under the vertical lace on the opposite side.
- Repeat Upward: After looping under run the lace straight up to the next eyelet go in and repeat.
Be aware that this method is hard to loosen quickly so use it when you do not need fast removal.
Straight Bar Lacing for High Arch Relief

Straight Bar Lacing eliminates cross-pressure on the top of your foot by replacing diagonal pulls with horizontal bars. It is the go-to choice for high arches and emergency medics who need rapid boot removal.
Step-by-Step for Even Pairs Only
- Start Outside In: Run lace straight across bottom eyelets from outside in.
- Left Side Up: Take left lace run it straight up the inside to the next eyelet then bring it straight across to the outside.
- Right Side Skip: Take right lace skip one eyelet inside run up to the third then bring it straight across.
- Repeat Alternating: Each side runs straight up the inside skipping as needed to form clean horizontal bars.
Medic Cut Advantage: One horizontal slice severs all tension instantly which is critical in trauma response situations.
Heel Lock Lacing to Stop Slippage

The Heel Lock solves heel rise especially on descents by cinching the ankle collar tight. Use it as a finisher with any lacing style to eliminate blisters and improve stability.
How to Lock Your Heel
- Lace Normally Upward: Use any method until you reach the top two eyelets.
- Create Loops: Take each lace and go straight up into the final eyelet on the same side to form a small loop.
- Cross and Thread: Cross the laces and feed each end through the opposite loop.
- Pull Tight: Yank the laces so the loops cinch down locking your ankle in place.
This technique ensures no heel lift and no need for constant retightening.
Eastland Knot for Slip-On Convenience
The Eastland Knot turns lace-up boots into slip-ons by holding the laces tight once tied. It is popular on boat shoes and duck boots for its hybrid style and function.
How to Tie It
- Form a Loop: At the bottom eyelet make a small loop with one lace end.
- Wrap the Lace: Wrap the lace tightly around the loop from bottom to top.
- Feed and Pull: Push the aglet through the loop and pull up to lock.
- Repeat Opposite Side: Do the same on the other lace for a secure slip-on fit.
Combine this with ladder or bar lacing for layered style and function.
Zipper Lacing for Dynamic Tightening
Zipper Lacing uses under-loops to create a self-tightening system that adapts to your stride. It is ideal for boots that loosen over time or feet with high arches needing constant pressure relief.
Step-by-Step Execution
- Start with Criss-Cross: Begin at the bottom with a standard diagonal cross.
- Loop Under: Before crossing to the next eyelet loop the lace under the vertical segment on the same side.
- Cross and Thread: Cross over and feed through the next eyelet from inside out.
- Repeat Upward: Do the same on both sides all the way up for a zipper effect.
Each step pulls the laces tighter providing a dynamic fit for high arches.
Lacing with Kilties for Heavy-Duty Boots
Kilties are leather flaps that protect from debris and add rugged style but they require special lacing techniques. Follow this method for a clean functional finish on boots like Nick’s Handmade.
Step-by-Step Kiltie Integration
- Thread Through Kiltie: Pull both lace ends through the kiltie ensuring they are even and pass through the back.
- Lace Over Not Under: Ensure laces run over the kiltie for a flat professional look.
- Start with Outside Lace: On the right boot cross the outside lace first and do the same on the left for symmetry.
- Loosen Mid-Eyelets: Keep middle sections loose to allow foot insertion.
- Trifold Bottom: Twist laces flat gather excess and fold back over itself three times at the base.
- Final Tightening: Insert foot seat heel tighten bottom first then crisscross upward.
Maintain consistent crossing direction for balanced tension and symmetry.
Choose the Right Laces for Performance
The lace type affects performance as much as the method you choose for how to lace boots. Select materials that match your environment and boot style.
| Lace Type | Best For | Why |
|---|---|---|
| Flat Wax | Flat Lace Army Dress | Resists twisting lies flat firm pull |
| Round/Waxed Cotton | Casual wear | Classic look moderate durability |
| Paracord 550 | Tactical Wet/Muddy | Strong rot-resistant survives abrasion |
Add 9 inches of length per extra pair of eyelets beyond standard measurements.
Fix Common Fit Problems Fast
Use this quick-fix table to diagnose and solve fit issues immediately.
| Problem | Best Solution | Backup Option |
|---|---|---|
| Heel Slippage | Heel Lock Runner’s Loop | Ladder Lacing |
| Top-of-Foot Pressure | Straight Bar Lacing | Zipper Lacing |
| Loose Fit | Ladder Lacing | Flat Lace Method |
| Stiff Leather Dig-in | Army Lacing | Inside-Out Criss-Cross |
| Frequent Tying | Eastland Knot | N/A |
| Twisting Laces | Flat Lace Method | N/A |
Always recheck fit if pain persists by verifying boot size sock type and break-in status.
Break-In and Maintenance Tips
New boots stretch slightly in both leather and laces so expect to re-tighten during the first few wears. Materials settle over time requiring active management during the break-in period.
- Use Wool or Synthetic Socks: Never use cotton as they trap moisture and increase friction.
- Adjust Mid-Lace Tension: Keep middle eyelets looser until foot is seated properly.
- Retighten After Walking: Especially during the first 5 to 10 wears as materials expand.
Military and Regulatory Rules
Lacing is often regulated in military and tactical environments so know your unit standards. Dress uniforms often require Straight Bar or Army Lacing for neatness while field use may encourage Ladder or Heel Lock.
Some units mandate straight-across lacing for inspections so always check your Standard Operating Procedure. Compliance with service-specific uniform regulations is essential when in doubt.
Frequently Asked Questions About Boot Lacing
Which lacing method stops heel slippage best?
The Heel Lock or Runner’s Loop is the most effective method for stopping heel slippage. It cinches the ankle collar tight and locks the heel into the heel cup to prevent blisters.
How do I relieve pressure on high arches?
Straight Bar Lacing eliminates cross-pressure on the foot ridge by using horizontal bars instead of diagonal crosses. This method distributes pressure evenly and is ideal for high arches.
What lace type works best for tactical boots?
Paracord 550 is recommended for tactical use because it is rot-resistant and withstands mud water and abrasion. Flat wax laces are also excellent for preventing twists in field boots.
Can I make my lace-up boots into slip-ons?
Yes the Eastland Knot turns lace-up boots into slip-ons by locking the laces in place once tied. This method is popular for boat shoes and duck boots requiring quick transitions.
Why do my boot laces keep twisting?
Twisting occurs when laces are not threaded flatly or when using round laces instead of flat wax ones. Switch to the Flat Lace Method and ensure you maintain tension while threading to fix this.
How much longer should my laces be for extra eyelets?
Add approximately 9 inches of length for every additional pair of eyelets beyond the standard count. Measuring your current laces provides the most accurate baseline for replacement.
Key Takeaways for Mastering How to Lace Boots
Properly learning how to lace boots transforms footwear from a source of discomfort into a tool for peak performance. Whether you choose the Heel Lock for stability or Straight Bar for pressure relief the right technique solves specific fit issues instantly.
Start by identifying your primary problem such as slippage or pressure and apply the matching method from this guide. Your feet will feel the difference in comfort and support immediately.