How to Lace a Shirt: Quick Steps
You have likely seen the edgy, custom-fitted look of lace-up shirts turning basic tees into bold fashion statements. Whether you are upcycling an old garment or resizing a thrift store find, learning how to lace a shirt offers a powerful way to customize your wardrobe without expensive tailoring.
This guide reveals proven methods to transform crewnecks into plunging V-necks, add elegant lace hems, and adjust fits using eyelets or grommets. You will discover specific techniques requiring only common tools like fabric glue, scissors, and a hammer to achieve professional results.
Transform a Crewneck into a No-Sew V-Neck
Converting a plain t-shirt into a stylish lace-up top requires no sewing machine, just precise cutting and strong adhesive. This method creates a durable, custom neckline perfect for summer styling or statement pieces.
Mark and Cut the V-Shape Carefully
Start with a plain crewneck t-shirt laid flat on a stable surface. Locate the center of the existing neckline and use a rigid straight edge, such as an empty Oreo box, to draw a modest V-shape downward. Avoid cutting the neckband entirely, as this preserves the structural integrity of the collar.
Cut along your traced line with sharp scissors. Try the shirt on inside out to test the depth before proceeding further. If you desire a deeper plunge, extend the V gradually and check your reflection to ensure perfect symmetry.
Apply Binding Tape with Fabric Glue
Measure both sides of your new V-cut to determine the exact length of double-folded binding tape needed. Center the raw fabric edge inside the fold of the tape and trim the bottom of the binding to match the V angle if necessary.
Apply a generous layer of flexible fabric glue along the entire length of the binding tape. Press it firmly onto the shirt edges and let it dry overnight to ensure a bond that withstands the tension of lacing.
Install Eyelets for Durability
Mark evenly spaced positions for eyelets along the bound edge, aiming for 1 to 2 inches between each hole. Use a needle to create small pilot holes, then cut tiny slits just large enough for the eyelet posts to fit through.
Insert the bottom part of the eyelet from the inside of the shirt and place the setting tool underneath. Slide the top piece on and hammer firmly on a hardboard surface to secure. Reinforce stretchy fabrics with fusible webbing before installation to prevent tearing.
Thread Laces for Your Desired Style
Cut a faux suede cord or non-fraying ribbon roughly 36 inches long to allow extra length for tying. Start at the bottom eyelet and thread upwards in a crisscross pattern, pulling snugly but avoiding excessive tightness.
Leave the ends loose for a casual vibe or tie a polished bow at the top. To hide the knot, start lacing from the top and tuck the excess cord inside the shirt. Seal ribbon ends with a lighter to prevent fraying over time.
Add a Decorative Lace Hem to T-Shirts

Upgrading a basic tee with a decorative lace hem adds a high-end, upcycled aesthetic to any outfit. This sewn method works beautifully on knit fabrics and allows for significant customization of length and texture.
Measure and Mark the Hemline
Lay the shirt flat and remove any uneven existing hem before measuring. Decide on your final length, then measure 8 inches down from each underarm seam to draw a horizontal placement line across the front and back.
This line serves as your guide for lace placement. Measure the circumference of the shirt at this line and add 0.5 inches for seam allowance to determine your lace length. Cut your chosen stretch lace trim to this specific measurement.
Configure Sewing Machine for Knits
Install a 75/11 stretch needle to glide between knit fibers without breaking them. Attach a clear reverse pattern foot to help you follow the curves of the lace design precisely.
Set your machine to a Zig Zag Stitch with a width of 3 and a length of 2. This flexible stitch configuration prevents thread snapping when the fabric stretches during wear. Use an overlock foot if you need to finish raw edges before attaching the lace.
Sew and Trim the Lace Layer
Pin the lace ends right sides together and sew to form a loop, aligning the lace side seam with the shirt’s side seam. Pin the lace to the shirt along your marked placement line.
Sew along the top edge of the lace using the zig-zag stitch, positioning the needle just inside the border. Once stitched, flip the lace up so the wrong side is out and trim the excess shirt fabric ¼ inch below the seam to reduce bulk.
Resize Garments Using Functional Lacing
Functional lacing offers a versatile solution for shirts that are too big or too small. You can cinch loose areas or expand tight zones using eyelets and grommets for an adjustable, custom fit.
Cinch a Loose Waist or Bust
Wear the shirt inside out and pull the fabric at your waist or bust to the desired tightness. Mark the center point with a yellow fabric marker for high visibility against the fabric.
Draw two parallel lines 1 inch outward from your marked cinch point to create the lacing channel. Plan for a grid of 4 columns and 5 rows, totaling 20 eyelets, to distribute tension evenly across the fabric.
Reinforce the area with fusible webbing to prevent tearing. Install eyelets using pilot holes and a hammer, then lace a non-fraying ribbon through the columns in a shoelace pattern. Tie with a double knot for an adjustable hold.
Expand a Too-Tight Shirt
Mark the area needing expansion on the inside of the garment, drawing a gentle inward curve at the waist. Avoid sharp curves, as these cause puckering when the fabric is laced open.
Cut a 1-inch wide strip along the side seam, including the original seam allowance, then use a seam ripper to open the full seam. This creates two separate fabric flaps ready for hemming.
Fold the raw edges under along your marked line and clip them in place. If the fabric resists lying flat, cut a small slit at the top of the seam to relieve tension before proceeding.
Install Grommets on Opened Seams
Cut small holes through both layers of the folded hem and insert 8 mm grommets from the inside. Use pliers to bend the flanges slightly before hammering them flat on a hardboard surface.
Space grommets every 2 inches for a balanced look, optionally alternating gold and silver hardware for visual interest. Trim excess fabric behind the grommets on the inside to keep the finish clean.
Tie the two fabric flaps together at the top and feed the knot into the top grommet. Lace over the top edge rather than underneath for cleaner lines, splicing in extra fabric if your laces are too short.
Select Essential Tools and Materials
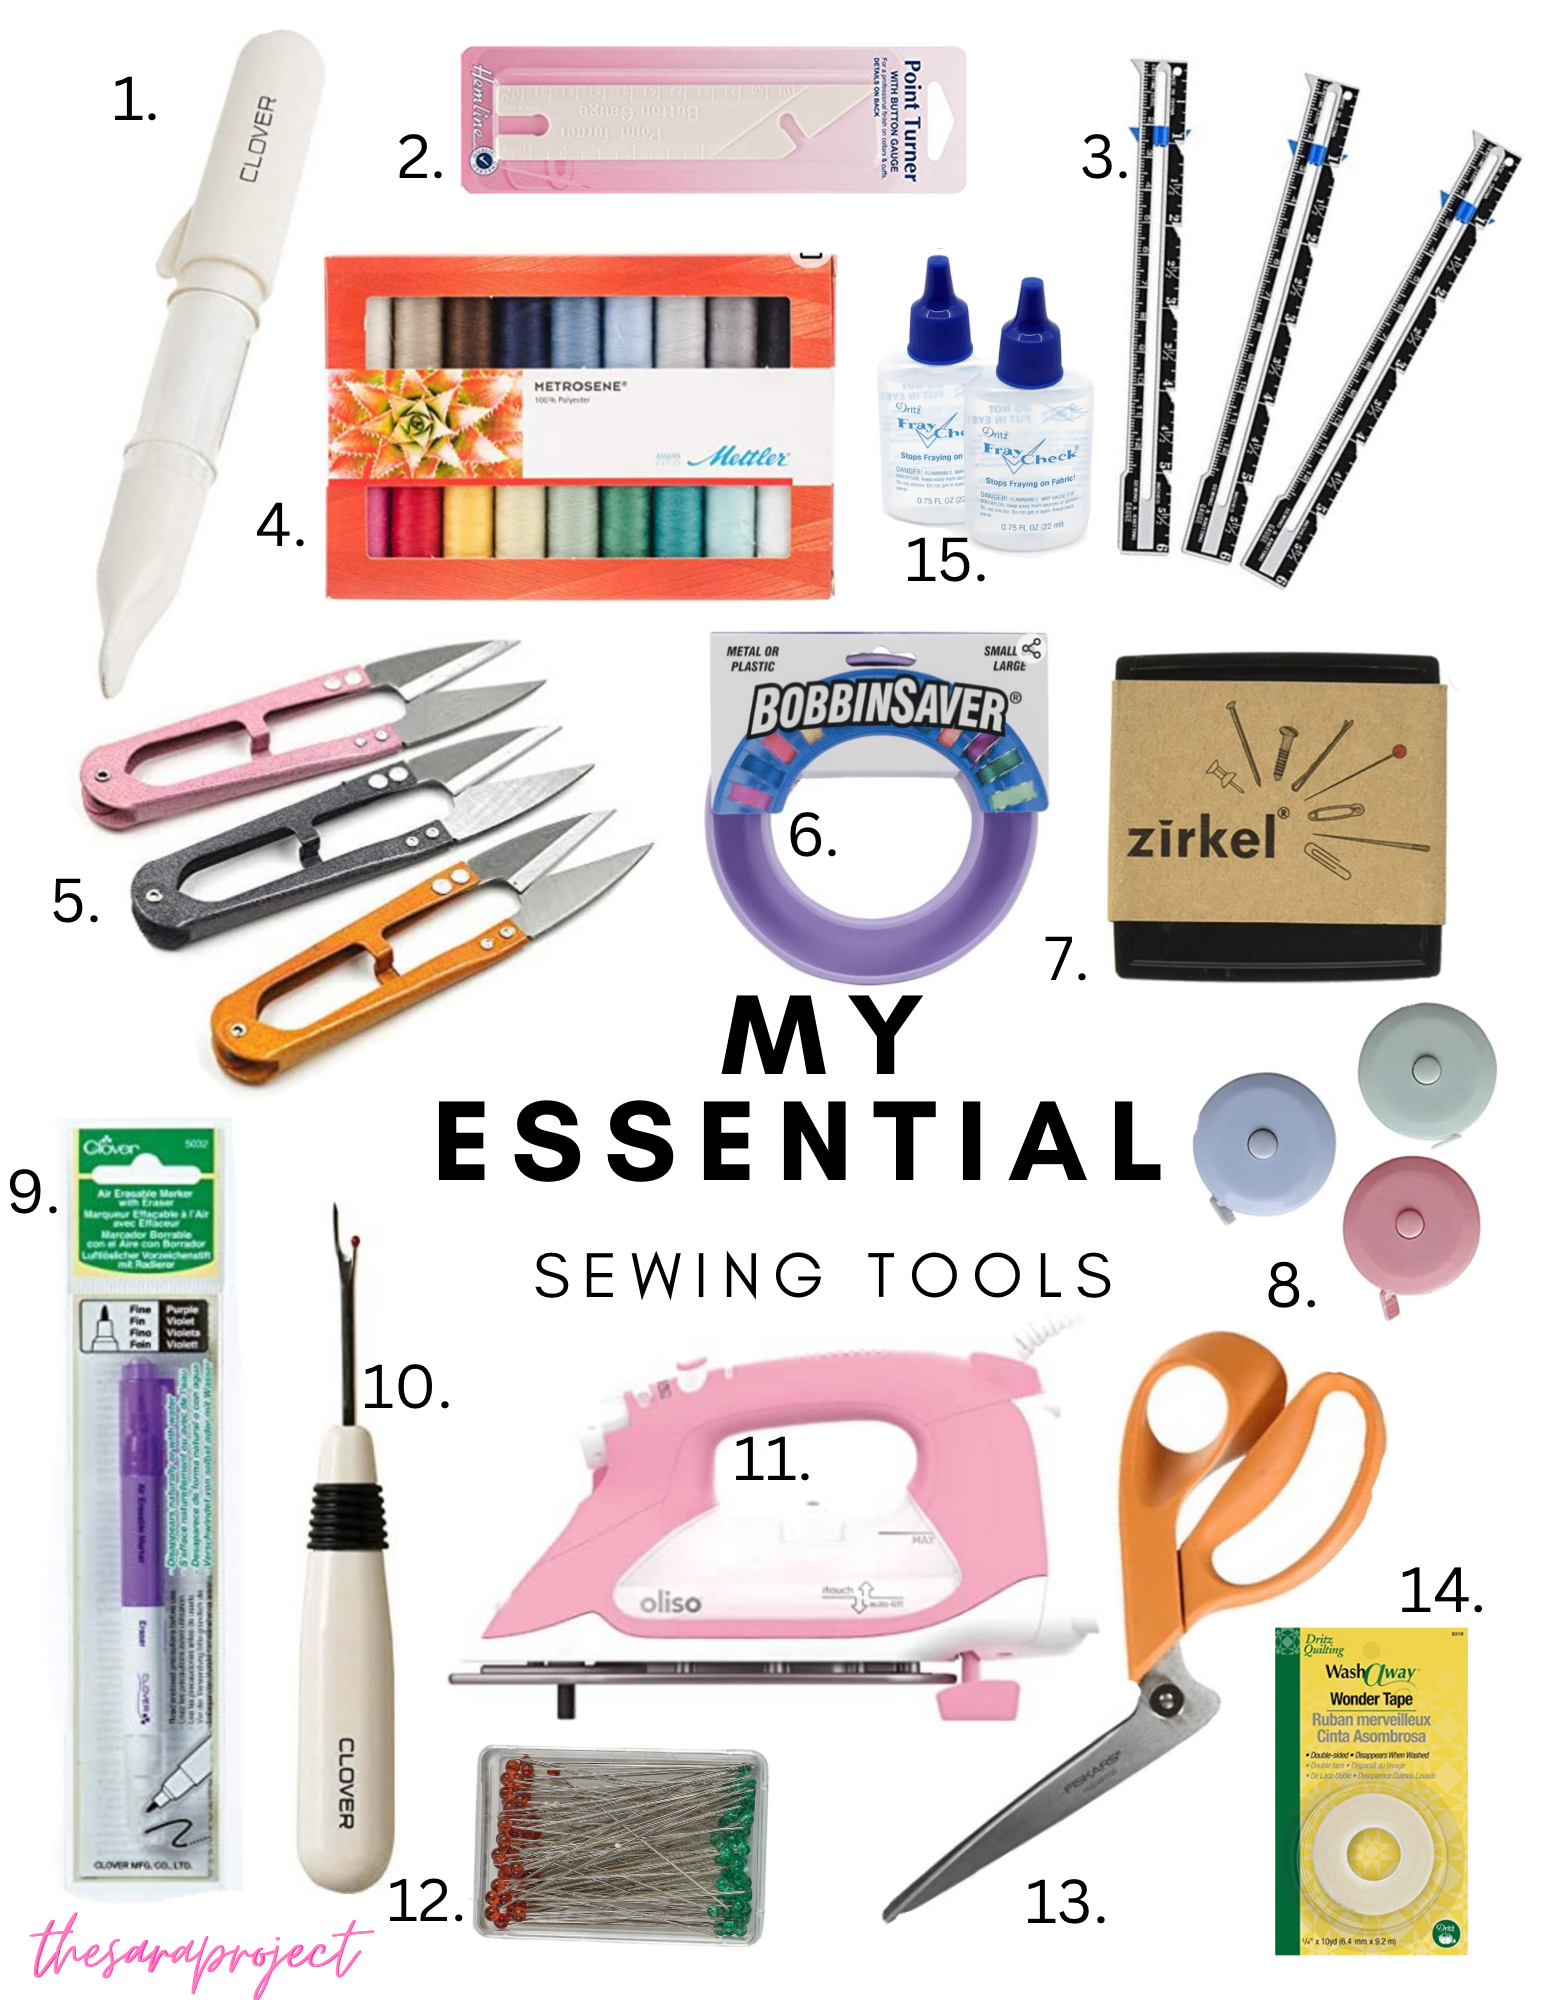
Success depends on using the right supplies for cutting, marking, and hardware installation. Most items are affordable and reusable for multiple projects.
Required Tool Inventory
- Scissors for cutting fabric, lace, and trimming threads.
- Seam ripper to open seams cleanly when expanding garments.
- Measuring tape for precise neckline and circumference measurements.
- Straight edge like a ruler or box for tracing straight lines.
- Yellow fabric marker for clear visibility on dark fabrics.
- Hammer and hardboard to provide a solid surface for setting hardware.
- Pliers to pre-bend grommet flanges for easier installation.
- Clips or hairpins to hold hems without damaging the fabric.
Best Lacing and Hardware Options
- Faux suede cord for a soft, durable option ideal for no-sew tops.
- Stretch lace trim available in widths from 3 to 8 inches for hems.
- Non-fraying ribbon which can be melted at the ends for longevity.
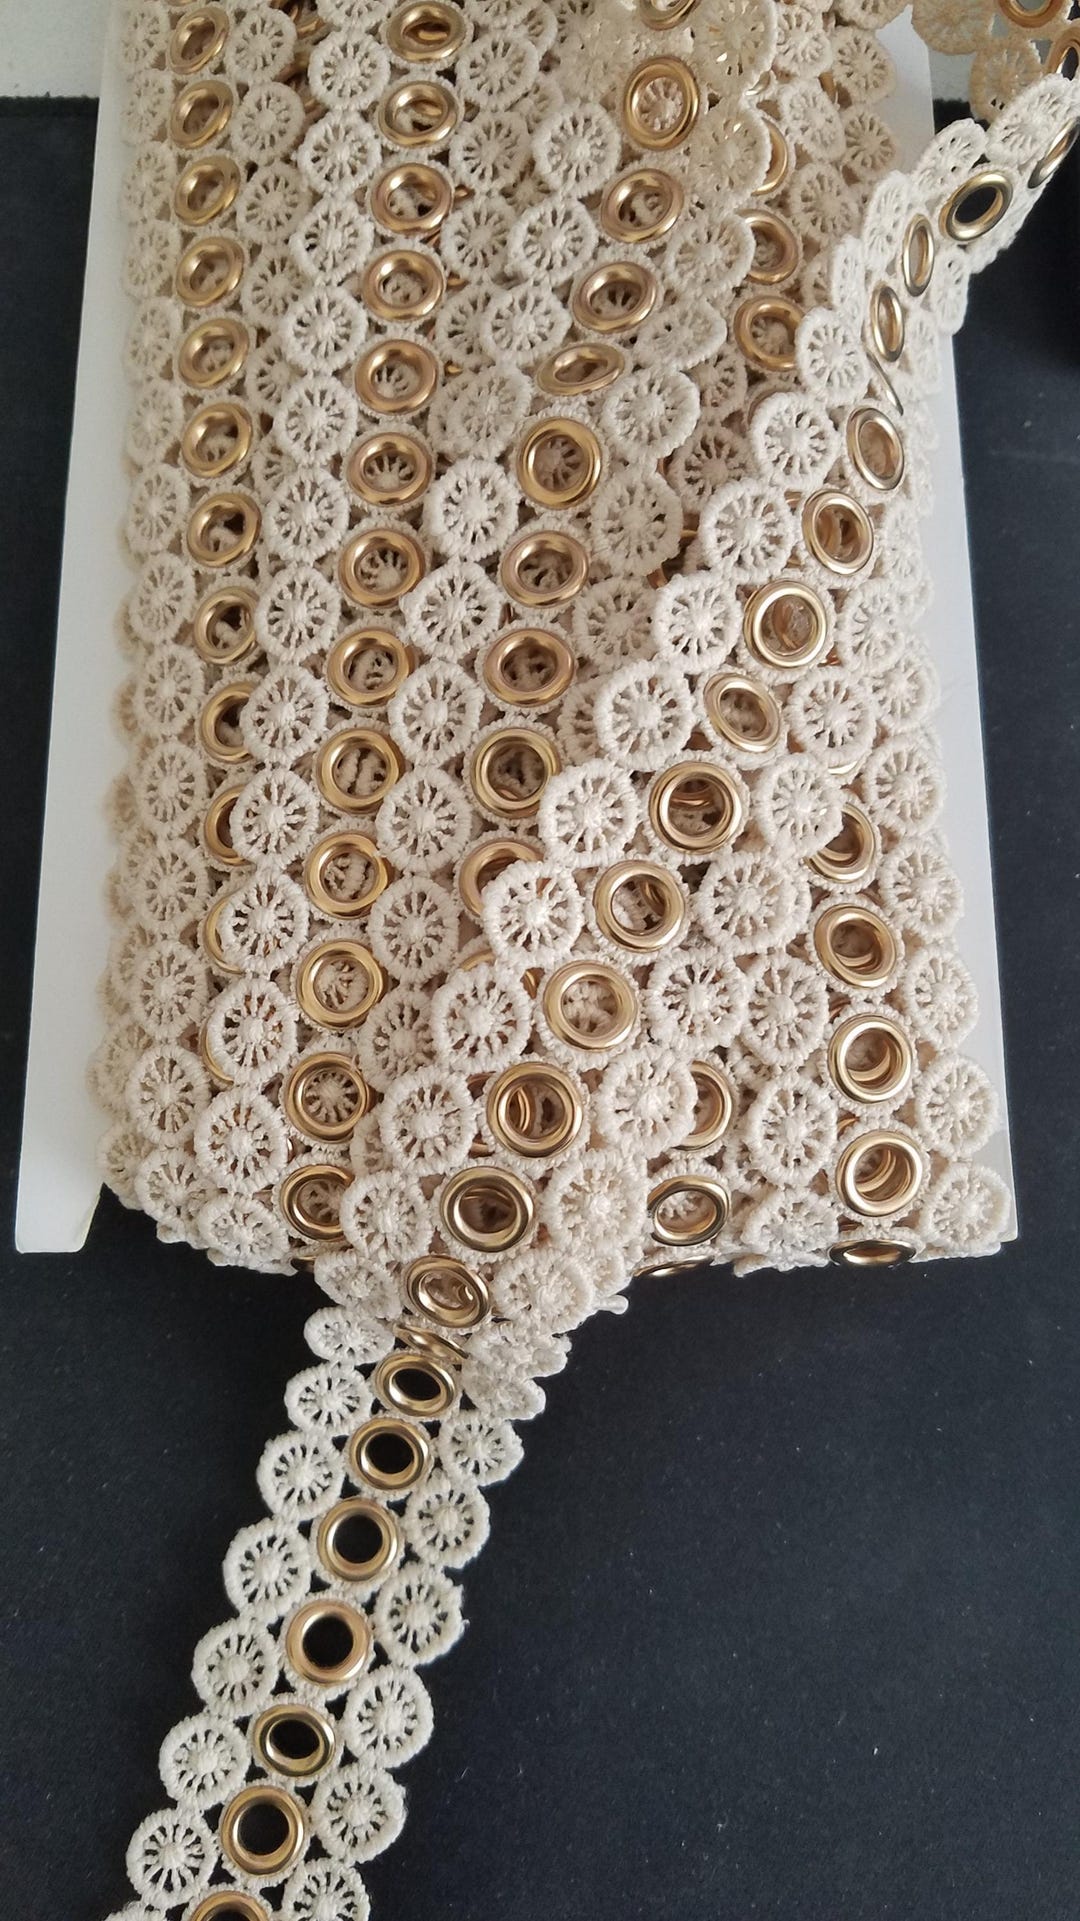
- Grommet trim featuring pre-assembled eyelets for quick application.
- Double-folded binding tape to create clean edges on cut necklines.
Cost Note: Total project costs average around $6 to $7, with base t-shirts available for as little as $2 at discount retailers.
Avoid Common Lacing Mistakes
Small errors can compromise the durability or appearance of your laced shirt. Avoiding these frequent pitfalls ensures a professional and long-lasting result.
Preserve the Neckband Structure
When creating a V-neck, never cut into the original collar band. Damaging this area destabilizes the neckline and causes uneven stretching that ruins the drape of the shirt.
Reinforce Stretchy Fabrics Properly
Knit and thin materials tear easily around metal hardware. Always apply fusible webbing or a dab of fabric glue to the back of the fabric before installing eyelets.
Align Eyelets Before Cutting
If using pre-grommeted trim, count and mark eyelet positions before cutting the material. Misaligned holes look sloppy and significantly weaken the structural integrity of the design.
Seal Ribbon Ends Immediately
Cutting ribbon without sealing the ends leads to rapid fraying. Use a lighter or fabric glue immediately after cutting to lock the fibers in place.
Use the Correct Needle Type
Sewing on knits with a regular needle breaks fibers and causes runs. Always use a 75/11 ballpoint needle designed specifically for stretch fabrics.
Style and Maintain Your Laced Creations
Your laced shirt is a wearable piece of art that requires specific care to maintain its shape and hardware. Proper maintenance extends the life of your DIY project.
Customize Your Aesthetic
- Vary lace depth by trying shallow cuts or dramatic plunges.
- Change lace color to add contrast, such as black trim on red shirts.
- Experiment with patterns like crisscross, bar lacing, or decorative knots.
- Mix hardware by alternating gold and silver grommets for an edgy look.
Wash and Store Correctly
- Hand wash or use a gentle cycle to protect metal hardware.
- Remove laces before washing to prevent snagging on other clothes.
- Avoid wringing the fabric; instead, press water out gently.
- Air dry flat or hang loosely to prevent the laced areas from stretching.
Repair and Reuse Components
If an eyelet pulls out, reinforce the area with fabric glue and install a new one slightly offset from the old hole. Old laces can be replaced anytime, so keep extra ribbon on hand for quick style updates.
Frequently Asked Questions About Lacing Shirts
Can I lace a shirt without using a sewing machine?
Yes, you can create a durable lace-up top using fabric glue and eyelets. This no-sew method involves binding the cut edges with tape and securing them with flexible adhesive that dries overnight.
What type of needle should I use for sewing lace on knits?
You must use a 75/11 stretch or ballpoint needle. This specific needle slides between knit fibers rather than piercing them, preventing runs and broken threads in stretchy fabrics.
How do I prevent fabric from tearing around eyelets?
Reinforce the back of stretchy fabrics with fusible webbing or a dab of fabric glue before installation. This adds necessary stability to handle the tension of lacing without ripping.
What is the best way to stop ribbon ends from fraying?
Seal the ends immediately after cutting using a lighter to melt synthetic fibers or apply a small amount of fabric glue. This simple step ensures your laces remain neat and durable.
Can I use lacing to fix a shirt that is too small?
Yes, you can expand a tight shirt by opening the side seams and installing grommets along the edges. Lacing these openings allows you to adjust the fit dynamically for more room.
Key Takeaways for How to Lace a Shirt
Mastering how to lace a shirt empowers you to transform ill-fitting or boring garments into custom fashion pieces. Whether you choose a no-sew V-neck, a decorative lace hem, or functional resizing, these techniques offer endless creativity with minimal cost.
Start with a basic t-shirt and a few simple tools to create professional-looking results today. Grab your scissors and fabric glue, then wear your new custom creation with confidence.