How to Lace Vans Authentic
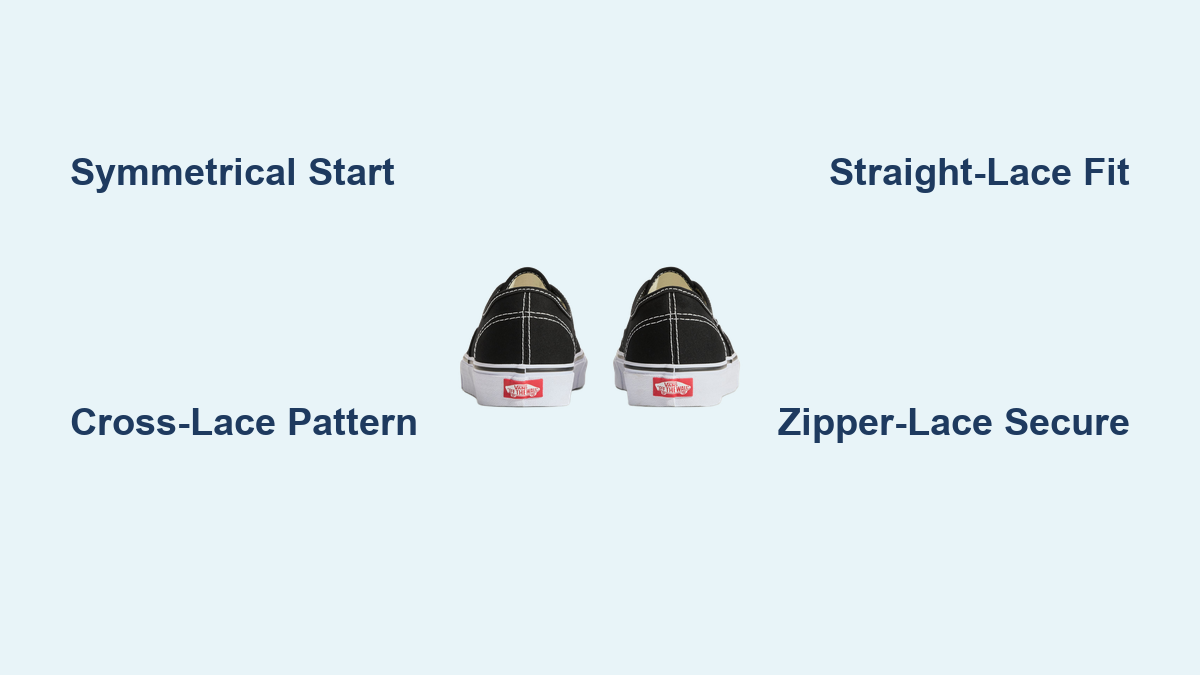
If your Vans Authentic laces constantly come loose or catch in skateboard wheels, your current lacing method is likely the culprit. Learning how to lace Vans Authentic correctly transforms a sloppy fit into a secure, stylish foundation for any outfit. These iconic sneakers rely on specific threading patterns to balance comfort with the demands of skate culture.
This guide details three proven methods to fix fit issues and elevate your look instantly. You will master the classic cross-lace, the snug straight-lace, and the tie-free zipper technique. We also cover finishing tricks to hide laces or prevent snags entirely.
Establish a Symmetrical Foundation
A professional lacing job starts with perfect symmetry before you make the first cross. If your initial threading is off, the entire pattern will look crooked and feel unbalanced. Proper preparation ensures even tension across the top of your foot from the very first step.
Create the Standard Bar Start
Most methods require a horizontal bar across the bottom eyelets to begin. Thread both lace ends through the bottom eyelets from the outside in. Pinch the laces together at the tongue to verify they are exactly equal in length before pulling tight. This simple check prevents one side from dangling later.
Anchor the Zipper Method
The zipper technique requires a different start to function without a top knot. Tie a small knot at one end of the lace that is too large to fit through an eyelet. Insert this knotted end into the inside of the shoe and thread the free end up through the bottom right eyelet. This hidden anchor holds all tension for the entire system.
Execute the Classic Cross-Lace Pattern

The cross-lace method delivers the traditional Vans aesthetic known worldwide. It provides a balanced fit suitable for daily wear and casual activities. This pattern is easy to adjust and works well with standard cotton or polyester laces.
Step-by-Step Threading Instructions
- Start with the horizontal bar at the bottom eyelets.
- Take the right lace and cross it over the tongue to the second left eyelet.
- Thread it down from the outside in to create a diagonal line.
- Take the left lace and cross it over to the next open right eyelet.
- Repeat this alternating pattern until you reach the top pair of eyelets.
Mirror Your Second Shoe
For a truly polished look, your left and right shoes should be mirror images. If the right lace lies on top for the first cross on your left shoe, ensure the left lace lies on top for the first cross on your right shoe. This subtle detail shows attention to style and symmetry.
Apply Straight-Lacing for a Snug Fit

Straight-lacing, also known as bar-lacing, removes diagonal lines for a clean, modern profile. This method pulls the sides of the shoe together more effectively than cross-lacing. It is the ideal choice if you need extra heel stability or have wider feet.
Build Horizontal Bars
Thread both laces down through the bottom eyelets from the outside in. Bring the left lace up through the second left eyelet from the inside out. Skip the second right eyelet and bring the right lace up through the third right eyelet instead. Pull the left lace straight across and down through the empty second right eyelet.
Continue the Parallel Pattern
Take the right lace emerging from the third right eyelet and run it across to the third left eyelet. Thread it down from the outside in. Continue rising on one side and crossing straight to the empty eyelet on the opposite side. The result is a series of parallel bars that lock your foot in place securely.
Secure Feet with Zipper-Lacing
Skaters and cyclists prefer zipper-lacing because it eliminates the need for a top bow. The pattern zigzags like a zipper, allowing you to pull the shoe tight and tuck the end away safely. This method prevents laces from ever coming undone during high-impact movement.
Thread the Zigzag Path
Start with your anchored knot inside the shoe. Bring the free end up through the bottom right eyelet. Cross it over and thread it down through the bottom left eyelet. Run the lace under the canvas to the next right eyelet and bring it up from the inside. Cross it down to the left again and repeat until the top.
Tuck for a Clean Finish
Once you reach the top eyelet, pull the lace to your desired tightness. Do not tie a knot. Instead, trim any excess length if necessary and tuck the loose end deep between the tongue and the inner wall of the shoe. Your Vans are now slip-on ready with zero risk of snagging.
Select the Perfect Finishing Style

How you finish the top eyelets determines both the function and look of your sneakers. You can choose a traditional bow for adjustability or a hidden finish for a minimalist vibe. The right finish complements the lacing pattern you selected earlier.
Tie a Traditional Double Knot
Bring both lace ends up through the top eyelets from the inside out. This gives you two long tails to work with. Tie a standard double knot to ensure it stays secure throughout the day. Center the knot over the tongue for a classic, recognizable streetwear appearance.
Hide Laces for Minimalism
For a sleek look, thread the laces down through the top eyelets from the outside in. Leave only two or three inches of lace visible. Tie a very loose single knot or skip it entirely, then push the ends under the tongue. This creates a seamless front that lets you slide your shoes on and off easily.
Resolve Common Lacing Issues
Even experienced sneakerheads encounter problems like uneven lengths or twisted fibers. Identifying the root cause helps you fix the issue quickly without starting over. Most problems stem from the initial setup or inconsistent tension during the process.
Correct Uneven Lace Lengths
If one tail is significantly longer than the other, your starting point was likely off center. Remove the laces and hold both ends together as a single unit. Pull them through the bottom eyelets simultaneously to guarantee perfect symmetry before beginning your pattern again.
Eliminate Twisted Fibers
Twisted laces create unsightly kinks and uneven pressure points on your foot. Pause at every eyelet to flatten the lace with your fingers before pulling it tight. Ensure the flat side of the lace faces up consistently throughout the entire lacing process.
Prevent Wheel Snags
Loose bows are a major hazard for skateboarders and bikers. If your laces keep catching in wheels, switch to the zipper method immediately. Alternatively, use the side tuck finish to bury loose ends deep within the shoe structure where they cannot interfere with movement.
Maximize Comfort and Lace Longevity

Proper lacing does more than look good; it extends the life of your equipment. Distributing pressure evenly prevents hot spots on your feet and reduces wear on specific lace sections. Small adjustments in your routine can make your gear last significantly longer.
Rotate Your Lacing Patterns
Constantly using the same pattern stresses the same parts of the lace fibers. Switch between cross-lacing and straight-lacing every few weeks to shift the pressure points. This simple habit prevents premature fraying and breakage near the eyelets.
Customize Eyelet Usage
You can alter the fit by skipping specific eyelets during the process. Skip the bottom eyelets to create more room in the toe box for wider feet. Conversely, utilize every single eyelet to maximize ankle support and heel lock for active sports.
Frequently Asked Questions About Lacing Vans Authentic
What is the best lacing method for skating?
The zipper-lace method is best for skating because it requires no knot and stays secure. You can tuck the loose end inside the shoe to prevent it from catching in skateboard wheels or bike chains.
How do I make my Vans feel tighter?
Use the straight-lace or bar-lace method to pull the sides of the shoe together more effectively. This pattern creates horizontal tension that locks your heel in place better than the standard cross method.
Can I lace Vans without a visible bow?
Yes, you can use the hidden finish by threading laces down through the top eyelets and tucking them under the tongue. This creates a minimalist, slip-on style with no visible knot or loose ends.
Why do my shoelaces always come uneven?
Uneven laces usually happen because the initial threading was not centered. Hold both ends together and pull them through the bottom eyelets as one unit to ensure they start at equal lengths.
Do Vans Authentic laces come in different lengths?
Standard Vans laces are designed to fit most sizes with enough length for a bow. If you plan to use the hidden tuck method, standard lengths work perfectly, though longer aftermarket laces may need trimming.
Key Takeaways for Lacing Vans Authentic
Mastering how to lace Vans Authentic allows you to customize fit and style for any situation. Whether you choose the classic cross, the snug straight bar, or the secure zipper pattern, proper technique prevents slippage and enhances comfort. Start with a symmetrical base and select a finish that matches your activity level.
Try the straight-lace method today if you need extra stability or the zipper style for your next skate session. Experimenting with these patterns will help you find the perfect balance between security and style for your specific needs.