How to Lace Air Force 1: Quick Steps
Your Nike Air Force 1s look great, but the default factory lacing often feels tight or looks too basic for your outfit. Learning how to lace Air Force 1 shoes correctly transforms both their comfort and visual appeal instantly.
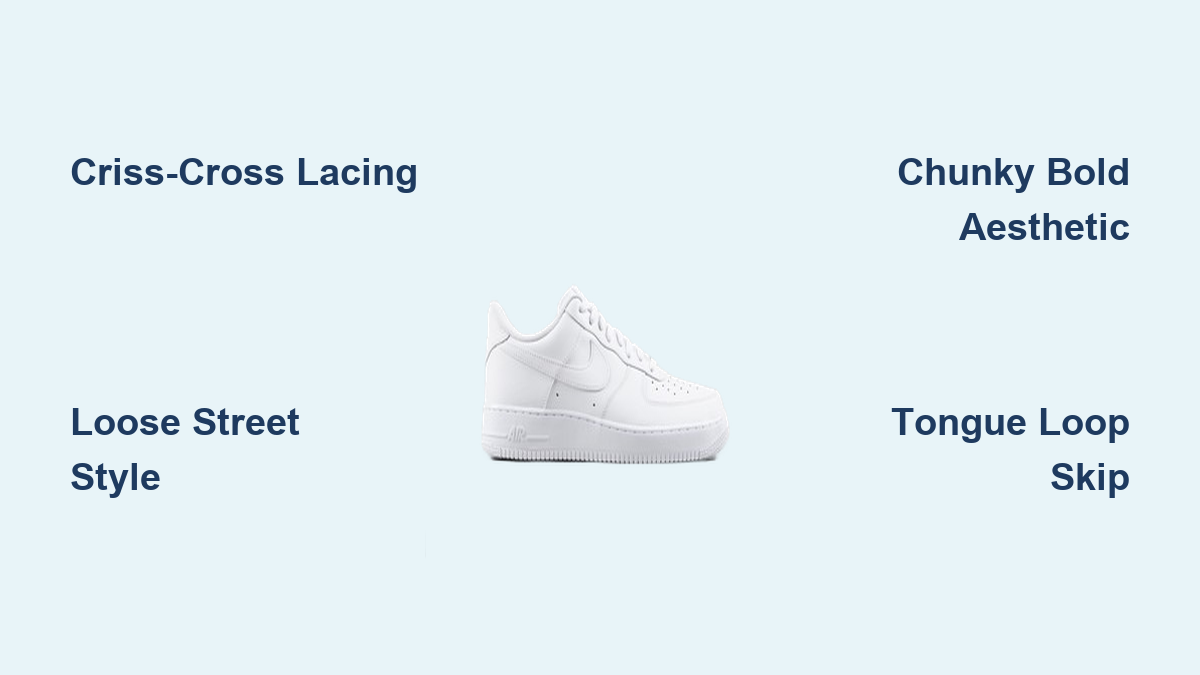
This guide details three specific methods to fix that issue using only official techniques. You will master the classic criss-cross, a relaxed street style, and a bold chunky aesthetic with clear steps.
Essential Tools and Lace Selection for Air Force 1
Success starts before you thread the first eyelet. Choosing the right materials ensures your chosen style holds its shape and lasts longer.
Selecting the Correct Lace Dimensions
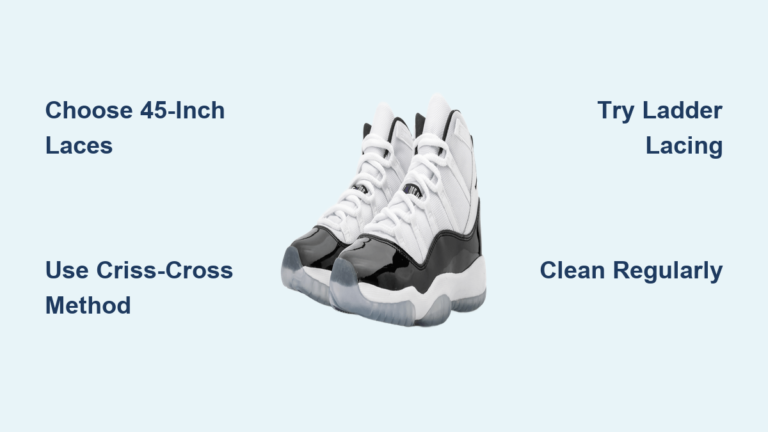
Not every lace works for every look. Standard flat laces around 120cm work best for classic styles. Loose or chunky styles require longer 130cm to 140cm laces to accommodate extra threading. Wide cotton or braided nylon laces between 8mm and 10mm create the best volume for bold looks.
Positioning the Nike Tongue Tag
The metal tag on your tongue acts as a crucial anchor point. Thread both lace ends through this tag before starting any pattern. Ensure the “Nike” logo faces outward and stands upright to prevent twisting later. Slide the tag down to the base of the laces to lock it in place.
Using Tools to Protect Eyelets
Thick laces can tear leather if forced through tight holes. Use a chopstick, pencil, or blunt scissors to gently stretch the top two eyelets before threading. This simple step prevents damage and makes the process much smoother.
Execute the Standard Criss-Cross Lacing Method
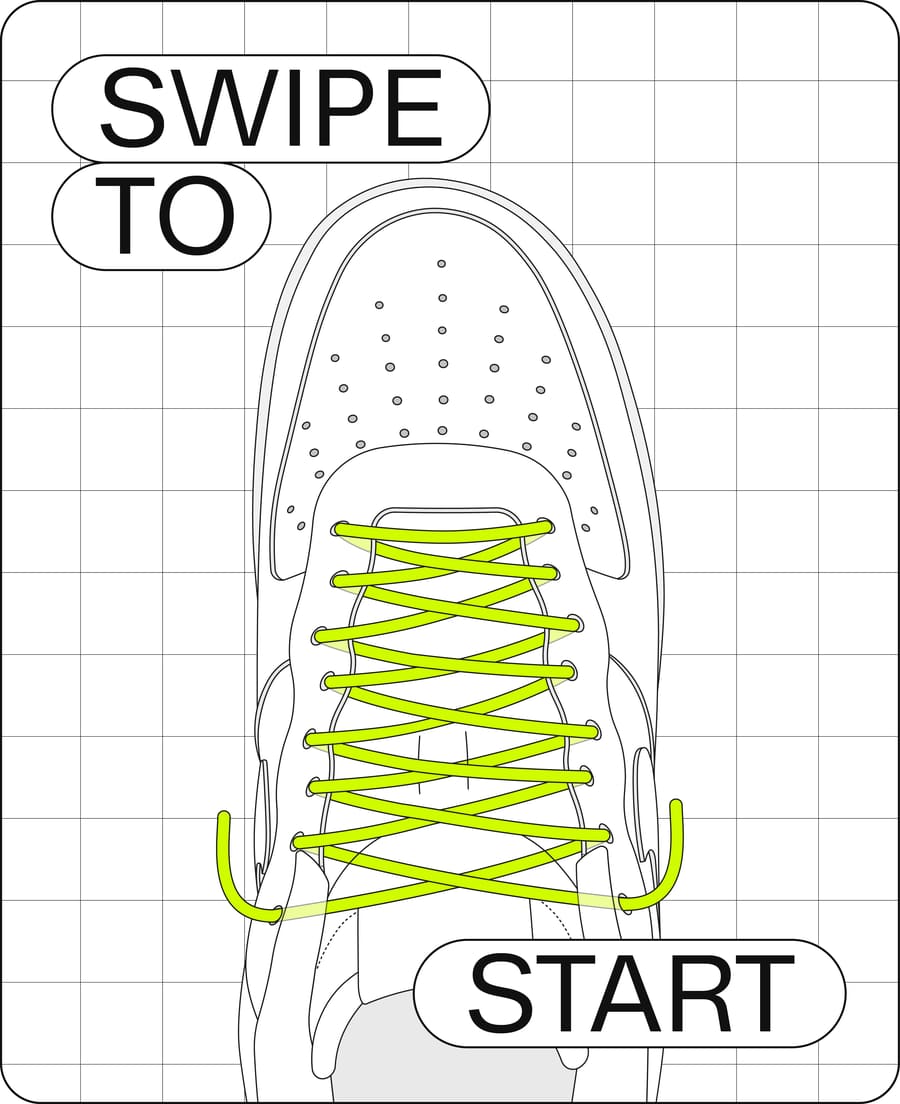
This technique delivers a clean, classic profile perfect for daily wear. It prioritizes symmetry and a secure fit for all-day comfort.
Initialize the Bottom Eyelets
Thread both lace ends down into the bottom eyelets from above. Pull them tight enough so the metal tag rests flat against the tongue. Check that no twists exist in the lace near the eyelets before proceeding.
Build the Criss-Cross Pattern Upward
Take the left lace and bring it over and up through the next right-side eyelet from underneath. Cross the right lace over and up through the next left-side eyelet from underneath. Repeat this alternating pattern until you reach the fifth eyelet level.
Navigate the Tongue Loop Securely
Pass the left lace through the tongue loop from the inside, then up into the next right eyelet. Thread the right lace through the same loop from the top, laying it over the first lace. Resume the criss-cross pattern upward to the top eyelets.
Finish with a Visible or Hidden Bow
You can tie a standard bow for quick adjustments if you prefer a visible knot. For a sleeker look, thread both laces down into the opposite top eyelets from above. Tuck the ends behind the tongue for a hidden, flat finish that allows easy slip-on access.
Create the Loose Street Style Fit

This method creates a relaxed, open fit that maximizes comfort while maintaining an urban aesthetic. It eliminates tension across the top of your foot.
Begin with Upward Bottom Entry
Thread both lace ends up through the bottom eyelets from underneath. Pull the ends up evenly while ensuring the Nike tag remains upright. This upward start sets the foundation for the loose structure.
Apply the Alternating Descent Pattern
Cross the right lace over and thread it down into the second left eyelet from above. Take the left lace and thread it down into the second right eyelet. Continue alternating sides and threading downward into the next available eyelet to create slack.
Integrate the Tongue Loop Carefully
Thread the current lace through the tongue loop from the outside, then down into the next eyelet. Pass the other lace through the loop from the top, laying it over the first one. Maintain the downward threading direction to preserve the loose effect.
Reverse Direction at the Top Eyelets
Stop the downward pattern when you reach the top section. Bring the left lace up through the top left eyelet from underneath. Repeat with the right lace on the opposite side to open up the fit across your midfoot.
Tuck Ends for a Clean Silhouette
Pull the long lace ends through until both sides feel even. Tuck both ends behind the tongue so they rest on top of your foot. This prevents tripping and keeps the laces out of the way while offering easy on and off capability.
Achieve the Chunky Bold Aesthetic
This advanced technique creates a sculpted, high-volume look that turns heads. It requires specific preparation to ensure the laces sit prominently.
Expand the Shoe Structure with Socks
Stuff two or three thick socks into the toe area before lacing. Push them down firmly to force the eyelets apart. This step creates the necessary width for wide laces to sit boldly without looking compressed.
Anchor the Tag and Start Lacing
Fold the lace in half and thread it through the tag with the logo facing out. Separate the ends and thread the outside lace down through the first outside eyelet. Thread the inside lace down through the first inside eyelet while keeping tension loose.
Create the Overlap Pattern
Bring the outside lace across to the second inside eyelet and thread it down from above. Bring the inside lace across to the second outside eyelet and thread it down. Tuck the laces under each other at the cross point to create a layered knot effect.
Skip the Tongue Loop Entirely
Bypass the middle hoop completely to maintain a continuous bold line. Threading through the loop breaks the visual flow of the chunky style. Continue the overlap pattern straight up to the top eyelets.
Lubricate and Thread Top Eyelets
Use a chopstick or pencil to gently stretch the final eyelets before threading thick laces. This prevents tearing the leather and makes insertion easier. Bring the outside lace across and down into the last inside eyelet, then repeat for the inside lace.
Hide Knots with Behind-Tongue Loops
Pull the lace ends emerging from the top eyelets up to create slack. Push one end under the tongue from the inside using gentle wiggling. Pull out enough length to match the other side and create a soft loop behind the tongue. Repeat for the second lace to secure the fit invisibly.
Compare Lacing Methods for Your Needs
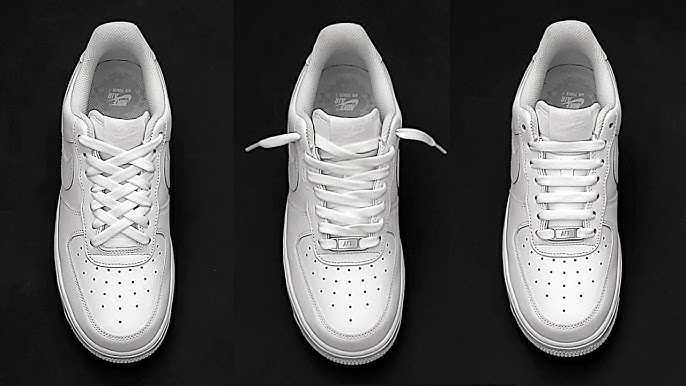
Choosing the right style depends on your goal for the day. Use this comparison to decide which technique fits your situation best.
- Standard Criss-Cross: Best for everyday wear with a snug fit using standard 120cm laces.
- Loose Street Style: Ideal for comfort and easy on-off access with a relaxed fit using 130cm laces.
- Chunky Bold: Perfect for fashion statements requiring wide laces and toe stuffing for volume.
Troubleshoot Common Lacing Issues
Even experienced sneakers heads encounter problems. Here is how to fix the most frequent issues quickly.
Fix Narrow Looking Chunky Laces
Your laces look too narrow if you skip the toe stuffing step. Re-lace the shoe with two or three thick socks inside the toe box to widen the eyelets properly.
Correct Uneven Tension or Alignment
Rushing the pattern often causes misalignment. Pause after every cross to check for twists and ensure even spacing before continuing to the next eyelet.
Solve Difficulty Threading Top Eyelets
Thick laces struggle with tight leather at the top. Pre-stretch these eyelets with a chopstick or pencil before attempting to thread the lace through.
Prevent Nike Tag Twisting
Incorrect initial threading causes the tag to flip. Always thread the tag with the logo facing out and upright, then verify its position every few eyelets.
Maintain Your Laced Look Long Term
Proper care extends the life of both your laces and your shoes. Regular checks keep your Air Force 1s looking fresh.
- Check for twists weekly, especially near the tag and tongue loop area.
- Avoid soaking cotton laces as they shrink and lose their structural shape.
- Rotate between loose and chunky methods to reduce stress on lower eyelets.
- Switch lace colors for different occasions to refresh your look instantly.
Frequently Asked Questions About How to Lace Air Force 1
What lace length do I need for chunky Air Force 1 styles?
You need laces between 130cm and 140cm for chunky styles. Standard 120cm laces are too short for the extra threading and tucking required by this method.
Can I use the tongue loop for the chunky lacing method?
No, you should skip the tongue loop entirely for the chunky aesthetic. Bypassing it maintains the continuous bold line essential for this specific look.
How do I stop my Nike tongue tag from twisting?
Thread both lace ends through the tag with the logo facing outward and upright before starting. Verify the position every few eyelets to ensure it stays centered.
Why do my laces tear the leather near the top eyelets?
Thick laces create friction that damages tight leather. Use a chopstick or pencil to gently stretch the top eyelets before threading to prevent tearing.
Is the loose street style good for wide feet?
Yes, this method creates a relaxed open fit that reduces pressure across the midfoot. The downward threading pattern eliminates tension for maximum comfort.
Key Takeaways for Mastering How to Lace Air Force 1
Mastering how to lace Air Force 1 shoes unlocks three distinct styles ranging from classic polish to bold street fashion. The standard method offers security, the loose style provides comfort, and the chunky technique delivers high-impact visuals.
Start with the standard criss-cross to build confidence, then experiment with the loose fit for weekend wear. Once comfortable, try the chunky method with wide laces and toe stuffing for a custom designer look.