How to Lace Adidas Cloudfoam Shoes
If your Adidas Cloudfoam shoes feel loose at the heel or tight across the toes, the solution is likely how you lace them. Incorrect lacing patterns can ruin the cushioned experience these sneakers are famous for by creating pressure points or allowing slippage.
This guide explains exactly how to lace Adidas Cloudfoam shoes to fix common fit issues like numbness and instability. You will learn specific techniques to customize your fit for running, walking, or daily wear without buying new gear.
Choose the Correct Laces for Your Cloudfoam
Using the right laces is the first step toward a better fit. The standard factory laces often work fine, but upgrading or replacing them can solve persistent problems.
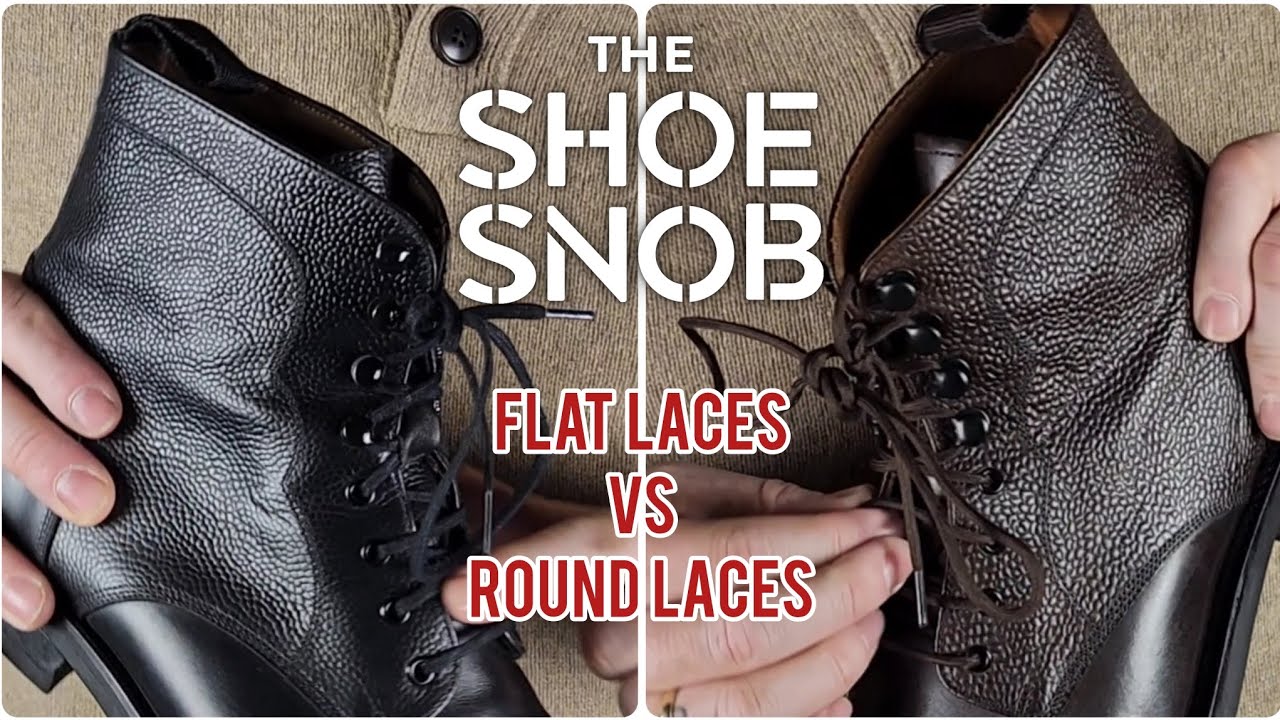
Select 120–140 cm Flat Laces
Most Adidas Cloudfoam models perform best with flat laces between 120 and 140 cm long. Flat laces distribute pressure more evenly across your foot than round ones. They also hold knots better, preventing your shoe from loosening during activity.
Replace Worn Laces Immediately
Old laces stretch out and lose their ability to hold tension. If your laces look frayed or feel brittle, they cannot secure your foot properly. Replacing them ensures your chosen lacing technique works as intended.
Avoid Excessive Tightening
Pulling laces too tight cuts off circulation and causes numbness. You should never rely on brute force to stop your heel from slipping. Instead, use specific lacing patterns that lock your foot in place gently.
Apply the Standard Crisscross Method
The standard crisscross pattern works well for people with average foot width and no specific pain points. It provides a balanced fit for general daily use.
Start With Equal Lengths
Thread the lace through the bottom eyelets from the inside out. Ensure both ends are exactly the same length before proceeding. Uneven starts lead to uneven tension and discomfort later.
Cross Diagonally Upward
Cross the laces over each other and thread them into the next set of eyelets from the outside in. Continue this “X” pattern all the way to the top. Keep the laces flat to avoid twisting.
Secure With a Double Knot
Pull both sides evenly to snug the shoe around your foot. Tie a standard bow and then add a second knot to prevent it from coming undone. This simple step keeps your lacing pattern intact all day.
Reduce Pressure on Top of Foot

Pain across the top of your foot often comes from laces pressing down on sensitive nerves or bones. Specific patterns can eliminate this pressure entirely.
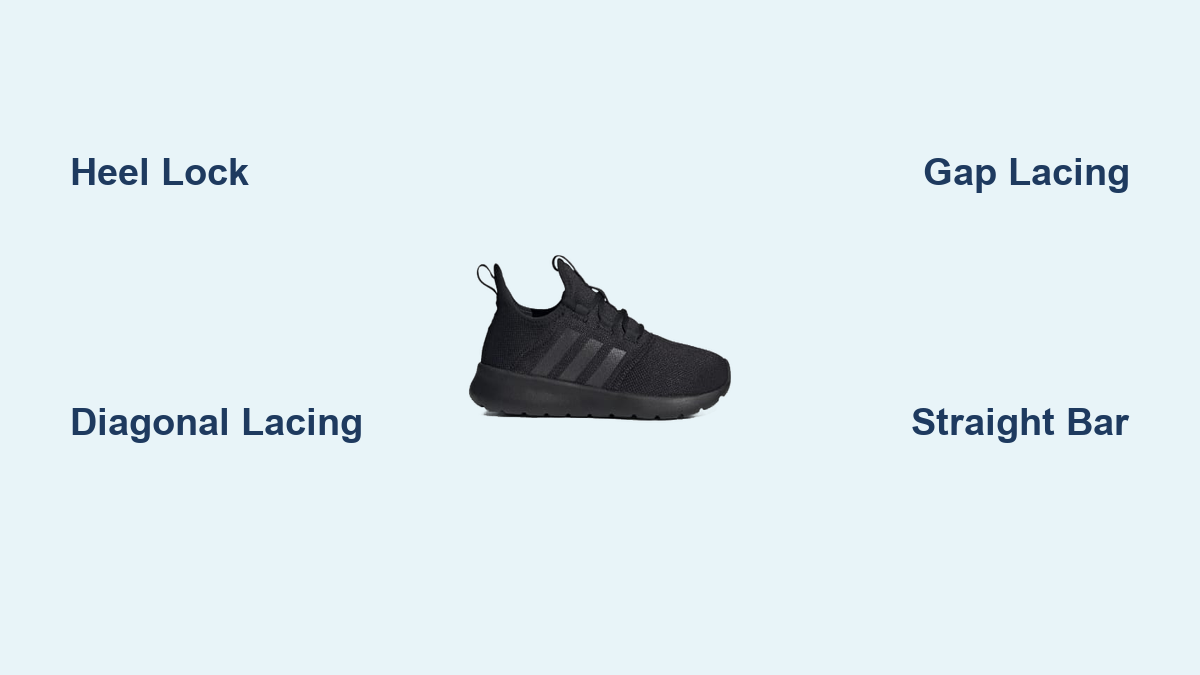
Use Straight Bar Lacing
This method removes diagonal crosses that dig into your instep.
1. Thread laces straight across the bottom eyelets from inside to outside.
2. Run each lace straight up the inside to the next eyelet.
3. Cross them straight across to the opposite side.
4. Repeat until you reach the top.
This creates horizontal bars that relieve pressure on high arches.
Create a Gap for High Arches
Gap lacing leaves a section of the shoe unlaced directly over your arch.
1. Lace normally up to the eyelets below your high arch.
2. Run both laces straight up the inside for one or two eyelets without crossing.
3. Resume the normal crisscross pattern above the gap.
This technique creates a pressure-free window for your foot to expand.
Lock Your Heel in Place
Heel slippage causes blisters and instability, especially when running or walking fast. The Heel Lock technique solves this by using the top eyelets to cinch the collar.
Execute the Runner’s Loop
- Lace your shoe normally until you reach the second-to-last eyelet.
- Thread each lace straight up through the top eyelet on the same side to form a loop.
- Pull the left lace end through the right loop and the right end through the left loop.
- Pull tight to lock the heel collar down against your foot.
- Tie your usual knot to secure it.
Understand Why It Works
This method creates a mechanical lock that pulls the heel cup down and back. It stops your foot from sliding forward or lifting out of the shoe without requiring excessive tightness elsewhere.
Prevent Toe Numbness and Bruising
Numb toes usually result from the shoe toe box pressing down on your digits. Changing the lacing angle can lift the front of the shoe slightly.
Switch to Diagonal Lacing
This pattern lifts the toe cap to give your digits more room.
1. Start one lace end at the top eyelet on the ankle side.
2. Run it diagonally down to the bottom eyelet near your big toe.
3. Cross straight across and then diagonally up to the next eyelet.
4. Repeat this alternating pattern until you reach the top.
This reduces direct downward pressure on the toe box area.
Ensure Proper Shoe Size
No lacing trick can fix a shoe that is physically too small. You need about a thumb’s width of space between your longest toe and the shoe tip. Check your size if numbness persists after changing laces.
Adjust Lacing for Wide Feet
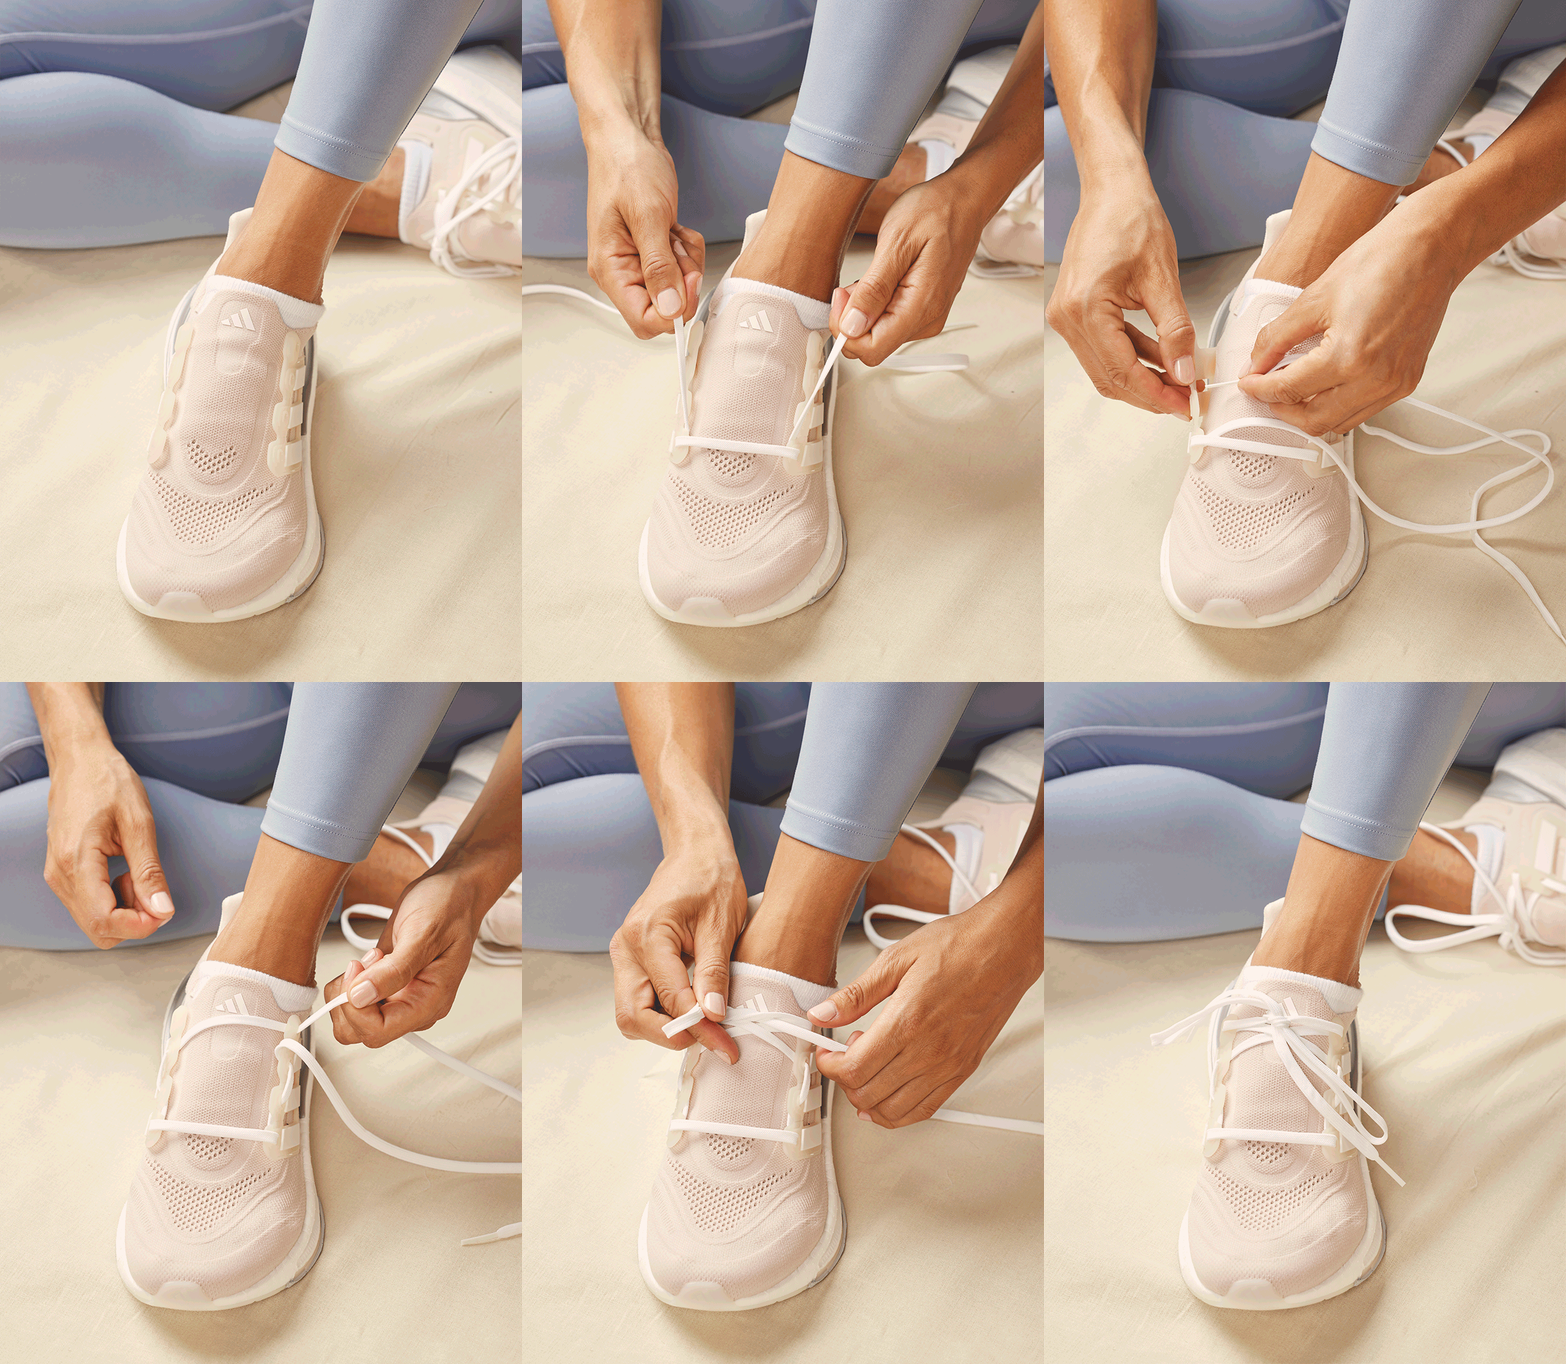
Wide feet often feel squeezed in the forefoot, leading to pain on the sides of your shoes. You can create more volume with a simple adjustment.
Apply Wide-Foot Lacing
- Lace straight across the bottom eyelets from inside to outside.
- Run each lace straight up the inside to the next eyelet without crossing.
- Repeat this vertical step for one or two more eyelets to widen the opening.
- Resume the standard crisscross pattern from there to the top.
This creates vertical columns that allow the shoe to expand over your widest point.
Customize the Width Expansion
You can skip crossing over as many eyelets as needed. If your foot is very wide, extend the vertical section higher up the shoe. This gives you total control over the forefoot volume.
Secure Narrow Feet Effectively
Narrow feet slide side to side inside the shoe even when laces feel tight. Skipping eyelets helps pull the sides of the shoe closer together.
Skip Eyelets for a Snugger Fit
- Lace normally up to the middle of the shoe.
- Instead of going to the next eyelet, cross diagonally to the one above it.
- This skips a set of eyelets and reduces the distance between connection points.
- Continue lacing normally to the top and tie off.
This pulls the shoe walls inward for a tighter, more secure hold.
Avoid Over-Compression Risks
Do not skip too many eyelets or you may create new pressure points. Skipping just one row is usually enough to tighten the fit for most narrow feet.
Improve Circulation With Lydiard Lacing
Long periods of standing or running can restrict blood flow if laces are too uniform. The Lydiard method staggers tension to boost circulation.
Try the Lydiard Method
- Lace straight across the bottom eyelets.
- Run the left lace straight up the inside to the second eyelet, then across.
- Run the right lace straight up the inside to the third eyelet, skipping one, then across.
- Alternate this pattern up the shoe so one side always skips an eyelet.
This prevents a “tourniquet effect” and keeps blood flowing to your feet.
Best Use Cases for This Style
Use this technique for long walks, hikes, or runs over an hour. It is particularly helpful if your feet tend to swell during extended activity.
Fix Common Lacing Problems Quickly
You can solve most fit issues by matching the problem to the right technique. Here is a quick reference for common complaints.
- Heel Slipping: Use the Heel Lock method to cinch the collar.
- Numb Toes: Switch to Diagonal Lacing to lift the toe box.
- Top-of-Foot Pain: Apply Gap Lacing or Straight Bar Lacing.
- Foot Sliding Side to Side: Skip eyelets to tighten the fit for narrow feet.
- Uneven Tightness: Reset laces to ensure equal length on both sides.
- Laces Coming Untied: Use flat laces and tie a double knot.
Frequently Asked Questions About Lacing Adidas Cloudfoam Shoes
What is the best lacing style for running in Cloudfoam shoes?
The Heel Lock or Runner’s Loop is the best choice for running. It prevents your heel from slipping inside the shoe, which reduces friction and stops blisters from forming during high-impact movement.
How do I stop my Adidas Cloudfoam laces from coming undone?
Switch to flat laces if you are using round ones, as flat laces hold knots better. Always finish by tying a double knot to ensure your laces stay secure throughout your day.
Can lacing techniques help if I have high arches?
Yes, Gap Lacing and Straight Bar Lacing are excellent for high arches. These methods remove direct pressure from the top of your foot where the arch protrudes, eliminating pain and discomfort.
Why do my toes go numb in my Cloudfoam sneakers?
Numbness usually happens when laces press the shoe down onto your toes. Try Diagonal Lacing to lift the toe box or loosen the bottom section of your laces to give your toes more room.
Do I need special laces for these techniques?
You do not need special laces, but flat laces between 120 and 140 cm work best. These lengths provide enough slack for advanced loops like the Heel Lock while maintaining a secure hold.
Key Takeaways for Lacing Your Adidas Cloudfoam Shoes
Mastering how to lace Adidas Cloudfoam shoes transforms a standard sneaker into a custom-fit solution. By choosing the right pattern, you can eliminate heel slip, relieve toe pressure, and improve overall comfort without spending extra money.
Start by identifying your specific fit issue, such as width or arch height, and apply the matching technique today. Your feet will thank you for the improved stability and reduced pain on your next walk or run.