Best Way to Lace Jordan 4 (2026 Guide)
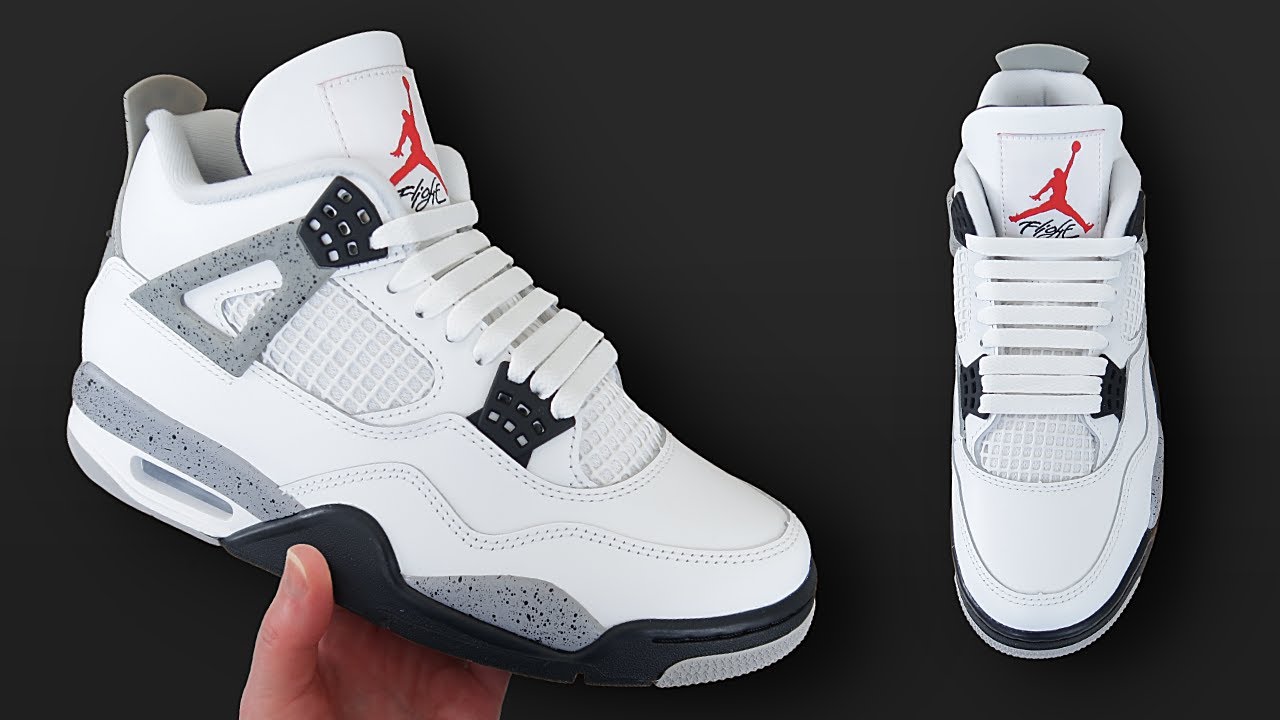
Achieving the clean, structured look of official product photos requires knowing the best way to lace Jordan 4 sneakers using the bar method. This technique replaces messy criss-cross patterns with sleek horizontal bars that highlight the shoe’s design lines.
You will learn the exact steps to create perfect parallel bars while avoiding common twisting errors. This guide ensures your Air Jordan 4s look premium and intentional every time you step out.
Prepare Your Jordan 4 Laces for Symmetry

Proper setup prevents uneven bars and frustration later in the process. You must establish a balanced foundation before building the visible pattern.
Thread the Bottom Eyelets Evenly
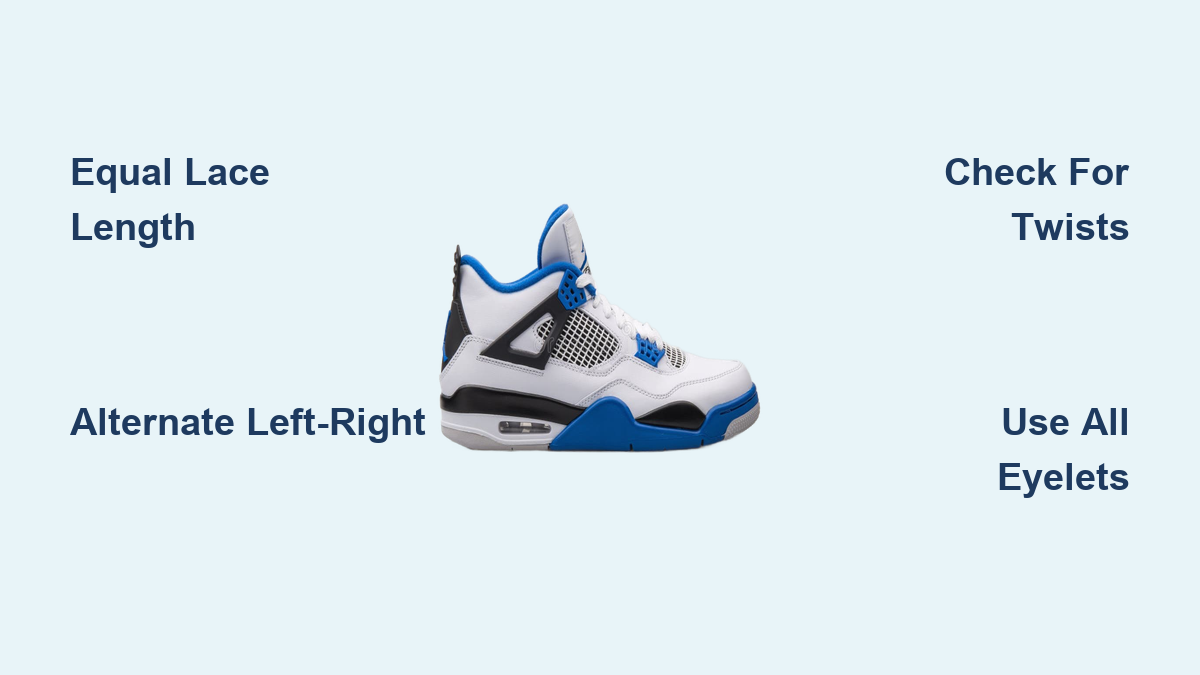
Insert your shoelace through the two lowest eyelets so both ends emerge on the outside. Pull the laces gently until you have equal length on both the left and right sides. This initial symmetry is crucial because any imbalance here makes the upper bars look crooked.
Pro Tip: Lay the shoe flat on a table and measure the lace ends with your fingers before proceeding to the next row.
Check Lace Orientation Immediately
Ensure the flat side of your lace faces outward rather than showing a twisted edge. You need to verify this orientation after every single loop you create. Twisted laces ruin the clean aesthetic of the bar pattern quickly.
Create the First Horizontal Bar on Left Side
The first visible bar sets the tone for the entire lacing job. You will start this sequence from the left side of the shoe.
Insert Left Lace From Inside Out
Take the left lace end and thread it from the inside of the shoe up through the next available left eyelet. This vertical run stays hidden beneath the tongue area. Pull it through gently without tightening fully yet.
Cross Horizontally to Right Eyelet
Pull the lace across the tongue in a straight horizontal line. Thread it into the right eyelet at the same level, going from the outside in. You have now formed your first complete horizontal bar across the shoe.
Visual Cue: The lace should lie completely flat against the tongue with no sagging or diagonal pulling.
Build Reciprocal Bar Using Right Lace
Maintain the alternating pattern by switching to the right lace for the next step. This creates the signature ladder effect of the bar style.
Thread Right Lace Upward Internally
Take the right lace end and insert it from the inside of the shoe. Push it up through the next available right eyelet, which is one level higher than your previous bar. Keep the tension light to allow for adjustments.
Cross Over to Left Eyelet
Pull this lace horizontally across the tongue toward the left side. Insert it into the corresponding left eyelet at the same level from the outside in. This forms your second bar directly above the first one.
Common Mistake: Do not pull the laces tight yet. Keep tension minimal so you can fix twists or alignment issues easily.
Repeat Alternating Pattern Up the Shoe
Consistency is key when climbing the eyelets. You must follow a strict sequence to maintain the parallel bar appearance.
Follow the Left-Right Sequence
Continue the pattern by alternating which lace you move next.
* Left lace: Go inside up through left eyelet, then cross to right eyelet.
* Right lace: Go inside up through right eyelet, then cross to left eyelet.
Each lace jumps vertically on its own side before crossing over to form the bar.
Use Every Single Eyelet
Do not skip any eyelets during this process. The bar lacing method requires all eyelets to be engaged for proper structural balance. Skipping an eyelet creates ugly gaps and weakens the visual flow.
Error Fix: If you miss an eyelet, unthread two rows down to correct the path. This is normal when learning the technique.
Prevent Lace Twisting During Installation
A twisted lace destroys the polished look of the bars. You must actively manage lace rotation throughout the process.
Rotate Laces After Each Step
Pause after threading each segment to check that the lace lies flat. If you see a twist, gently rotate the lace end until the flat side faces outward again. This small habit saves time on re-doing the whole shoe later.
Expert Note: Use flat, woven laces instead of rounded or elastic ones. Flat laces resist twisting and hold the bar shape much better.
Maintain Even Tension Throughout
Once all bars are in place, gently tighten the structure by pulling each horizontal section from the center. Work your way from the bottom bars to the top bars to keep everything aligned.
Finish Lacing at Top Eyelets
The final steps complete the seamless ladder effect across the tongue of your Jordan 4.
Reach the Last Two Eyelets
Continue your alternating pattern until both laces emerge from the top-left and top-right eyelets. At this stage, you should see a full set of parallel horizontal bars covering the entire tongue area.
Prepare for Final Styling
You now have two lace ends at the top ready for finishing. You can tie them in a standard bow, tuck a hidden knot under the eyelet flap, or secure them with lace jewels.
Style Tip: For a minimalist finish, tie a small knot and tuck it under the top collar or use lace locks for a clean no-bow look.
Maintain Clean Look on Your Jordan 4
Bar lacing requires maintenance to keep looking sharp over time. Proper care extends the life of your clean aesthetic.
Re-Lace After Heavy Wear
Sneakers expand and laces loosen with wear. Re-lace your Jordan 4s every few wears to restore the tight, crisp bar pattern. This ensures your shoes always look fresh.
Clean Laces Separately
Remove laces before cleaning your shoes to prevent damage. Hand-wash them with mild soap to preserve color and texture, especially if you are using premium or specialty laces.
Why Bar Lacing Is Best for Jordan 4

Among all lacing styles, the bar method offers unique benefits for the Air Jordan 4 silhouette. It is widely considered the best way to lace Jordan 4 sneakers for style-focused wearers.
Enhances the Shoe Design Lines
The horizontal bars emphasize the clean tongue and mesh panels of the Jordan 4. This draws attention to the iconic structure rather than hiding it under tangled criss-cross patterns.
Matches Premium Colorway Aesthetics
This style is famously associated with the “Pine Greens” and other lifestyle-oriented releases. Collectors and fashion-focused wearers prefer it for its ability to elevate the shoe’s overall presentation.
Projects Confidence and Style
Official styling guides note that bar lacing gives wearers the confidence to walk on autumn streets with a sharp look. The structured appearance signals attention to detail and personal style.
Frequently Asked Questions About Jordan 4 Lacing
What is the best way to lace Jordan 4 sneakers for a clean look?
The bar lacing method is the best choice for a clean, structured appearance. It creates parallel horizontal bars across the tongue that highlight the shoe’s design lines without messy criss-cross patterns.
Do I need special laces for the bar lacing method?
Flat, woven laces work best for this technique because they resist twisting and hold the bar shape effectively. Rounded or elastic laces may not lay as flat or maintain the pattern as well.
Can I skip eyelets when doing bar lacing on Jordan 4?
No, you should not skip any eyelets when using this method. Every eyelet must be used to maintain structural balance and the intended visual continuity of the horizontal bars.
How do I fix twisted laces while bar lacing?
Pause after every threading step to check lace orientation. If you see a twist, gently rotate the lace end until the flat side faces outward before proceeding to the next eyelet.
Which Jordan 4 colorways look best with bar lacing?
The “Pine Greens” colorway is famously paired with bar lacing, though the style works well with any Jordan 4. It is particularly effective on lifestyle-oriented releases where a premium aesthetic is desired.
What happens if I make a mistake in the pattern?
If you skip an eyelet or mess up the pattern, unthread a couple of rows to correct the alignment. This is a normal part of the learning process and ensures your final result looks perfect.
Key Takeaways for Lacing Your Jordan 4 Perfectly
Mastering the best way to lace Jordan 4 sneakers transforms their appearance from standard to premium. Remember to start with equal lace lengths, alternate sides strictly, and check for twists after every step. Using all eyelets and maintaining flat lace orientation ensures the signature bar pattern looks professional.
Apply these techniques to your next pair of Air Jordan 4s for a sharp, confident look. Once you practice the alternating left-right pattern, you will achieve this sleek finish in under five minutes every time.