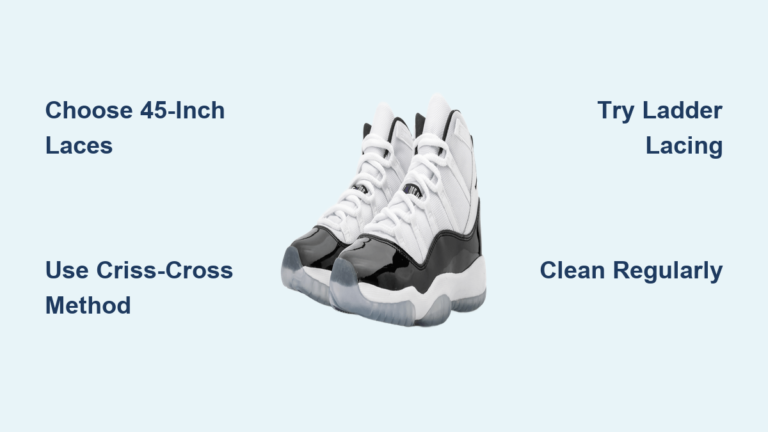
How to Lace Jordan 12: Quick Steps
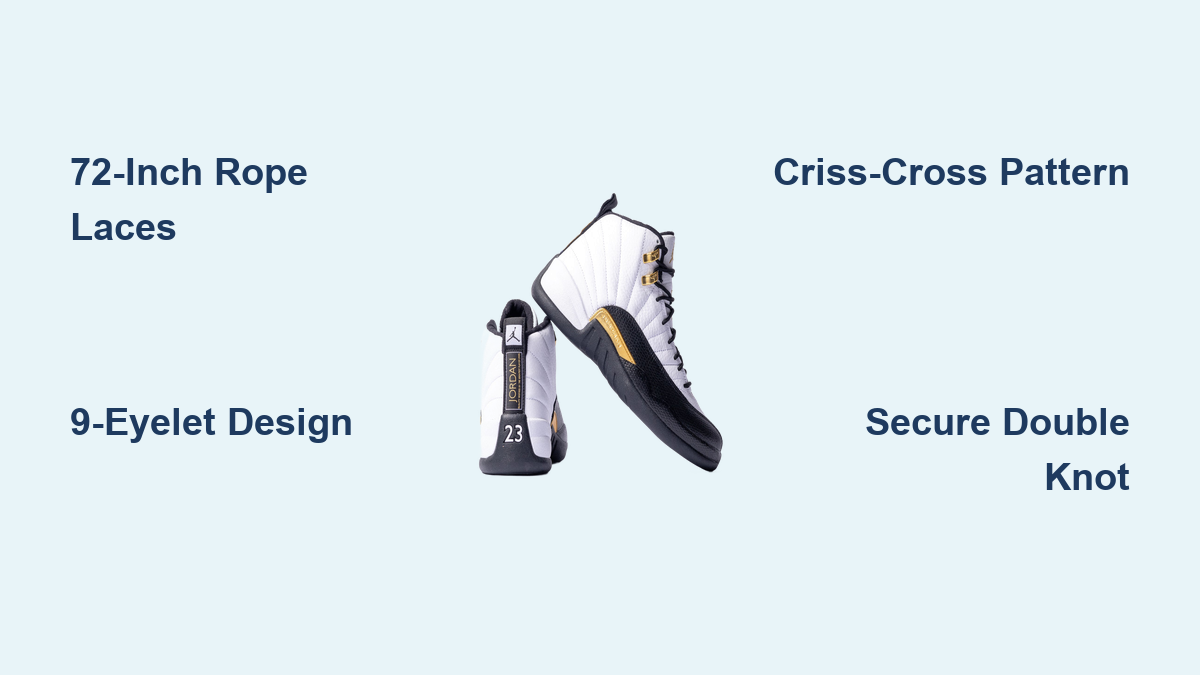
Your Air Jordan 12s look incredible, but loose laces or the wrong style can ruin their iconic silhouette. Getting the fit right requires specific 72-inch rope laces designed for the unique 9-eyelet construction of this classic sneaker.
This guide explains exactly how to lace Jordan 12 shoes using the correct criss-cross pattern and proper tension. You will learn to select the right rope laces, avoid common fitting mistakes, and maintain the authentic 1996 aesthetic.
Identify the Correct 72-Inch Rope Laces
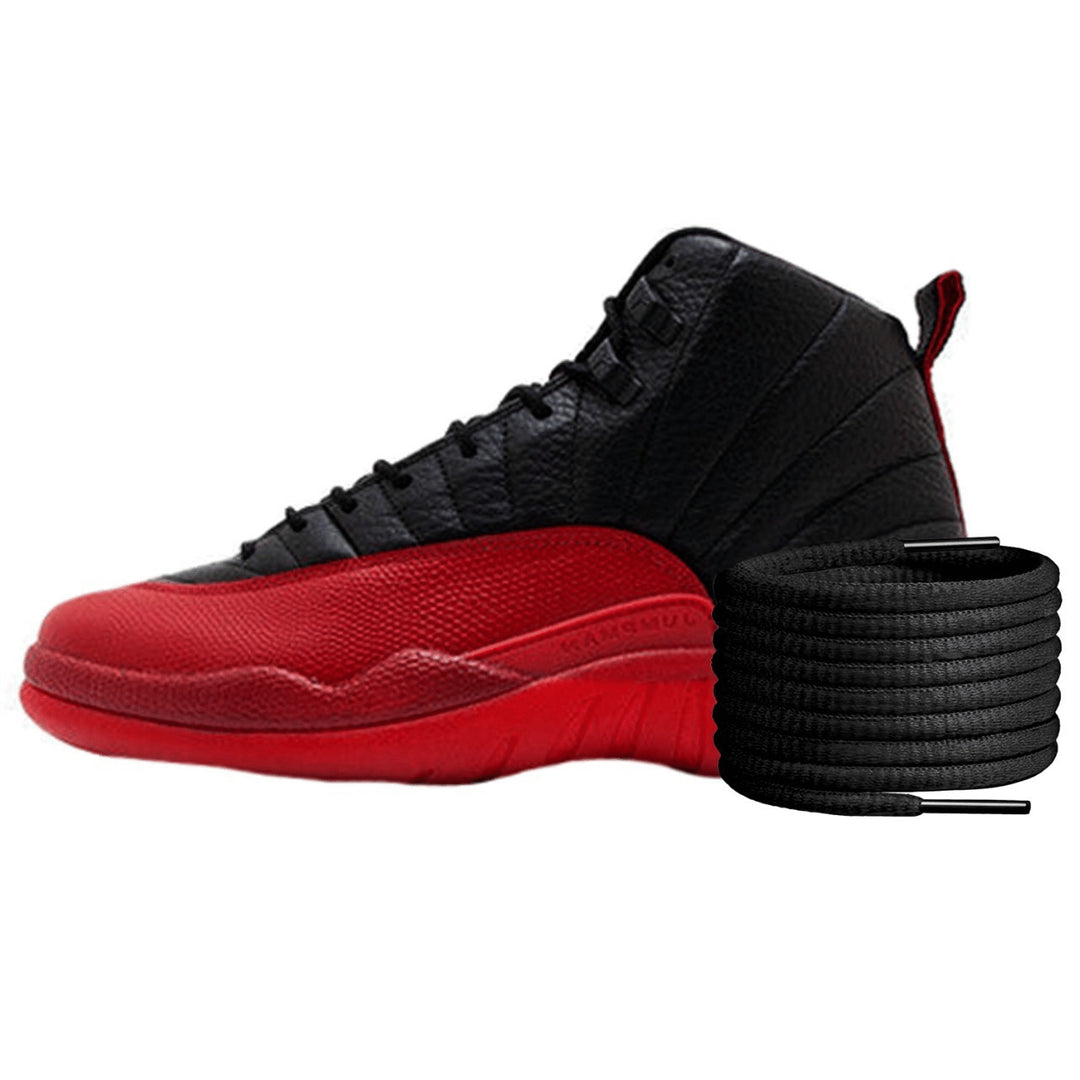
Selecting the proper laces is the most critical step before you begin. The Jordan 12 has unique requirements that differ significantly from other models in the Jordan line. Using the wrong type will result in a poor fit and an inaccurate look.
Verify the 9-Eyelet Requirement
The Air Jordan 12 features 9 eyelets on each side of the shoe. This extra eyelet means standard 63-inch or 70-inch laces designed for 8-eyelet models like the Jordan 1 or Jordan 11 will be too short. You must use laces specifically rated for 9 or more eyelets to ensure you have enough length to tie a secure knot at the top.
Confirm Rope Shape and Extra Large Size
The original design specifies a rope-style lace with a circular cross-section rather than a flat one. These laces are categorized as Extra Large and measure exactly 72 inches (182 cm).
* Shape: Must be round rope, not flat.
* Length: Must be 72 inches to accommodate the bulk.
* Size Label: Look for “Extra Large” on the packaging.
* Compatibility: Ensure the product explicitly states it supports 9 eyelets.
Flat laces will sit incorrectly in the eyelets and fail to match the textured “rising sun” stitching on the upper. Stick to genuine rope laces to honor the shoe’s design DNA.
Prepare Your Laces and Eyelets
Proper preparation ensures the thick rope laces thread smoothly through the eyelets without fraying or snagging.
Inspect and Reinforce Aglets
The plastic or metal tips on your laces are called aglets. Because rope laces are thick, damaged aglets can make threading impossible.
* Check if the tips are bent or split.
* Use pliers to gently straighten any bent aglets.
* Apply a tiny drop of clear nail polish to reinforce split tips before they fray further.
Clean Eyelets Before Threading
If you are replacing old laces, remove them completely first. Use a dry cotton swab to clear dust or debris from the nine eyelet holes. This simple step helps the new thick laces glide through easily and prevents premature wear on the fresh rope material.
Execute the Standard Criss-Cross Pattern
The Jordan 12 uses a traditional high-top lacing method adapted for its specific rope texture and nine-hole configuration.
Start from the Inside Out
Begin at the bottom set of eyelets (Eyelet 1). Insert both ends of the lace from the inside out. Pull the ends until both sides are equal in length.
* Leave approximately 10 to 12 inches of lace extending from each side.
* This ensures you have enough length remaining to reach the top and tie a bow.
Pro Tip: If the rope lace feels too thick to push through the bottom eyelets, use a lace awl or small tweezers to guide the aglet through gently.
Cross Up to the Top Eyelet
Follow the standard criss-cross pattern up the tongue of the shoe.
1. Take the left lace and cross it over the tongue.
2. Thread it from outside in through the right side of Eyelet 2.
3. Take the right lace, cross it over, and thread it from outside in through the left side of Eyelet 2.
4. Repeat this process until you reach the top set (Eyelet 9).
Keep the tension moderate as you go. The rope texture provides natural friction, so you do not need to pull extremely tight to keep the laces secure.
Finish Lacing the Top Eyelets
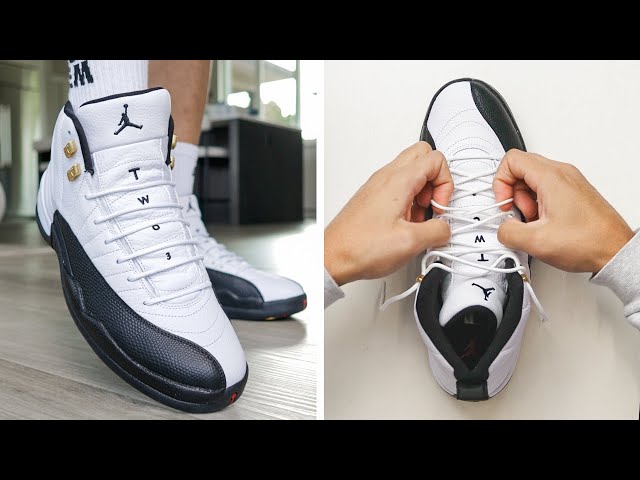
Reaching the final eyelets requires attention to detail to ensure a symmetrical finish and a secure knot.
Align the Final Exit Points
When you thread the laces through Eyelet 9, ensure both ends exit from the outside in. This creates a clean, parallel look at the top of the tongue. If one lace exits from the inside while the other exits from the outside, you likely made a mistake in the previous cross and should retrace your steps.
Check Remaining Lace Length
After threading through the ninth eyelet, pull both ends evenly. You should have about 14 to 16 inches of lace remaining on each side. This length is ideal for tying a standard bow or a double knot without the ends hanging too low or being too short to tie.
Tie a Secure Knot for Rope Laces

The thick nature of rope laces creates a larger, more prominent knot than flat laces. This bulky knot is a signature feature of the Jordan 12 aesthetic.
Form the Standard Bow
Tie your laces using a standard bow technique.
1. Create a loop with each lace end.
2. Wrap one loop around the base of the other.
3. Pull the loops tight to secure the knot.
Because the rope material is grippy, the knot should hold well. However, if you plan to run or engage in high-impact activities, consider using a double knot for extra security.
Avoid Cutting Excess Lace
Never cut your laces to shorten them. Once cut, you cannot undo the mistake if they become too short for a different lacing style or if the aglets fray. If the laces feel too long, try a ladder lock method or tuck the excess ends under the side laces near the ankle.
Maintain Authentic Style and Fit
Preserving the original look of the Jordan 12 involves more than just the lacing pattern. It requires respecting the specific materials and colorways intended by the designers.
Reject Flat Lace Substitutes
Even if a flat lace is 72 inches long, it will not look right. Flat laces sit differently in the eyelets and lack the volume needed to complement the shoe’s leather upper. Always choose rope laces to maintain the authentic 1996 silhouette.
Center the Knot and Paths
After tying, adjust the knot so it sits perfectly centered on the tongue. Gently nudge the lace paths to eliminate any diagonal pulls or uneven spacing between the eyelets. This small adjustment makes a significant difference in the overall appearance of the shoe.
Troubleshoot Common Lacing Problems
Even with the correct laces, you might encounter issues with fit or tension. Here is how to fix them quickly.
Relieve Ankle Pressure
If the top eyelets feel too tight around your ankle, modify the pattern near the top.
* Skip the criss-cross on the top two sets.
* Run both laces straight up from Eyelet 7 to Eyelet 8 without crossing.
* Cross once more to reach Eyelet 9.
This “ladder lock” variation reduces pressure while keeping the laces secure.
Prevent Slipping Knots
Rope laces rarely slip, but if your knots come undone easily, check your aglets. Worn-out tips reduce friction. You can also try switching to silicone-coated rope laces for extra grip or simply ensure you are tying a tight double knot.
Ease Threading Difficulties
New rope laces can be stiff. If you struggle to thread them:
* Rub the aglet and the first inch of the lace with a candle or beeswax to lubricate it.
* Use needle-nose pliers to grip and guide the tip through tight eyelets.
* Briefly warm the lace tip with a hairdryer to soften the fibers, but do not overheat them.
Know When to Replace Your Laces
High-quality rope laces last a long time, but they eventually show signs of wear that affect both function and style.
Recognize Signs of Wear
Replace your laces immediately if you notice:
* Frayed or split aglets that hinder threading.
* Permanent discoloration that cleaning cannot fix.
* Stiffness or kinking that prevents smooth lacing.
* Shortened length due to repeated knotting and stretching.
Choose Between OEM and Aftermarket
You can buy OEM (Original Equipment) laces that match the exact factory specifications. Alternatively, reputable aftermarket brands offer durable rope laces in various colors. Both options work well as long as they meet the 72-inch length and rope shape requirements.
Customize and Clean Your Jordan 12 Laces

Once your laces are secure, you can enhance the look of your sneakers with simple styling and maintenance tips.
Match Laces to Your Colorway
Customize your look by matching lace colors to specific Jordan 12 editions.
* Black/Red (Bred): Use black or red rope laces.
* White/Cement: Stick with white laces for a clean profile.
* Special Editions: Try gold or cherry red laces for University Gold or Cherry colorways.
Many collectors keep multiple sets of laces to switch up their style depending on their outfit.
Clean Rope Laces Properly
Rope laces trap dirt more easily than flat ones. To clean them:
* Remove the laces from the shoes.
* Soak them in warm water with mild detergent.
* Gently scrub with a soft brush.
* Air dry them completely before re-lacing.
Avoid machine washing, as the agitation can damage the aglets and warp the rope structure.
Frequently Asked Questions About Lacing Jordan 12
Can I use flat laces on my Jordan 12s?
No, you should not use flat laces. The Jordan 12 is designed specifically for thick, round rope laces. Flat laces will not fill the eyelets correctly and will ruin the authentic aesthetic of the shoe.
What happens if I use 63-inch laces on a Jordan 12?
Since the Jordan 12 has 9 eyelets, 63-inch laces will be too short. You will likely reach the top eyelets but lack enough length to tie a secure knot, compromising both the fit and safety of the shoe.
How do I know if my laces are the right length?
When laced correctly through all 9 eyelets, you should have about 14 to 16 inches of lace remaining on each side. This allows for a proper bow without excessive dangling.
Why are my new rope laces hard to thread?
Rope laces are thicker than standard laces, which can make threading difficult. Ensure your aglets are intact, or rub them with wax to help them slide through the eyelets more easily.
Do I need special tools to lace Jordan 12s?
You do not need special tools, but a lace awl or small tweezers can help guide thick rope laces through tight eyelets. Needle-nose pliers are also useful for straightening bent aglets.
Key Takeaways for Lacing Your Jordan 12
Lacing your Air Jordan 12 correctly preserves its legacy and ensures maximum comfort. Remember that this model strictly requires 72-inch rope laces to accommodate its 9-eyelet design. Using flat laces or incorrect lengths will compromise the fit and destroy the authentic silhouette.
Follow the standard criss-cross pattern from the inside out, and maintain moderate tension to leverage the natural friction of the rope material. By selecting the right Extra Large laces and maintaining them properly, you keep your sneakers looking legendary. Go ahead and check your current laces today to ensure they meet these specifications.