How to Lace SuperGas Shoes
Wondering how to lace Supergas for a perfect fit? Many owners struggle with loose heels or pressure points because the standard factory lacing rarely suits every foot shape. These iconic canvas sneakers feature a minimalist design that demands precision to look sharp and feel comfortable all day.
You will learn multiple proven techniques to solve slippage and style issues instantly. This guide covers everything from the classic crisscross method to advanced locking patterns that keep your Supergas secure during any activity.
Select the Correct Lace Length and Type

Your lacing success starts before you thread the first eyelet. Using the wrong length creates bulky knots or prevents you from tying a secure bow.
Measure for Six Eyelets
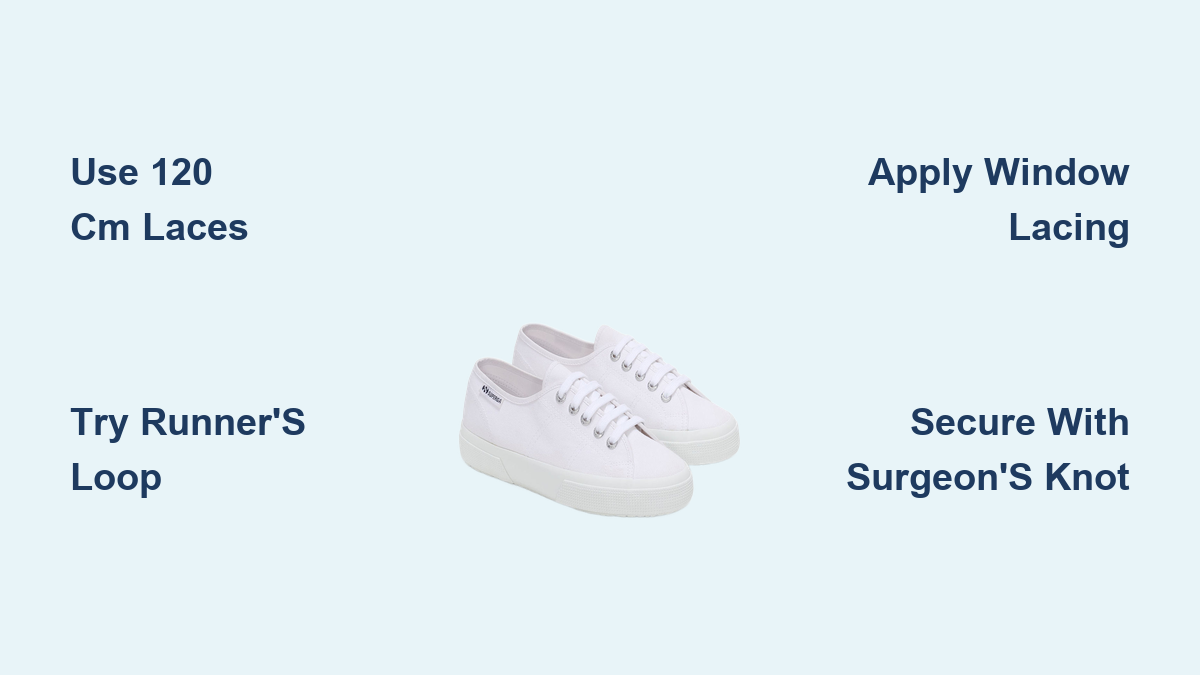
Most Superga 2750 models feature six eyelets per side. The ideal lace length for this configuration is 120 cm (47 inches). Shorter laces may not reach, while longer ones create messy tails.
- 100 cm laces work best for low-profile 4-eyelet styles.
- 120 cm laces fit standard 6-eyelet Supergas perfectly.
- 140 cm laces are necessary only for decorative zigzag patterns.
Choose Material for Durability
Standard cotton laces offer a classic look but wear out faster. Consider swapping to waxed laces for a sleeker appearance and increased longevity. Waxed options hold knots tighter and resist fraying over time.
Execute the Basic Crisscross Method
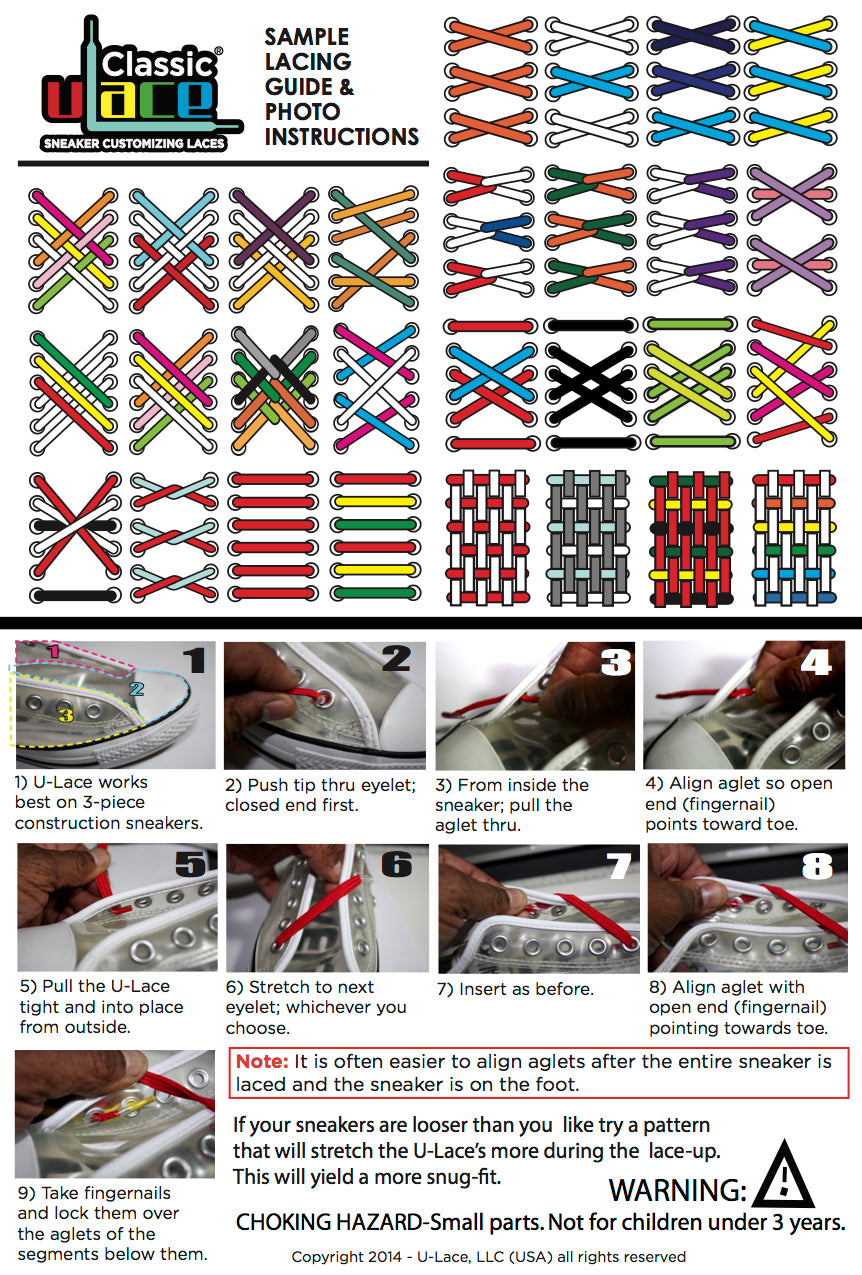
This technique remains the most popular way to lace Supergas due to its simplicity and reliability. It provides even tension across the entire foot.
Start with Even Ends
Insert both lace ends from the bottom inside out. Ensure both sides are equal in length before pulling tight. This symmetry creates a stable base for the rest of the pattern.
Cross and Thread Upward
Take the right lace and cross it over to the left second eyelet. Feed it down through the hole. Repeat with the left lace crossing to the right side.
Continue this pattern until you reach the top. Pull each section firm but leave enough flexibility for natural foot movement. The result should be neat “X” shapes with consistent spacing.
Apply Straight Bar Lacing for Comfort

Straight bar lacing offers a clean aesthetic while reducing pressure on the top of your foot. This method is excellent for those who prefer a minimalist look.
Hide the Initial Knot
Begin by feeding both lace ends from the inside out through the bottom eyelets. This hides the starting knot inside the shoe for a polished appearance.
Form Horizontal Bars
Run the left lace straight across to the opposite side but do not thread it yet. Bring the right lace up vertically to the next eyelet on its own side.
Thread the right lace horizontally across to form a bar. Repeat the process by alternating vertical runs on the sides with horizontal bars across the top. This creates a series of straight lines that prevent heel slip.
Lock Heels with the Runner’s Loop
Heel slippage is a common complaint with canvas sneakers. The runner’s loop technique solves this by creating a locking mechanism at the ankle.
Create Side Loops
Lace your shoes normally up to the second-to-last eyelet. Instead of crossing over, take each lace end and loop it back through the same eyelet from top to bottom.
You will now have a small loop on each side of the shoe. Do not pull these tight yet.
Thread and Tighten
Cross your laces and thread each end through the opposite loop you just created. Pull the laces outward to tighten the loops around the collar.
Finish by tying your usual bow. This locks your heel firmly in place without constricting the forefoot.
Relieve Pressure with Window Lacing
Wide feet or high arches often cause pain when laces press down on the instep. Window lacing creates space in the middle while maintaining security at the ends.
Skip the Middle Eyelets
Lace normally using the crisscross method up to the third eyelet. Instead of crossing to the fourth eyelet, run both laces straight up their respective sides to the fifth eyelet.
Resume Normal Pattern
Cross the laces over the open gap and continue lacing to the top. This leaves an open “window” in the center where pressure usually builds up.
Your foot gains room to expand while the toe and ankle remain securely locked. This adjustment makes a significant difference for all-day comfort.
Secure Your Knot with a Surgeon’s Twist

A sloppy knot ruins even the best lacing job. Most people use a standard bow that loosens quickly on smooth canvas surfaces.
Double Wrap the Loops
Cross your laces and make the first part of a knot. Before forming the bow loops, wrap them around each other a second time.
Pull tight to engage the extra friction. This surgeon’s knot stays secure much longer than a single wrap.
Tuck Excess Lace
For a ultra-clean look, tuck the remaining lace ends inside the shoe sides. This works well with low-top Supergas and no-show socks. Keep the bow small and centered if you prefer to leave it visible.
Avoid Common Lacing Mistakes
Small errors can ruin the function and look of your sneakers. Avoiding these pitfalls ensures your effort lasts longer.
Watch Your Tension
Uneven pulling causes one side of the shoe to sag. Check your work from above to ensure symmetry. Adjust tension as you go rather than waiting until the end.
Do Not Over-Tighten
Cinching the top eyelets too hard cuts off circulation. Keep the fit snug but flexible enough to wiggle your toes. The goal is support, not restriction.
Replace Worn Laces
Frayed or discolored laces detract from the clean look of white Supergas. Inspect them regularly and swap them out every few months if you wear them daily.
Frequently Asked Questions About Lacing Supergas
What length laces do standard Superga 2750 shoes need?
You need 120 cm laces for the classic 6-eyelet Superga 2750 model. This length allows for standard crisscross lacing and a proper bow without excess bulk.
How do I stop my Supergas from slipping off my heel?
Use the runner’s loop method by creating loops at the top eyelets before tying. This technique locks the heel collar against your ankle for a secure fit.
Can I use different colored laces on my Supergas?
Yes, swapping lace colors is a popular way to customize your look. Navy or black laces on white sneakers create a sharp contrast while maintaining a classic vibe.
Why do my shoe laces keep coming undone?
Your knot likely lacks sufficient friction. Try using a surgeon’s knot by wrapping the loops twice before pulling tight to prevent slipping.
Is straight bar lacing better for wide feet?
Straight bar lacing reduces top-down pressure, which helps many people. However, window lacing is specifically designed to relieve pressure on the instep for wide feet.
Key Takeaways for Lacing Your Supergas
Mastering how to lace Supergas transforms both the comfort and style of your sneakers. Whether you need the heel security of a runner’s loop or the pressure relief of window lacing, the right technique makes all the difference.
Start with the correct 120 cm lace length and experiment with these methods to find your perfect fit. Clean your laces regularly and replace them when worn to keep your Supergas looking fresh and performing well.