How to Lace Jordan 3
Slipping into fresh Air Jordan 3s feels amazing until you notice the laces look messy or feel too tight. The wrong lacing method can ruin the iconic silhouette and cause uncomfortable heel slippage during your day.
This guide reveals five proven ways on how to lace Jordan 3 shoes for style and comfort. You will learn specific techniques to achieve a relaxed streetwear drape or a secure fit for walking.
Master the Classic Loose Lace for Streetwear Style

The Classic Loose Lace creates the signature relaxed look seen on influencers worldwide. This method prioritizes visual vibe over tight lockdown for that effortless aesthetic.
Execute the Standard Loose Lace Pattern
This technique establishes evenly spaced loops that hang naturally without constriction across the vamp.
- Start at the bottom eyelets and thread the lace down through the outside hole.
- Pull the lace slightly up inside to create a small initial loop.
- Cross over and thread the lace down through the opposite first eyelet.
- Repeat this alternating pattern up the shoe while keeping significant slack.
- Pull both ends from the back of the collar and push them out the top.
Pro Tip: Gently stretch the shoe sideways after lacing to even out the loops for a floating effect.
Improve Heel Hold Without Losing the Look
You can keep the loose aesthetic while stopping your heel from slipping out of the shoe. This tweak adds subtle tension where it matters most.
- Follow the standard loose method up to the top eyelets.
- Pull the laces upward slightly as you go to remove excess play.
- Push each formed loop behind the tongue to lock tension into the upper.
- Shorten the loops slightly during lacing if your shoes run big.
This approach keeps the front looking relaxed while ensuring your foot stays secure inside.
Lock Your Foot In With Double-Pass Security
Active days require a snugger fit that prevents slippage without sacrificing style. The double-pass method acts like a toggle to keep your foot locked in place.
- Lace up using the standard loose pattern to the fifth eyelet.
- Remove the laces from the top holes completely.
- Bring both ends from the back of the collar and thread them down opposite top eyelets.
- Cross the laces over the front and tuck each back through the same eyelet.
- Pull both ends outward to distribute tension evenly across the structure.
This configuration prevents laces from pulling back through during movement for all-day security.
Achieve a Polished Look With Under-Only Lacing

Factory lacing often creates a twisted mess under the tongue that looks sloppy. The Under-Only method fixes this by keeping laces flat and parallel.
Create Flat and Aligned Lines
This technique eliminates the crisscross twist underneath for a sleek and intentional appearance.
- Thread both ends through the bottom eyelets ensuring lengths are even.
- Pull each lace under the adjacent eyelet on the same side instead of crossing over.
- Cross to the opposite side and thread up through the next eyelet.
- Repeat the under and cross pattern all the way to the top.
- Finish with a standard knot or thread through the extra top hole for hanging.
Best For: Office wear or any situation where you want your Jordans to look styled on purpose.
Install Minimalist Bar Lacing for Clean Lines
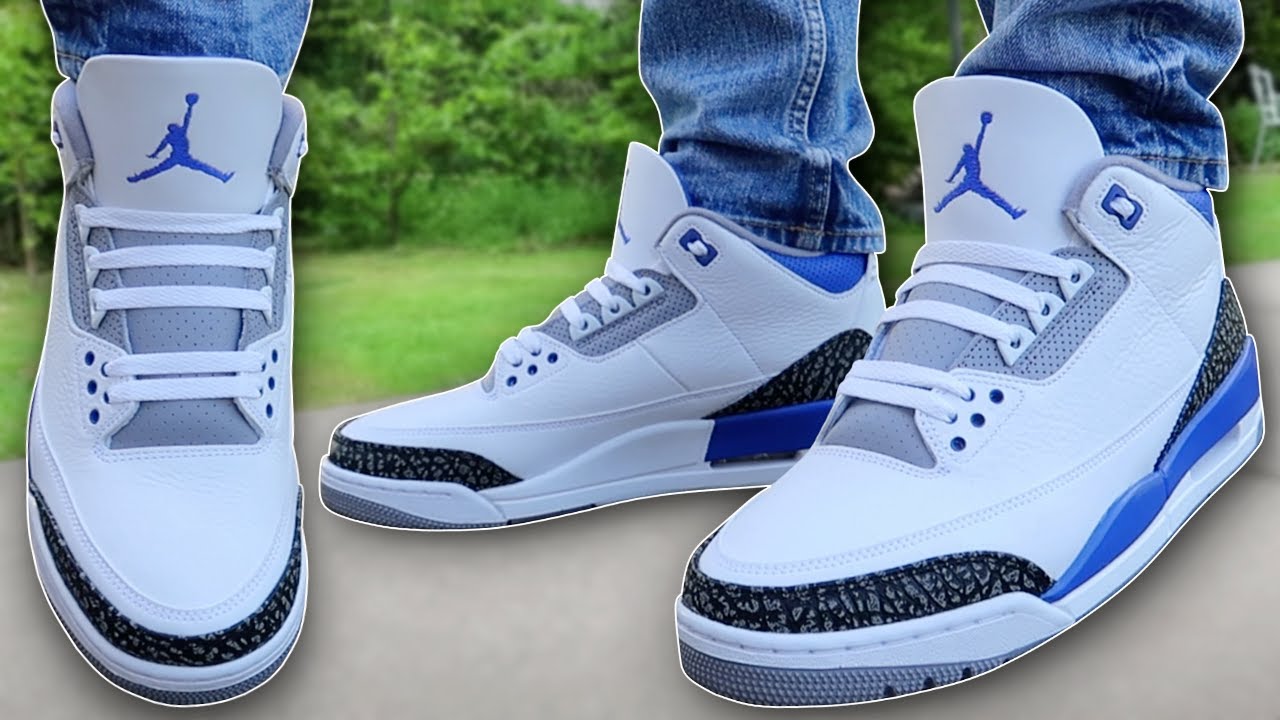
Bar lacing replaces traditional crisscrosses with clean horizontal bars. This style highlights colorways like Racer Blue by showcasing the shoe design.
Build the Standard Bar Lace Pattern
This modern architectural look works perfectly for minimalist or fashion-forward outfits.
- Thread the lace straight across the bottom eyelets and pull ends even.
- Skip the second eyelet on one side and thread up through the third.
- Cross over and thread down through the third eyelet on the opposite side.
- Take the other end and thread up through the second eyelet then cross over.
- Continue skipping and filling gaps until you reach the top.
- Thread both ends through the top eyelet and tie a small knot behind the tongue.
Lace Tip: Stick to 120–130cm flat laces since bar lacing uses more length than standard methods.
Enable Slip-On Functionality With Bar Lacing
You can maintain the sleek bar look while making your shoes easy to slip on and off. This variation is perfect for the gym or quick errands.
- Start with both ends in the bottom eyelets from above.
- Skip the first eyelet and bring the lace up from underneath through the second.
- Cross over and down into the opposite second eyelet.
- Pass the lace under the previous bar so it slides freely.
- Fill remaining gaps with the other end using the same pattern.
- Tie the ends together in a small knot and slide it behind the tongue.
The bars stay tight while the hidden knot allows the heel to expand slightly for entry.
Explore Advanced Diamond and Star Lacing Patterns
These advanced techniques turn your Jordan 3s into a unique canvas for creative expression. They require patience but offer stunning geometric results.
Weave the Diamond Lattice Pattern
This method creates a woven crisscross pattern that looks sharp and eye-catching.
- Start at the bottom inner eyelets and create a base bar.
- Take the right lace and skip the second eyelet to thread into the third left eyelet.
- Repeat with the left lace to the right third eyelet.
- Fill the gap by lacing both sides into the second eyelet.
- Continue upward by weaving over the first lace and under the second.
Best For: Fashion statements where you want your laces to be the main focus.
Construct the Star Burst Design
Star lacing forms a bold centered pattern that draws immediate attention to your feet.
- Thread bottom eyelets and run each lace under the placket back through the same side.
- Cross both laces to the third eyelet from the outside in.
- Skip an eyelet and thread the right lace up through the second from top.
- Lace the left lace into the second from bottom then cross to the center top.
- Weave over then under and loop around the top bar before threading down.
This dramatic geometric centerpiece is great for events or styled photo shoots.
Implement Slip-On Lacing for Easy Access

Sometimes you need to slide your shoes on without untying anything. The Over-Tongue method keeps the top open for maximum convenience.
Configure the Over-Tongue Setup
This simple modification lets you wear your Jordans like casual loafers.
- Feed both ends through the bottom eyelets from above and pull even.
- Take one lace and bring it over the tongue down into the next eyelet on the same side.
- Repeat on the other side without crossing the laces.
- Continue up while keeping laces on their respective sides.
- At the second-to-last eyelet thread up from underneath to create a small loop.
- Tuck the rest of the lace behind the tongue to hide excess length.
Your foot slides in and out easily while the top stays open and relaxed.
Select Correct Lace Lengths and Avoid Mistakes
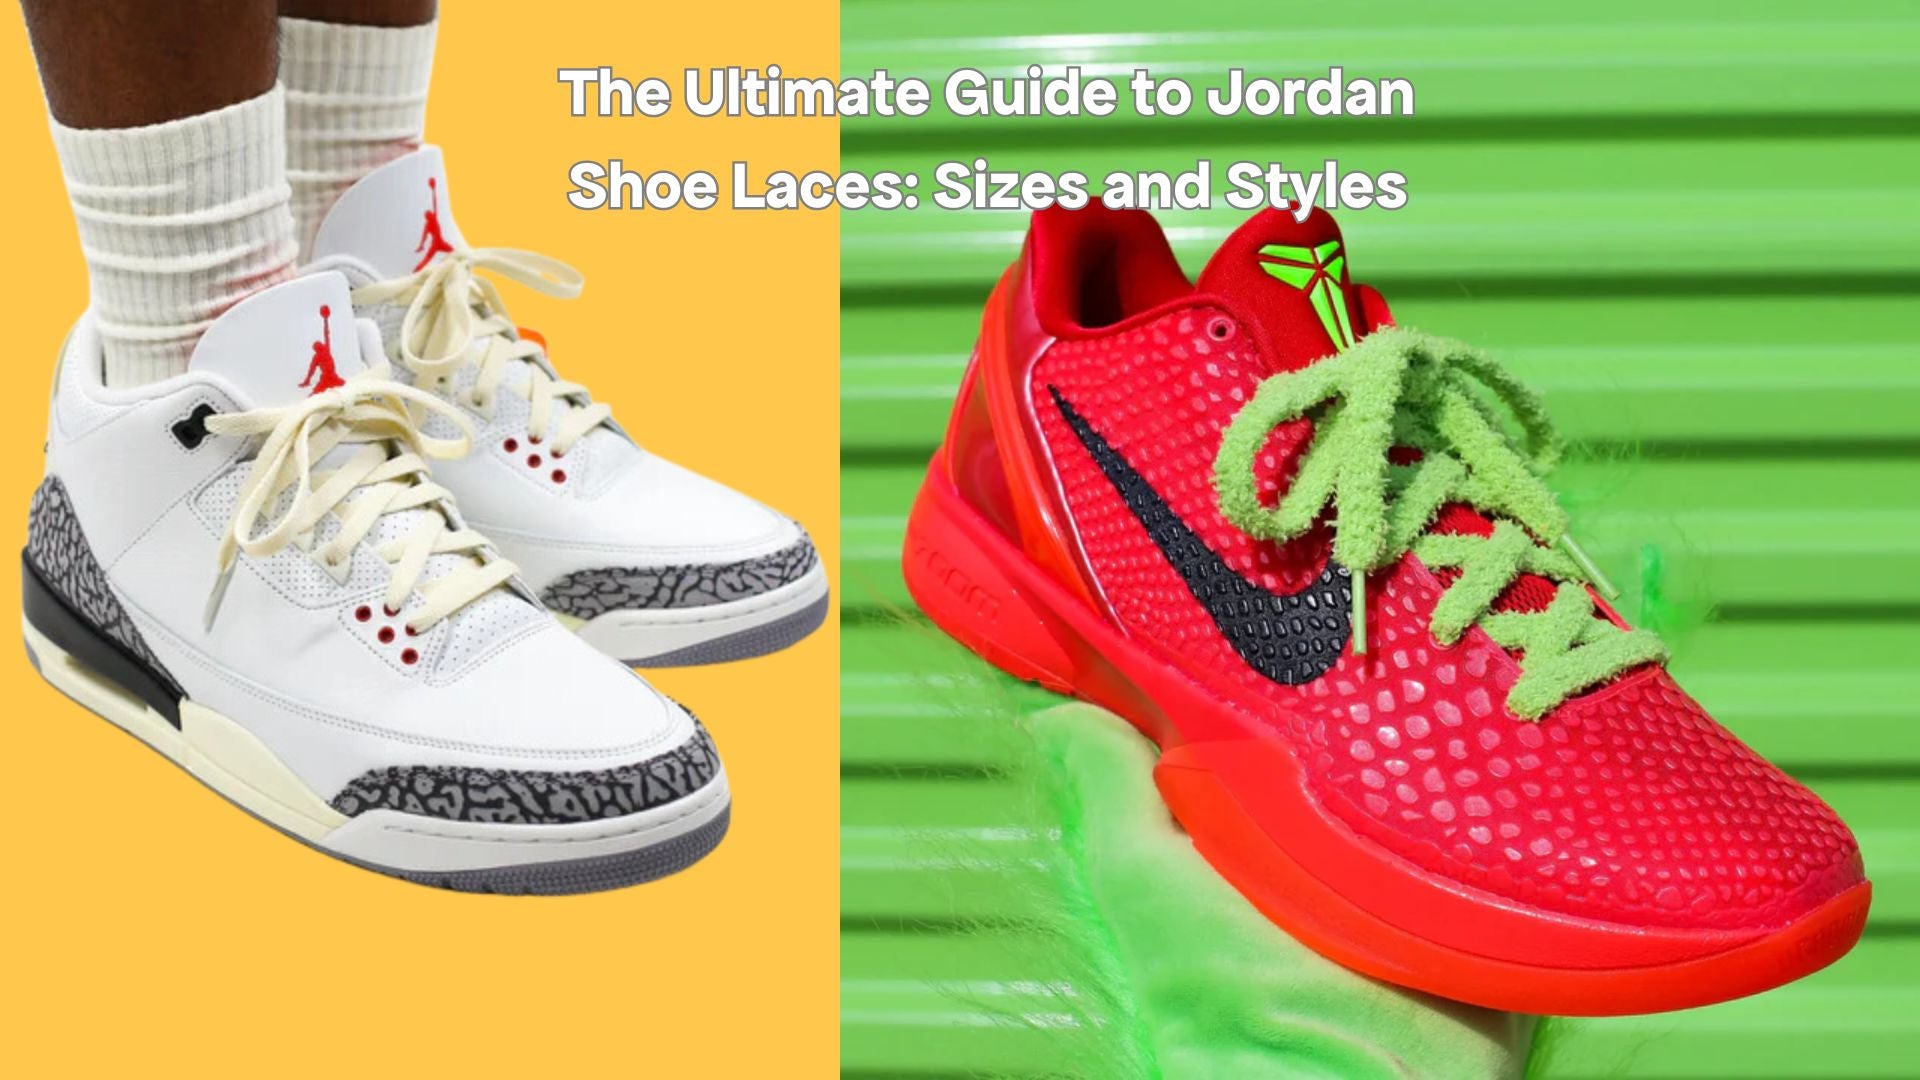
Using the right lace length ensures your chosen style looks professional and functions well. Wrong lengths can ruin the drape or make tying impossible.
Match Lace Length to Your Style
Different lacing methods consume different amounts of material.
- Classic Loose: 120–130cm standard length works best.
- Bar Lacing: Requires 120–130cm with excess hidden behind the tongue.
- Diamond or Star: Needs 130cm or longer due to complex weaves.
- Under-Only: 120cm is efficient for this flat style.
Always start with even ends by pulling laces through bottom eyelets until symmetrical.
Prevent Common Lacing Errors
Avoid these frequent mistakes to maintain a clean appearance.
- Twisted laces: Untwist at every eyelet because spirals ruin the clean look.
- Uneven tension: Keep loops consistent especially in bar and loose styles.
- Visible knots: Hide knots behind the tongue to preserve a clean finish.
- Wrong lace type: Use flat laces for bar styles and round laces for loose looks.
Frequently Asked Questions About Jordan 3 Lacing
What is the best lace length for Jordan 3s?
Most Jordan 3 lacing styles work best with 120cm to 130cm laces. Complex patterns like diamond or star lacing may require slightly longer laces up to 130cm to complete the weave properly.
How do I stop my Jordan 3s from slipping off my heel?
Try the Improved Heel Hold method by pushing loops behind the tongue to add tension. You can also use the Max Security Double-Pass technique at the top eyelets to lock your foot in place.
Can I lace my Jordan 3s so I do not have to tie them?
Yes, the Slip-On Over-Tongue method allows you to slide your feet in without untying. The Functional Bar Lacing variant also creates a secure fit that stays in place during casual wear.
Why do my laces look twisted under the tongue?
Factory lacing often causes twisting because laces alternate over and under. Switch to the Under-Only method to keep laces flat and parallel for a polished appearance.
Which lacing style showcases the shoe colorway best?
Bar lacing is ideal for highlighting colorways like Racer Blue because it creates clean horizontal lines. This minimalist approach reduces visual clutter and lets the shoe design stand out.
Key Takeaways for Lacing Your Jordan 3s
Mastering how to lace Jordan 3 shoes transforms both their look and comfort level significantly. You now have five distinct styles ranging from the iconic loose drape to secure double-pass locking.
Select the Classic Loose method for streetwear photos or the Under-Only technique for a polished office look. Use the Slip-On configuration for gym days when speed matters most.
Grab your sneakers and try one of these methods today to elevate your entire fit. Your Jordans will look intentional and feel custom made for your specific needs.