How to Sew Lace to Lace
Sewing lace to lace transforms simple fabric into heirloom quality garments with romantic vintage charm. Whether you are building an Edwardian gown or a delicate blouse, mastering insertion techniques prevents bulk and ensures a professional finish.
This guide details the exact methods used in historical patterns to join fabric panels seamlessly. You will learn to select materials, execute precise cuts, and layer edging for stunning structural details.
Select Insertion Lace and Edging Lace Correctly
Choosing the right lace type determines the structural integrity of your garment. Using the wrong style can lead to uneven hems or unstable seams that distort over time.
Distinguish Between Insertion and Edging Styles
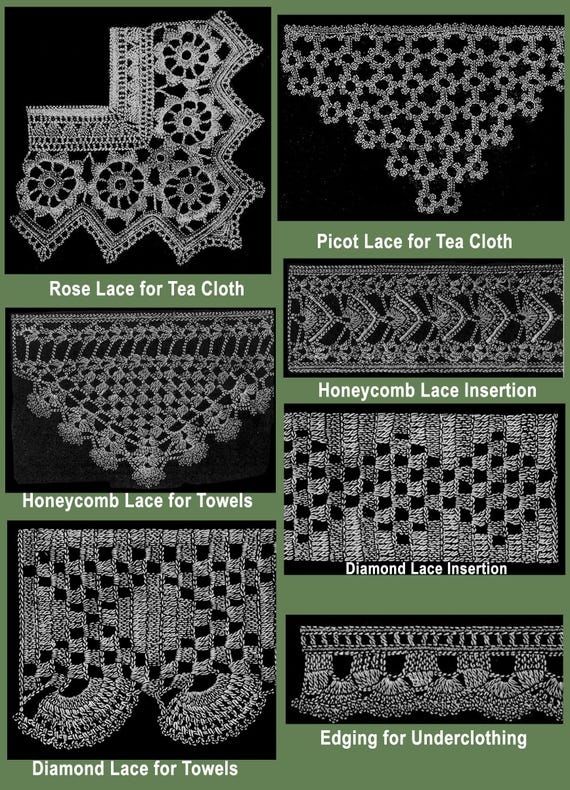
Insertion lace features two straight edges designed to sit between two fabric pieces. It becomes a permanent part of the garment structure and remains visible from both sides.
Edging lace has one straight edge and one decorative scalloped or floral edge. You typically apply this to finish raw edges on cuffs, hems, or necklines rather than joining panels.
Pro Tip: Use insertion lace as your base layer when combining styles. This provides stability while the edging lace adds decorative depth.
Match Fabric Weight to Lace Density
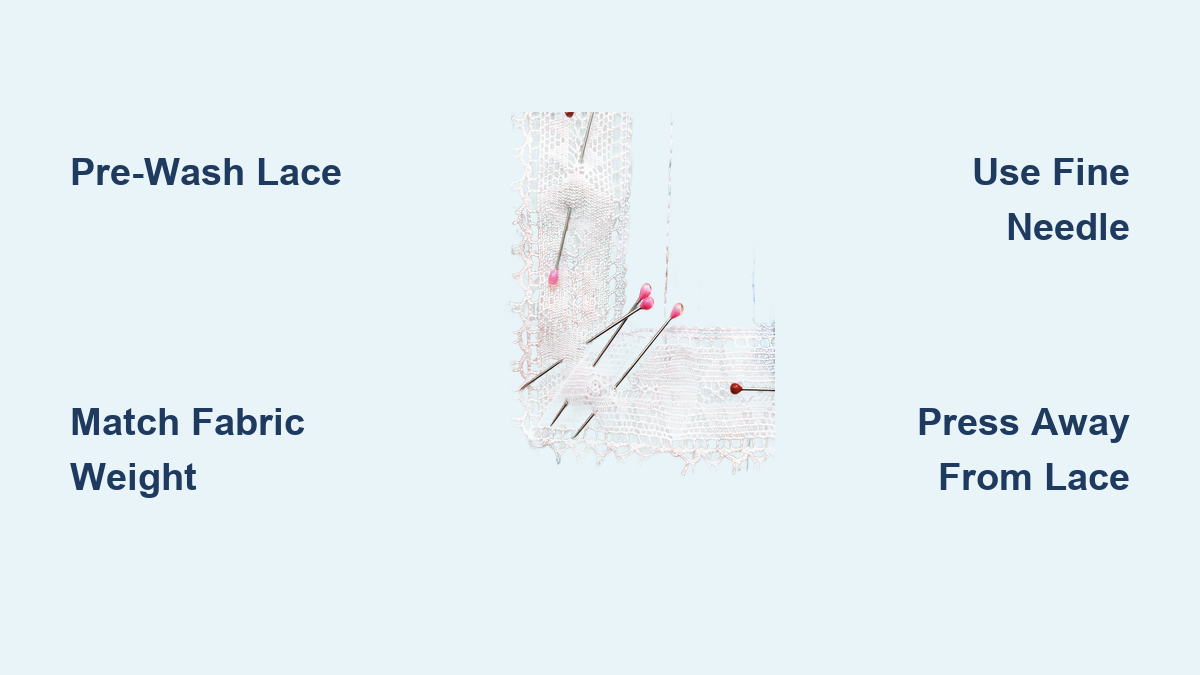
Pair lightweight voile, batiste, or silk organza with fine lace for the best drape. Heavier fabrics like cotton sateen often overwhelm delicate lace patterns.
Apply spray starch to sheer or unstable fabrics before sewing. This adds necessary body and prevents the material from shifting under the needle.
Prepare Materials to Prevent Distortion
Skipping preparation steps often results in a ruined project due to uneven shrinkage rates. Proper prep ensures your hard work lasts through years of wear and washing.
Pre-Wash Fabric and Lace Together
Wash your materials using the same method you plan to use for the finished garment. This prevents the lace from shrinking while the fabric stays the same size, which causes warping.
Warning: Test hand-dyed or vintage lace in a small area first. Some dyes may bleed during the initial wash cycle.
Adjust Machine Tension for Delicate Fibers
Install a fine needle sized 60/8 or 70/10 to handle delicate threads without damage. Lower your upper tension slightly if you notice the thread looping or the lace pulling.
Place tissue paper underneath slippery or stretchy lace while sewing. Tear the paper away gently after stitching to reveal smooth, pucker-free seams.
Execute the Lace Insertion Technique
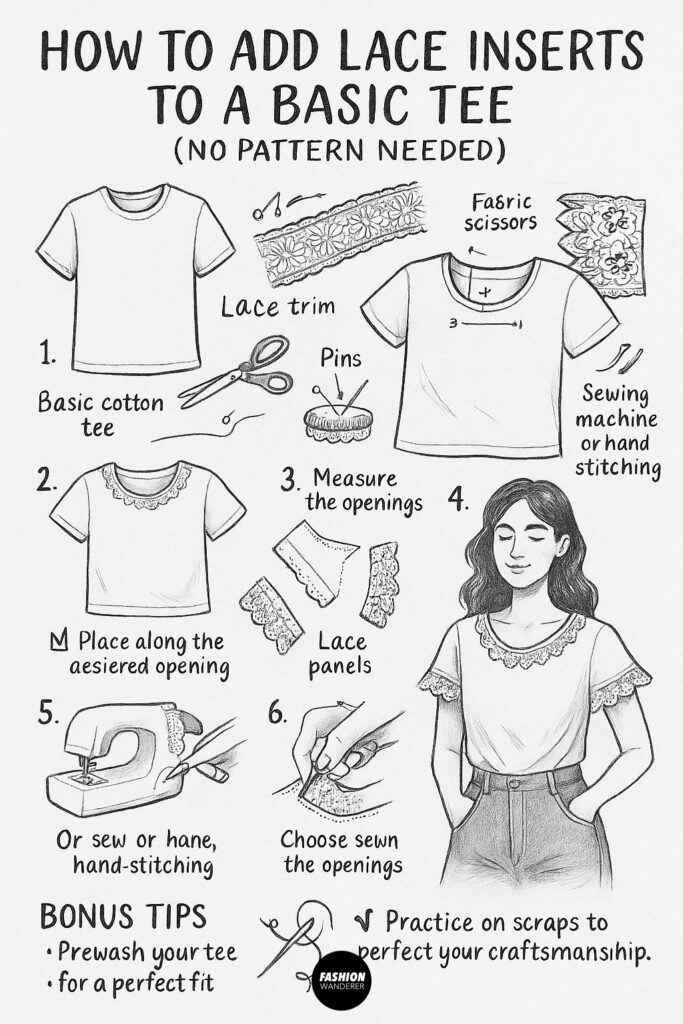
This core method joins two fabric pieces with a strip of lace running between them. It is ideal for creating translucent panels in yokes, sleeves, or bodice inserts.
Pin Lace to the Right Side of Fabric
Place the insertion lace on the right side of your first fabric piece. Align one straight edge of the lace with the fabric edge and pin securely.
- Leave 1/2 inch of seam allowance beyond the lace edge.
- Mitre corners by folding the lace diagonally.
- Ease lace around curves to distribute fullness evenly.
Note: Do not cut the lace to exact length yet. Leave extra material at both ends to allow for adjustments during sewing.
Stitch Along Both Long Edges
Sew along the inner edge of the lace closest to the fabric first. Pin the opposite side and sew that edge, removing pins just before the needle reaches them.
Use a straight stitch with a length of 2.0 to 2.5 mm. For extra security on sheer fabrics, try a narrow zigzag stitch with a 1.0 mm width.
Cut Down the Center Between Seams
Flip the entire piece over to the wrong side. Use sharp scissors to cut directly down the middle of the lace between your two lines of stitching.
This step opens the fabric layers so they can press outward. Keep your scissors pointed forward and cut slowly to avoid snipping the stitching.
Clip Curves and Press Seams Open
Make small relief clips into the seam allowance at sharp corners or tight curves. Do not cut through the stitching line or closer than 1/16 inch.
Press the fabric edges away from the lace toward the outer fabric. Use a pressing cloth to protect delicate fibers from heat damage or shine.
Topstitch and Trim Excess Fabric
Topstitch ¼ inch from each edge of the lace just outside your original seam line. This secures the fabric and stops it from slipping into the open lace area.
Carefully trim the seam allowances to reduce bulk. Use duckbill or appliqué scissors to trim right up to the stitching on sheer fabrics without nicking the material.
Apply Lace Directly Over Existing Seams
You can skip traditional seam finishing by covering the join with lace insertion. This technique works perfectly for vintage-style garments where internal seams need hiding.
Sew and Trim the Underlying Seam
Sew your fabric pieces together using a standard ½ inch seam allowance. Trim this allowance down to ¼ inch and press it flat to minimize bulk.
Trimming ensures the lace covers the join completely without raw edges peeking through. It also helps the area lie flatter under the decorative lace.
Center Insertion Lace Over the Join
Place the insertion lace directly over the pressed seam. Center it so equal amounts of lace extend onto the fabric on both sides.
Pin or baste the lace in place before sewing. Follow the standard insertion method by sewing both edges, cutting the center, and pressing open.
Manage Bulk from Double Layers
Expect slightly more thickness where the underlying seam meets the lace. Trim any excess seam allowance carefully before pressing if the area feels too heavy.
Avoid cutting too close to the stitching line. The goal is a smooth transition between the fabric and the lace overlay.
Layer Edging Lace With Insertion Lace

Combine two lace types on a single seam to create dimension and authentic historical detailing. This layered approach adds visual interest to blouses and gowns.
Attach Edging Lace to Seam Allowance
Place the edging lace on the seam allowance with its straight edge aligned over the seam line. Sew it approximately 1/8 inch from the seam, offsetting it to one side.
This anchors the decorative edge beneath where the insertion lace will sit. Ensure the scalloped or ruffled edge faces the direction you want it to display.
Position Insertion Lace on Top
Center the insertion lace over the seam but offset it slightly. Arrange it so most of its width lies on the same side as the edging lace for a balanced look.
This creates a layered effect where both laces remain visible. Secure the position with pins before beginning to stitch.
Sew Cut and Finish the Layers
Sew both edges of the insertion lace following the standard procedure. Cut down the center between the seams to open the piece.
You will have more bulk due to the double lace layer. Trim excess seam allowance before pressing or leave it for a raised textural effect.
Troubleshoot Common Lace Sewing Issues

Even experienced sewists encounter issues when working with delicate materials. Knowing how to fix them quickly saves your project from ruin.
Fix Puckering After Stitching
Puckering usually indicates tight tension or improper easing of the lace. Reduce your upper thread tension and try using a walking foot to feed layers evenly.
Basting the lace in place before final stitching often prevents this issue. It holds the material steady without the distortion pins can cause.
Repair Accidental Fabric Nicks
If you accidentally cut the fabric while trimming, repair it immediately. Use a tight zig-zag stitch to seal the tear effectively.
Alternatively, cover the spot with a small piece of lace inserted perpendicularly. This turns a mistake into a deliberate design element.
Flatten Seams That Won’t Lie Flat
Check if you clipped curves and corners sufficiently. Open the seam and make additional relief cuts if the fabric pulls or bubbles.
Verify that you pressed the fabric away from the lace. Pressing over the lace can crush the design and cause unevenness.
Save Time With Strategic Planning
Lace insertion is repetitive and time-intensive. Each application requires four passes under the needle, three trims, and one press session.
Start With Small Projects
Practice on a cuff, collar, or napkin edge before attempting a full gown. Smaller projects like the Gibson Girl Blouse allow you to master the rhythm faster.
Focus on yoke or sleeve inserts first. These areas provide high visual impact without requiring hours of continuous work.
Batch Your Workflow Steps
Cut all lace pieces to approximate lengths before you start sewing. Pin, sew, trim, and press each section in sequence to build momentum.
Keep your duckbill scissors, pins, and pressing cloth within easy reach. Minimizing interruptions helps maintain focus on these detailed tasks.
Frequently Asked Questions About Sewing Lace to Lace
Can I use regular scissors to trim lace insertion?
Regular scissors work for cutting lace but risk nicking sheer fabric during trimming. Use duckbill or appliqué scissors with a curved lower blade to trim safely up to the stitching line.
What happens if I skip pre-washing the lace?
Skipping this step may cause the lace to shrink while the fabric does not. This leads to a distorted garment or puckered seams after the first wash.
How do I handle corners when inserting lace?
Fold the lace diagonally to create a mitered corner. Ease the fabric around the turn and clip the seam allowance after sewing to help it lie flat.
Is insertion lace visible on both sides of the garment?
Yes, insertion lace becomes part of the fabric structure. It is designed to be seen from both the right and wrong sides of the garment.
Why does my lace pucker after sewing?
Puckering often results from tight machine tension or failure to ease the lace around curves. Adjust your tension settings and use a walking foot for even feeding.
Can I combine edging and insertion lace on one seam?
Yes, you can layer them for added dimension. Attach the edging lace to the seam allowance first, then place the insertion lace on top and sew as usual.
Key Takeaways for Mastering Lace Insertion
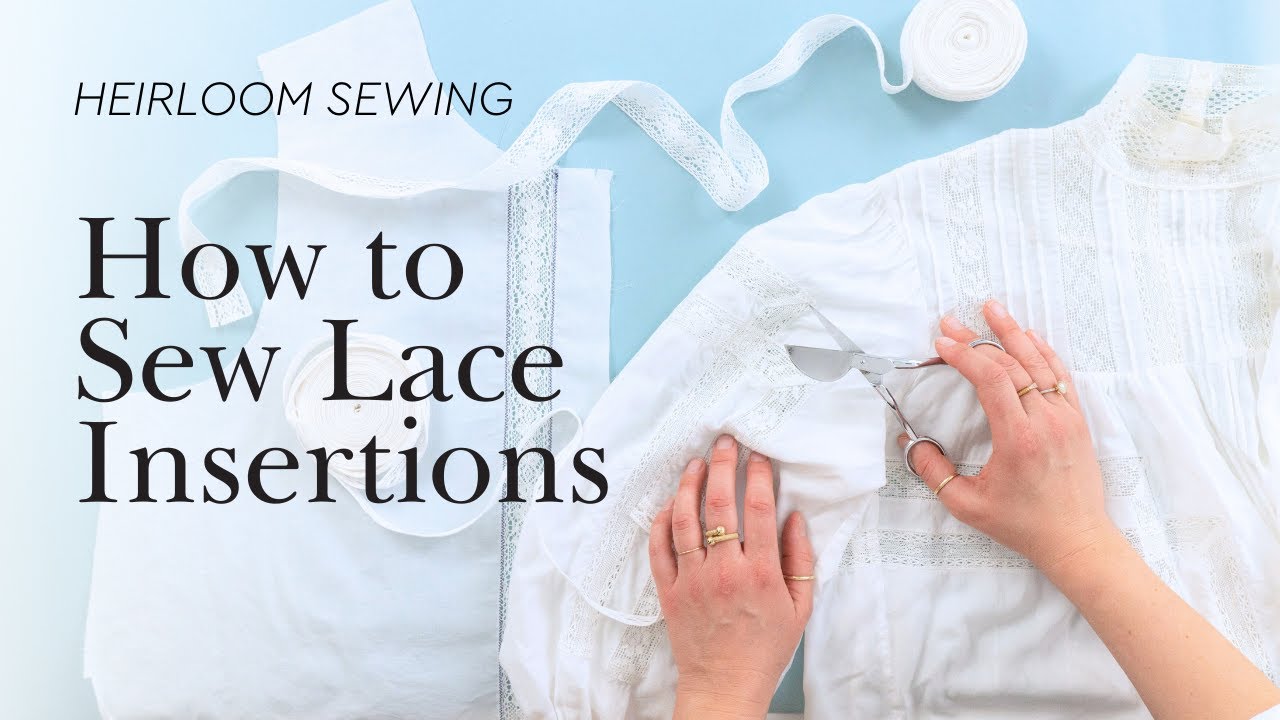
Sewing lace to lace requires patience but yields breathtaking results for historical and romantic garments. Remember to pre-wash all materials, match fabric weights, and use sharp specialized tools for trimming.
Mastering the cut-and-press technique ensures your seams lie flat and professional. Start with small projects to build confidence before tackling complex gowns.
Grab your fine needles and practice on a scrap piece today. With methodical steps and proper prep, you can create heirloom quality pieces that stand the test of time.