How to Lace Jordan 7 Sneakers
Your Air Jordan 7s feature a unique neoprene bootie that often causes the tongue to slip or the fit to feel strangely tight. The solution lies entirely in how to lace Jordan 7 to match its specific Huarache-inspired design.
This guide details exact lacing methods to fix tongue bunching, secure your ankle, and achieve a clean aesthetic. You will learn standard, straight bar, and loose-fit techniques tailored specifically for the Jordan 7 silhouette.
Select the Correct Lace Length and Material

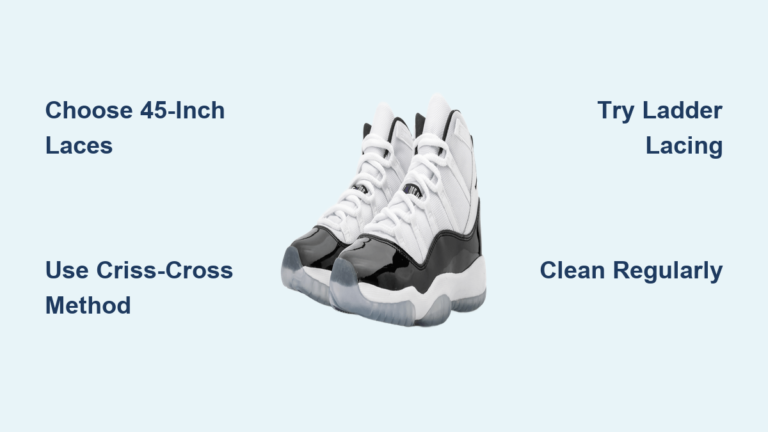
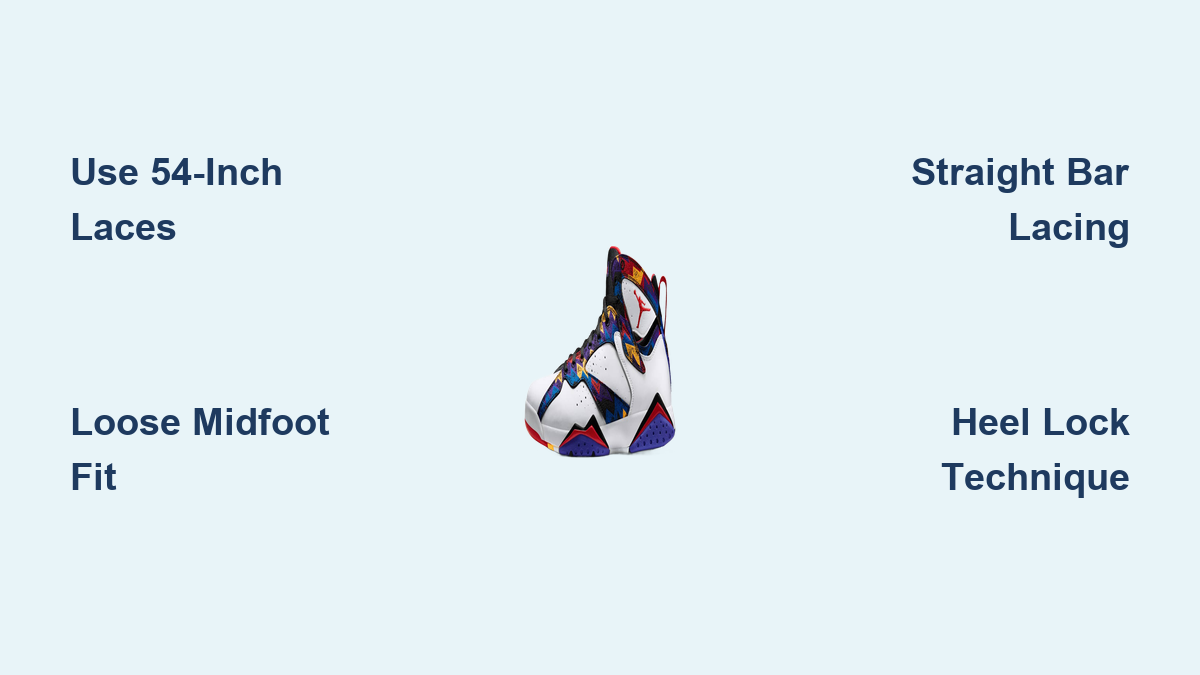
Choosing the right laces is the first step to mastering how to lace Jordan 7 effectively. The factory standard for most Jordan 7 models is a 54-inch (137 cm) flat cotton lace.
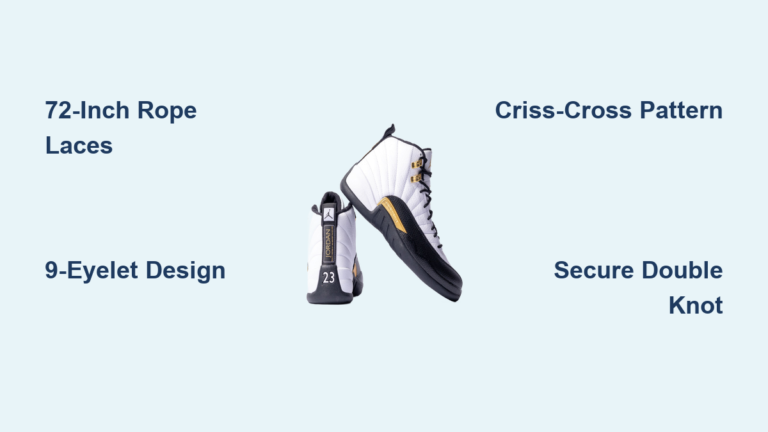
This length accommodates the shoe’s seven pairs of eyelets perfectly for standard criss-cross patterns. If you plan to use thick waxed laces or want to try hidden knot styles, you may need to upgrade to 60-inch laces.
Why Material Choice Matters for Fit
Original laces use plastic aglets and flat cotton construction. While authentic, they can loosen over time.
* Waxed Cotton: Provides better structure and holds knots tighter.
* Round Nylon: Offers superior durability for daily wearers.
* Elastic Laces: Avoid these as they can compromise the snug fit of the neoprene bootie.
Execute the Standard Criss-Cross Pattern
The standard criss-cross is the default method found on most retail pairs. It provides balanced support but requires care to avoid compressing the inner sleeve too much.
Step-by-Step Installation
- Thread the lace from the inside out through the bottom eyelets.
- Ensure both ends are equal in length before proceeding.
- Cross the laces over each other and thread them into the next set of eyelets.
- Repeat this process up to the top eyelets.
- Tie a standard bow with moderate tension.
Adjusting for the Neoprene Bootie
This method works well for daily wear but can pull the neoprene tongue forward if pulled too tight. Keep tension light across the midfoot section to prevent the tongue from bunching up under the laces.
Apply Straight Bar Lacing for a Clean Look
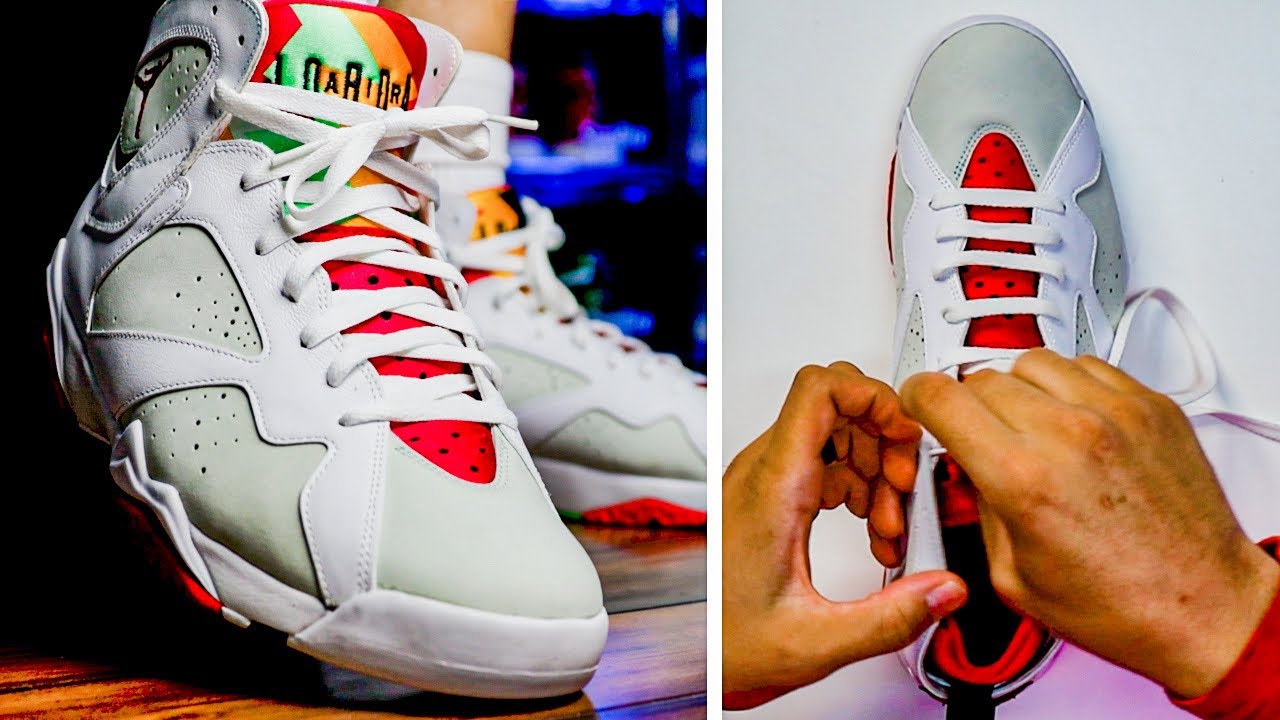
Straight bar lacing creates horizontal lines that emphasize the clean upper lines of the Jordan 7. This style reduces pressure points on the top of the foot.
How to Create the Bar Effect
- Start with laces coming from the inside of the bottom eyelets.
- Run both lace ends straight up to the second set of eyelets on the same side.
- Feed one lace end across the top into the opposite eyelet to create a bar.
- Feed the other lace end underneath the eyelet strip and up to the next level.
- Alternate this pattern until you reach the top.
Benefits for Jordan 7 Owners
This technique minimizes friction against the neoprene sleeve. It is an excellent choice for streetwear styling where visual symmetry is a priority. The result is a sleek, ladder-like appearance that looks sharp on any colorway.
Achieve a Loose Fit for Maximum Comfort
The inner bootie of the Jordan 7 is designed to hug your foot like a sock. Over-tightening your laces defeats this engineering and causes unnecessary pinching.
The Loose Lacing Technique
Use either the standard or bar lacing method but alter your tension strategy. Keep the midfoot section very loose, just tight enough to keep the shoe attached to your foot.
Focus all your tightening on the top two or three eyelets. This secures the ankle collar while allowing the neoprene to expand and contract naturally. Do not pull laces tight across the arch, as this creates discomfort during extended wear.
Lock Down the Ankle with Performance Lacing
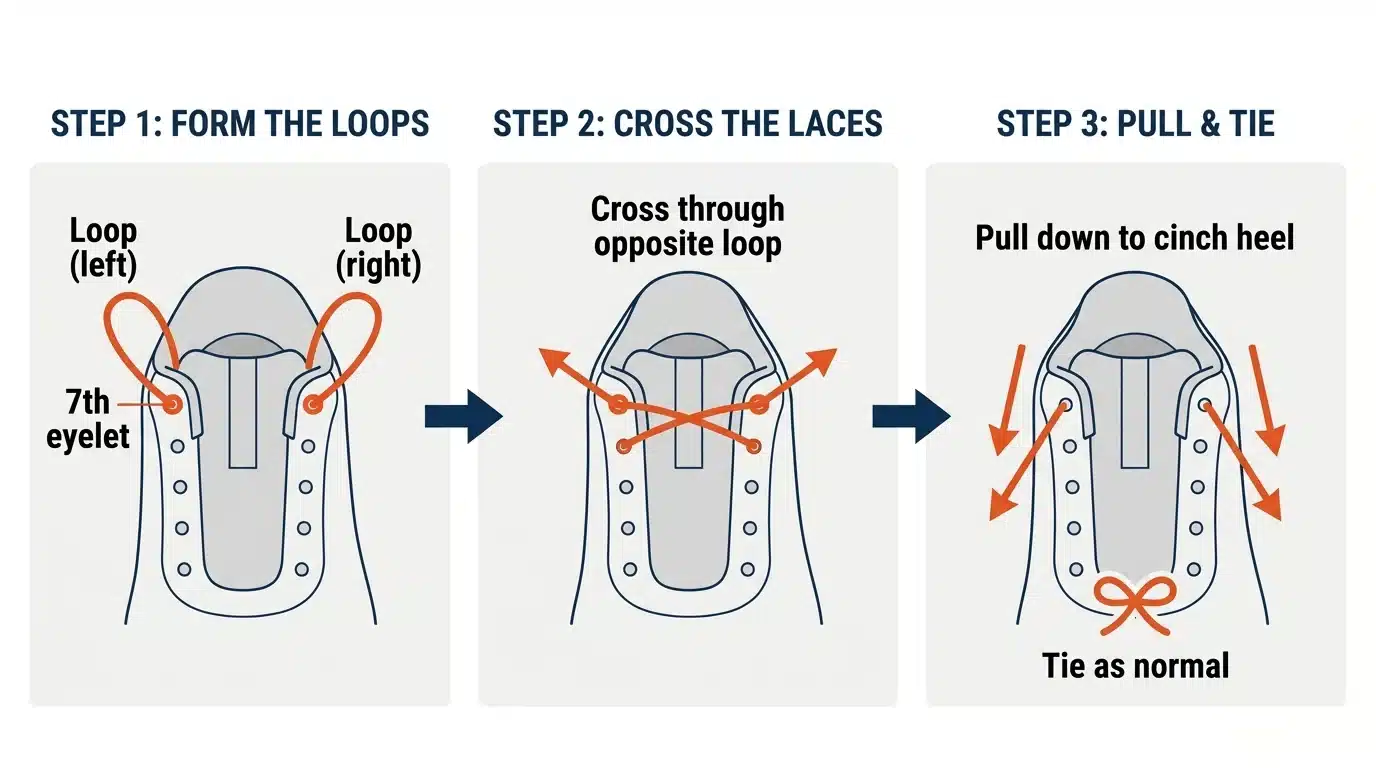
If you experience heel slip or want a more secure fit for activity, you can modify the top of your lacing pattern. This approach stabilizes the heel without sacrificing the comfort of the lower bootie.
Using the Heel Lock Method
- Lace the shoe normally up to the second-to-last eyelet.
- Create a small loop with the lace on each side using the top eyelet.
- Cross your lace ends and thread them through the opposite loops.
- Pull tight to cinch the collar around your ankle.
- Tie off your knot as usual.
This method is ideal for those with narrower feet or anyone wearing slightly larger sizes who needs to prevent movement inside the shoe.
Hide Laces for a Minimalist Aesthetic
Many sneaker enthusiasts prefer a clean look without visible bows or loose ends. The Jordan 7’s thick neoprene tongue makes it an excellent candidate for hidden lacing styles.
The Hidden Knot Strategy
- Lace the shoe using your preferred pattern up to the top eyelets.
- Instead of tying a bow, tie a simple double knot.
- Tuck the knot and excess lace underneath the neoprene tongue.
- Smooth the tongue out to conceal the laces completely.
Alternative No-Tie Options
You can also use elastic lace inserts that allow you to slip the shoes on and off without untying. Thread standard laces only through the top eyelets and tuck the ends for a hybrid look that maintains the visual of traditional laces.
Fix Common Lacing Mistakes
Improper lacing can ruin the comfort of an otherwise great shoe. Identifying these common errors will help you refine your technique.
Preventing Tongue Bunching
Cause: Pulling laces too tight too early in the process.
Fix: Lace loosely through the first four eyelets. Center the tongue manually before applying any significant tension near the ankle.
Avoiding Aglet Damage
The eyelets on Jordan 7s can have sharp edges that fray plastic aglets.
Prevention: Use laces with reinforced tips. Avoid yanking laces sideways with excessive force. A tiny drop of clear nail polish on aglet tips can add durability.
Correcting Asymmetrical Tension
Uneven lacing makes the shoe look sloppy and fit poorly.
Solution: Always start with equal lace lengths. Check your progress in a mirror as you go. Adjust in small increments rather than pulling one side tight at the end.
Match Lacing Styles to Your Colorway
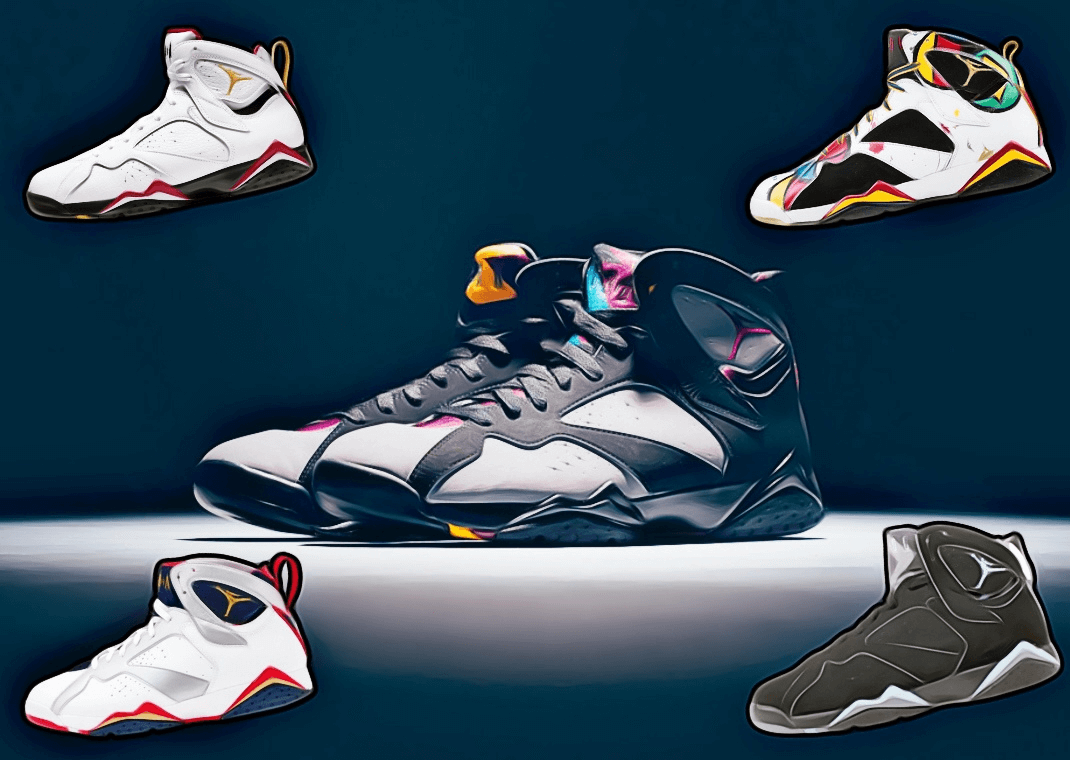
Your lacing choice can enhance the specific vibe of your Jordan 7 release. Different colorways often look best with specific lace types and patterns.
Styling Recommendations by Model
- Bred (Black/Red): Use black waxed laces with straight bar lacing for an aggressive, clean look.
- Sheen (White/Gold): Stick to white flat laces with a standard criss-cross to maintain a premium feel.
- Acorne (Beige/Brown): Try tan round laces with a loose fit to enhance the vintage aesthetic.
- OVO (White/Black): Use all-white laces with a hidden knot to maximize the minimalist design.
Maintain Your Lacing and Fit Consistency
Laces stretch and degrade over time, which alters the fit of your shoes. Regular maintenance ensures your Jordan 7s always feel and look their best.
Weekly Re-Lacing Routine
Re-lace your shoes once a week to reset the tension. This prevents the laces from stretching out permanently and keeps the neoprene bootie from deforming due to uneven pressure.
Cleaning and Rotation
Remove and wash your laces every few weeks using mild soap and water. Air dry them completely before reinstalling. Owning multiple sets of laces allows you to rotate them, extending the life of both the laces and the shoe’s structure.
Frequently Asked Questions About Jordan 7 Lacing
What is the standard lace length for Air Jordan 7?
Most Jordan 7 models come with 54-inch laces. This length is perfect for standard criss-cross lacing on sizes up to roughly US 10. If you have larger feet or prefer thick waxed laces, consider 60-inch options.
Can I use elastic laces on my Jordan 7s?
It is generally not recommended. Elastic laces can loosen the fit of the neoprene bootie over time, causing the heel to slip and reducing the supportive feel intended by the design.
How do I stop my Jordan 7 tongue from sliding?
The tongue often slides if laces are too loose or uneven. Try the straight bar lacing method or ensure you are locking the top eyelets tightly while keeping the midfoot relaxed to hold the tongue in place.
Is the Jordan 7 lacing different from the Jordan 6?
Yes. While similar, the Jordan 7 features a distinct neoprene inner bootie that the Jordan 6 lacks. This requires a looser midfoot lacing approach to avoid compressing the internal sleeve uncomfortably.
What is the best lacing style for wide feet?
The loose fit lacing method is ideal for wide feet. Skip eyelets if necessary or use a straight bar pattern to reduce lateral pressure across the widest part of your foot.
Key Takeaways for Lacing Your Jordan 7
Mastering how to lace Jordan 7 transforms both the comfort and style of this iconic sneaker. The unique neoprene bootie requires a lighter touch on the midfoot and a secure lock at the ankle to function correctly.
Whether you choose straight bar lacing for a clean look or a heel lock for extra security, avoiding over-tightening is crucial. Start with the correct 54-inch flat laces and adjust your tension to let the shoe’s design work for you.
Try the loose fit method today if you have experienced tongue bunching. Your feet will thank you for respecting the original engineering of the Jordan 7.