How to Lace Danner Boots
If your Danner boots feel loose, pinch your ankle, or constantly come undone, the issue is likely your lacing technique rather than the fit itself. Learning how to lace Danner boots properly transforms comfort and support for long hikes or tough work shifts. This guide details specific methods to lock your heel in place and eliminate pressure points on models like the Mountain Light or Quarry.
You will discover step-by-step instructions for heritage, hiking, and tactical lacing patterns. We cover how to stop heel slippage, relieve ankle pain, and choose the right lace type for your specific boot model.
Select the Best Lacing Method for Your Danner Model
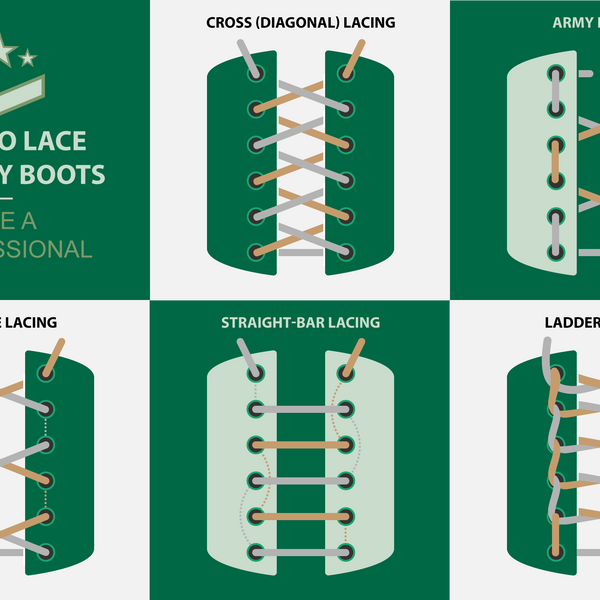
Choosing the correct pattern depends entirely on your boot design and intended activity. Heritage leather boots require different tension than agile hiking or heavy-duty tactical builds. Using a sneaker-style pattern on stiff leather often causes heel lift and poor tension control.
Match Technique to Boot Type
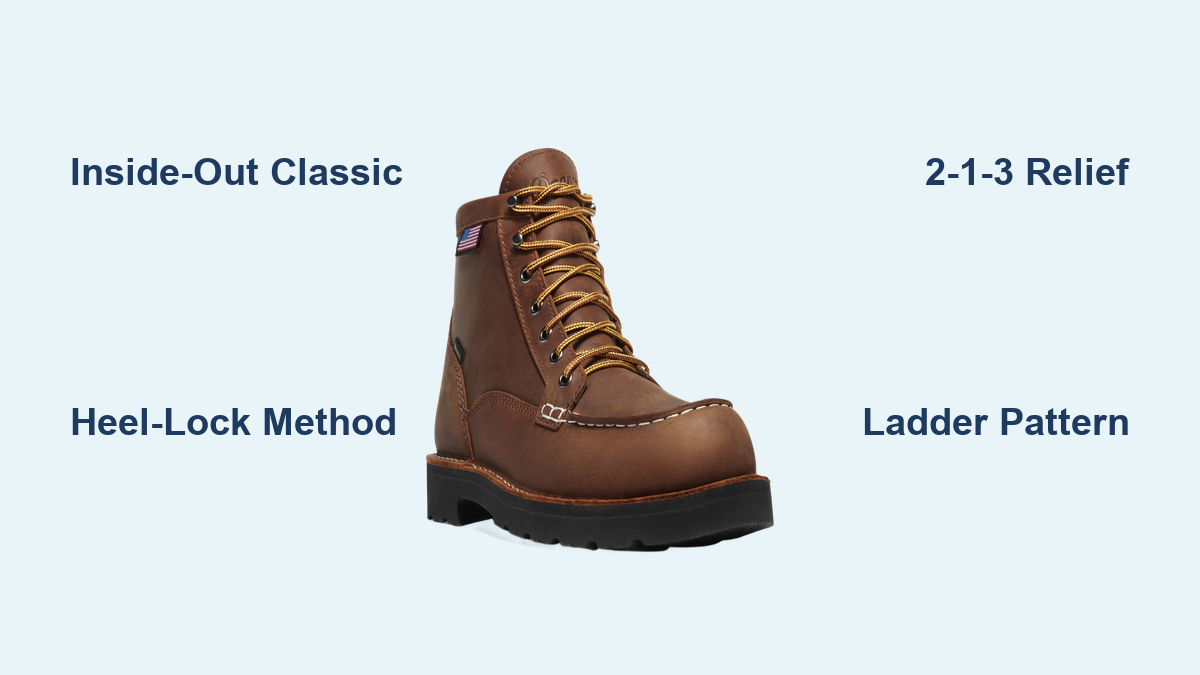
- Heritage and Field Boots: Use the Inside-Out Classic method for models like the Danner 720 or Trail 2650. This provides a sleek and secure fit.
- Hiking and Outdoor Boots: Apply the Heel-Lock or 2-1-3 method for Mountain Light or Dromedary models to ensure stability.
- Work and Tactical Boots: Opt for Ladder or Army lacing on Quarry or Tachyon boots for maximum retention and snag resistance.
Choose the Right Lace Material
The material of your laces dictates which method works best. Flat waxed laces excel in Inside-Out and Army patterns but can be too stiff for Ladder lacing. Round synthetic laces handle the high friction of the 2-1-3 and Heel-Lock methods effectively. Replace worn stock laces with reinforced synthetics to improve durability and overall fit.
Prepare Your Boots Before Lacing
Proper preparation prevents pressure points and ensures balanced tension throughout the boot. Skipping these steps often leads to uneven pulling and early foot fatigue.
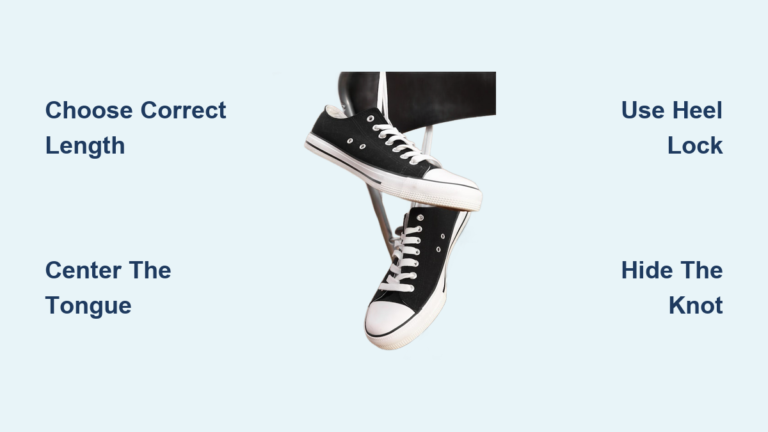
Center the Tongue Correctly
A misaligned tongue is the primary cause of discomfort during wear. Reach inside the boot and pull the tongue forward until it sits evenly down the middle of your instep. Hold it in place as you begin threading the laces to prevent shifting. If the tongue drifts, your laces will pull unevenly and create hot spots.
Ensure Equal Lace Lengths
Trim or adjust your laces so both ends are identical in length before starting. Uneven laces make it impossible to apply balanced tension, especially on high-cut boots. Lay the boot flat and thread laces from the bottom eyelets inside out. Pull until both ends are flush to set a balanced foundation for any pattern.
Execute the Inside-Out Classic Lacing Pattern
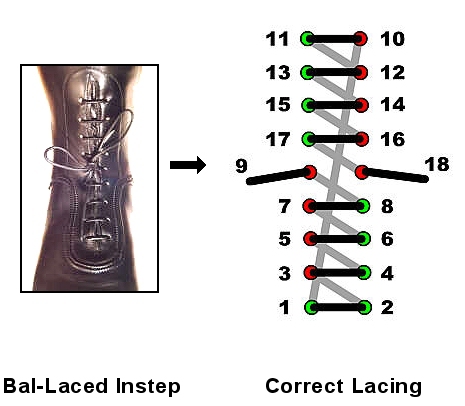
This method serves as the gold standard for classic leather boots like the Danner Field or Stronghold. It delivers a tight fit with a clean aesthetic that works perfectly with flat wax laces.
Step-by-Step Instructions
- Feed both lace ends from the inside out through the lowest eyelets.
- Take the right lace, cross it over, and thread from outside in to the second eyelet on the left.
- Take the left lace and cross from outside in to the right side eyelet.
- Continue alternating inside-out and outside-in patterns up the boot.
- Finish at the top with an outside-in pull to create locking tension.
Why This Method Works
Flat wax laces stay aligned and resist twisting when using this pattern. The outside-in finish increases top tension which significantly reduces heel lift. This approach offers a clean look suitable for field use or dress-casual wear. Pause after each eyelet to straighten flat laces and prevent kinks.
Apply Sneaker-Style Criss-Cross Lacing
This familiar method feels natural if you are used to tying athletic shoes. It works best for Danner Ramblers or casual models with wider eyelets where speed matters most.
How to Perform the Criss-Cross
- Start by threading both ends from outside in at the bottom eyelets.
- Cross the right lace over to the left eyelet and thread from outside in.
- Repeat with the left lace to the right side eyelet.
- Continue up the boot always threading from outside in.
Pros and Cons of This Style
This method is quick to tie and offers a symmetrical classic look ideal for beginners. However, the top laces pull from the inside which creates less tension than other methods. Laces may loosen during long hikes or rugged terrain use. It remains best for everyday wear and light walking.
Use the 2-1-3 Method to Relieve Ankle Pain
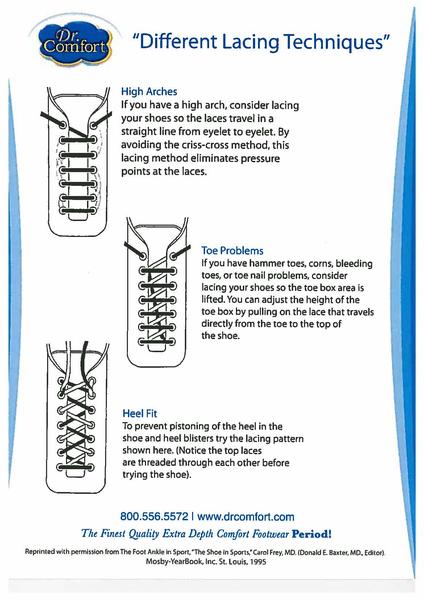
If your boot digs into the top of your foot or ankle bone, the 2-1-3 method provides immediate relief. This technique creates a floating zone over pressure points and is a game-changer for high-volume feet.
Step-by-Step Relief Instructions
- Lace normally using a criss-cross pattern up to the lower ankle eyelets.
- Skip the first ankle eyelet on one side instead of threading it immediately.
- Insert the lace into the middle eyelet of the top three eyelets.
- Go back down and thread the previously skipped bottom eyelet of the trio.
- Cross over and thread the final top eyelet to complete the sequence.
When to Use This Technique
Use this method during long hikes or twelve-hour workdays when boots feel tight across the instep. It benefits those with high arches or a wide forefoot. Many Danner owners switch to this method after experiencing pain on the trail and never return to standard lacing.
Lock Your Heel with the Runner’s Loop

The Heel-Lock method is essential for Danner Mountain Light or Tachyon boots used on uneven ground. It locks your heel into the heel cup to eliminate lift and prevent blisters during rugged activity.
How to Create the Lock
- Lace normally up to the second-to-last eyelet on both sides.
- Thread each lace straight up into the top eyelet on the same side to create vertical loops.
- Take the right lace and pull it under the left vertical loop from the inside.
- Cross the left lace under the right loop in the same manner.
- Pull both ends tight to engage the lock and tie a standard bow.
Critical Benefits for Stability
This technique stops heel lift during uphill climbs or side slopes effectively. It reduces fatigue by stabilizing the ankle joint throughout the day. The method works on both speed-hooks and traditional eyelets. Do not over-tighten, as you should still be able to wiggle your toes comfortably.
Deploy Army Lacing for Tactical Environments

Military personnel use Army lacing to keep laces low-profile and reduce tripping hazards. This straight bar method is ideal for Danner Tachyon or USMC Recon boots where snagging on gear is a concern.
Step-by-Step Setup Guide
- Start inside-out at the bottom eyelets of the boot.
- Thread laces straight up each side vertically without crossing on the outside.
- Cross the lace to the opposite eyelet on the interior of the boot at each level.
- Continue vertical runs on the outside with crossovers hidden inside.
- Tie normally once you reach the top eyelets.
Benefits and Trade-Offs
This pattern prevents snagging on brush or tactical gear while allowing the boot upper to flex naturally. However, it offers less ankle support than criss-cross patterns and takes longer to lace initially. It is best for patrol duties or environments where a clean silhouette matters most.
Build the Ladder Pattern for Extreme Security
The Ladder method provides the toughest lacing pattern available for logging or wildland firefighting. It ensures laces stay tight at all costs even during high-movement operations.
How to Build the Ladder
- Start inside-out at the bottom eyelet on both sides.
- Run the lace vertically to the next eyelet on the same side from outside to inside.
- Feed the lace under the vertical segment on the opposite side before crossing.
- Exit the eyelet, go straight up to the next, and thread under the next bar.
- Finish at the top and tie securely with a strong knot.
Why This Hold Is Unmatched
Self-locking tension helps laces resist loosening even under extreme duress. There is no slippage during high-movement activities when using this pattern. You must use braided or Kevlar-reinforced laces as standard laces may fail under this friction. Note that this method is time-consuming and hard to tighten evenly.
Fix Common Lacing Problems Quickly
Troubleshoot specific fit issues by adjusting your technique or lace type. Most problems stem from incorrect tension distribution or poor lace material choice.
Solutions for Frequent Issues
- Lace Bite: If you feel pain across the top of the foot, use the 2-1-3 method to skip pressure zones. Avoid over-tightening the top eyelets.
- Heel Slippage: Apply the Heel-Lock method immediately. Ensure your heel is seated by kicking back into the boot after lacing.
- Laces Coming Undone: Switch to flat waxed laces for better knot grip. Use the Inside-Out Classic method for an outside-in final pull or tie a surgeon’s knot.
- Hiding Laces: Tuck the knot and excess lace between the tongue and outer leather. Smooth the tongue over to conceal laces for a minimalist appearance.
Maintain Long-Lasting Fit and Performance
Consistent maintenance ensures your lacing method remains effective over time. New flat wax laces require a three to five wear break-in period before they soften.
Essential Maintenance Tips
- Check symmetry regularly to ensure even spacing between eyelets.
- Restart and straighten laces if you notice kinks or twisted segments.
- Tighten the heel-lock for hiking downhill but loosen the top for flat ground.
- Replace frayed or stretched laces every one to two years to maintain performance.
Frequently Asked Questions About Lacing Danner Boots
Which lacing method stops heel slippage best?
The Heel-Lock method creates a mechanical lock around the ankle that pulls the heel back into the cup. This is critical for Danner hiking boots on steep or slippery terrain.
How do I stop my Danner boots from hurting my ankle?
Use the 2-1-3 lacing method to skip the direct pressure point on your ankle bone. This redistributes tension across the second and third eyelets to alleviate pain.
What is the best lacing style for flat wax laces?
The Inside-Out Classic method works best because it keeps flat laces aligned and prevents twisting. It also provides a secure outside-in finish that maximizes tension.
Can I use the Ladder method with standard laces?
It is not recommended as standard laces may degrade faster under the increased friction. Use braided or reinforced laces for the Ladder method to prevent breakage.
How do I hide my boot laces for a clean look?
Tuck the knot and excess lace into the side of the boot between the tongue and outer leather. This protects the knot from mud and gives a streamlined appearance.
Key Takeaways for Mastering How to Lace Danner Boots
Mastering how to lace Danner boots transforms performance and comfort for any activity. Select the Inside-Out Classic for daily wear, the Heel-Lock for hiking stability, and the Ladder method for extreme work environments. Proper preparation and lace selection ensure your boots perform at their best.
Start by centering your tongue and choosing the right pattern for your specific Danner model. Your feet will feel the difference immediately with better support and zero pressure points.