How to Lace Up Running Shoes: Quick Steps
Your running shoes might have the best cushioning available, yet poor lacing causes your foot to slip or ache with every single stride. Many runners stick to the childhood criss-cross method without realizing that learning how to lace up running shoes properly transforms stability and comfort instantly.
This guide details proven methods to fix pressure points, stop heel slippage, and accommodate unique foot shapes. You will master the Heel Lock technique and secure knot science to eliminate blisters and black toenails today.
Stop Heel Slippage with the Runner’s Loop
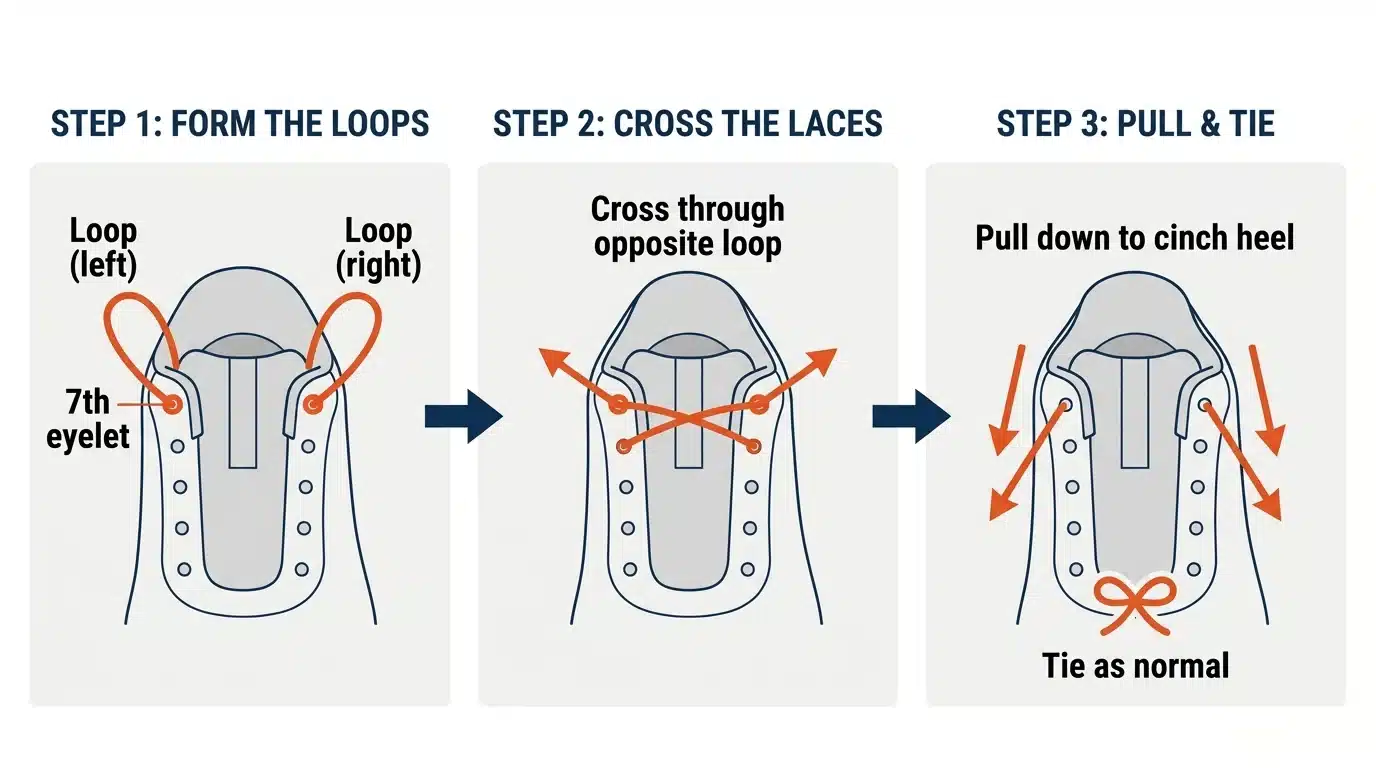
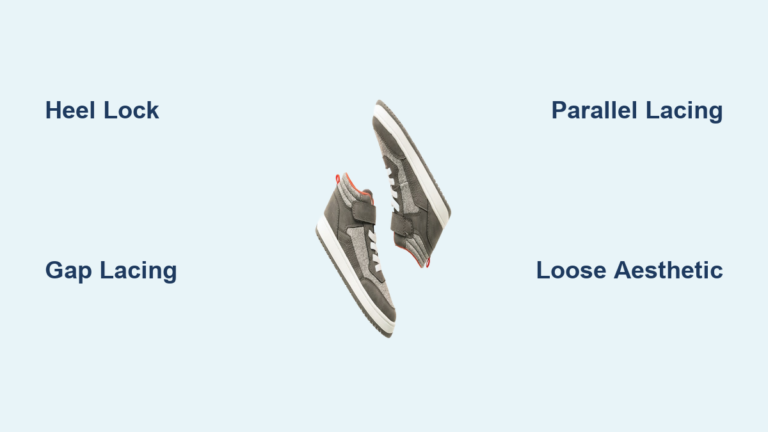
Heel slippage causes blisters and reduces efficiency by letting your foot slide forward inside the shoe. The Heel Lock, also known as the Runner’s Loop, anchors your heel securely to prevent this movement during downhill sections or long runs.
Execute the Heel Lock Technique
- Lace your shoes normally until you reach the second-to-last eyelet on each side.
- Thread each lace end up through the top eyelet on the same side to create a small loop.
- Pass the left lace end down through the right-side loop and the right lace end through the left loop.
- Pull both ends upward and outward to cinch the ankle collar tightly before tying your knot.
Pro Tip: This method requires an extra set of eyelets at the top of your shoe to function correctly.
Prevent Top-of-Foot Pain
Pulling the Heel Lock too tight can compress tendons on the top of your foot and cause irritation. Loosen the final pull slightly or move the lock down one eyelet if you feel pressure building.
Relieve Toe Pain Using Diagonal Lacing

Black toenails and bruised toes often result from the shoe upper compressing your forefoot during impact. Diagonal lacing lifts the front of the shoe to create essential space for your toes.
Apply Single Helix Lacing
- Thread one lace from the bottom eyelet near your big toe diagonally to the top eyelet on the opposite side.
- Use the second lace to criss-cross through all remaining unused eyelets.
- Tie the laces normally at the top to secure the new configuration.
This path reduces tension in the front third of the shoe to stop your foot from jamming forward.
Create a Localized Pressure Window
You can create a small gap without changing the entire pattern by lacing diagonally from the first eyelet to the third or fourth on the far side. Continue straight up that side while skipping crosses to open space exactly where you need it.
Eliminate Midfoot Tightness with Straight Bars

Runners with high insteps or swelling often feel squeezed across the top of the foot during long distances. Straight bar lacing spreads tension evenly to prevent pinching and improve blood flow.
Install Parallel Bar Lacing
- Insert both laces from the outside so the knots sit underneath the tongue.
- Bring each lace straight up to the next eyelet on the same side instead of crossing them.
- Move diagonally to the opposite side only when ascending to the next level of eyelets.
- Repeat this pattern to the top for parallel bars that reduce downward pressure.
This method uses less overall lace tension, making it ideal for fatigued feet late in a marathon.
Skip Eyelets for Targeted Relief
Identify the tightest spot on your foot and skip the cross at that specific eyelet level. Run the lace straight up the side to instantly open space over hot spots without redoing the whole pattern.
Remove Hot Spots with Window Lacing

Specific pressure points like bunions or inflamed tendons require a targeted approach to remove tension directly over the affected area. Window lacing creates a pressure-free zone to protect sensitive skin.
Build a Pressure-Free Zone
- Unlace the shoe down to the eyelet immediately beneath your pain zone.
- Thread each lace vertically up one eyelet on the same side without crossing them.
- Cross the laces diagonally above this gap and resume normal criss-cross lacing to the top.
The uncrossed section forms a rectangular window of slack that leaves zero pressure on the sensitive spot below.
Common Uses: Post-surgery recovery, swollen midfoot, or neuroma flare-ups.
Customize Lacing for Your Foot Shape
Your specific foot anatomy dictates where tension should be applied or avoided for a glove-like fit. Matching your lacing strategy to your foot type prevents common running injuries.
Support High Arches Effectively
High arches cause excess pressure on the instep because the shoe upper collapses into the hollow of your foot. Lace normally to the arch, run laces straight up each side to bypass the high point, and resume criss-crossing at the upper eyelets.
Accommodate Wide Forefeets
Start with laces going straight up the sides for the bottom two or three eyelets to widen the front. Begin criss-crossing from the midfoot upward to maintain control while giving your toes room to spread.
Secure Narrow Feet
Create a loop by threading the lace back through the same eyelet it just exited at the narrowest part of your foot. This loop acts as a pulley to tighten the upper without over-compressing the forefoot.
Address Overall Wide Feet
Start criss-crossing but skip one eyelet on each side before crossing again to create a looser structure. Note that this technique requires longer laces to reach the top eyelets comfortably.
Reduce High Instep Pressure
Criss-cross normally up to the painful area, then run both laces straight up one eyelet on their respective sides. Cross again and continue to the top to bypass the highest point of the instep completely.
Tie a Secure Reef Knot for Running
Even perfect lacing fails if you tie a Granny Knot, which loosens with every footfall due to structural instability. Switching to a Reef Knot ensures your laces stay tied for the entire run.
Identify Your Current Knot Type
- Tie your shoes using your habitual method.
- Pull the loops sideways to observe their orientation.
- If the loops angle diagonally, you have a Granny Knot that will likely come undone.
- If the loops lie flat and horizontal across the shoe, you have a secure Reef Knot.
Convert to a Reef Knot
- Complete the first half-knot as usual by crossing the laces.
- Make the first loop and reverse the wrap direction for the second half.
- Wrap the lace under the loop if you usually go over, or switch your left-to-right direction.
- Pull tight to ensure the loops sit horizontally across the tongue.
Select the Right Laces for Stability
The material and shape of your laces significantly impact knot security and fit adjustment capabilities. Choosing the wrong type can sabotage even the best lacing technique.
Choose Flat Over Round Laces
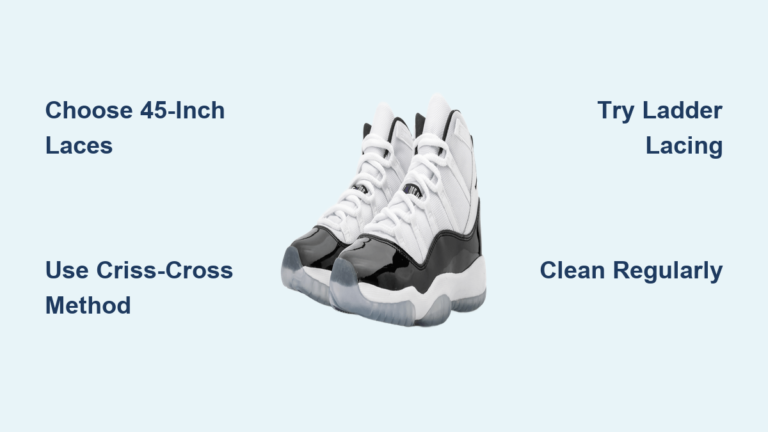
Flat laces grip better and resist slipping compared to round laces that roll and loosen easily. Replace stock round laces with flat, waxed polyester ones for maximum hold during runs.
Match Length and Material
Use longer laces for complex patterns like the Heel Lock, as standard lengths may fall short. Cotton offers high friction but absorbs sweat, while nylon is durable but slippery unless waxed or flat.
Replace Worn Laces Strategically
Replace laces when they appear frayed or excessively worn to maintain proper tension. If you find yourself replacing laces three or four times, your shoes are likely worn out and need replacement.
Combine Techniques for a Custom Fit

No single method solves every issue, so the best results come from combining strategies based on your unique needs. Hybrid solutions address multiple problems like wide forefeets and heel slippage simultaneously.
Build Your Hybrid Solution
| Problem Combination | Solution |
|---|---|
| Wide forefoot + heel slip | Vertical forefoot lacing + Heel Lock |
| High arch + toe pain | Arch bypass + Diagonal forefoot lacing |
| Narrow foot + midfoot swelling | Loop lacing + Straight bar midfoot |
| High instep + loose heel | Window lacing + Heel Lock |
Follow a Step-by-Step Customization Plan
- Start with the Heel Lock as it resolves issues for most runners.
- Diagnose pain zones to determine if you need toe, instep, or side relief.
- Apply targeted relief using Window, Diagonal, or Parallel lacing where needed.
- Secure everything with a Reef Knot and test on a short run.
Frequently Asked Questions About Running Shoe Lacing
How do I stop my heel from slipping out of my running shoes?
Use the Heel Lock technique by creating loops with the top eyelets and threading your laces through them. This anchors your heel securely and prevents the forward sliding that causes blisters.
What lacing pattern prevents black toenails?
Diagonal or Single Helix lacing lifts the toe box to create space and prevent your foot from jamming forward. This reduces pressure on the toes during impact and downhill sections.
How can I relieve pressure on the top of my foot?
Straight bar or Window lacing removes tension from the instep by running laces vertically instead of crossing them over the painful area. This creates a pressure-free window for swollen or sensitive feet.
Why do my shoelaces come undone while running?
You are likely tying a Granny Knot, which is structurally unstable under repetitive motion. Switch to a Reef Knot by reversing the direction of your final wrap to keep loops horizontal and secure.
Can lacing techniques fix shoes that are too small?
No, lacing adjustments cannot correct fundamental sizing errors or wrong shoe types. If discomfort persists after trying these methods, you likely need a different size or model.
Key Takeaways for Mastering How to Lace Up Running Shoes
Proper lacing transforms comfort and performance by addressing specific fit issues like slippage and pressure points. Techniques like the Heel Lock and Diagonal lacing provide immediate relief for common running ailments.
Start by securing your heel with a Runner’s Loop and adjust the rest of the shoe to match your foot shape. Test these methods on your next run to experience a custom fit without buying new gear.