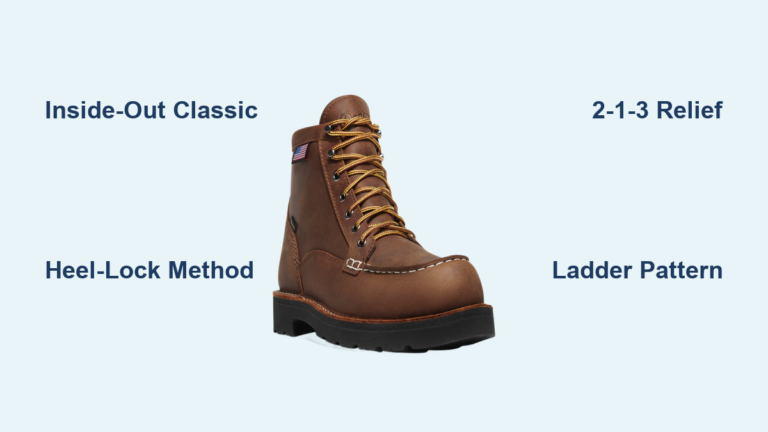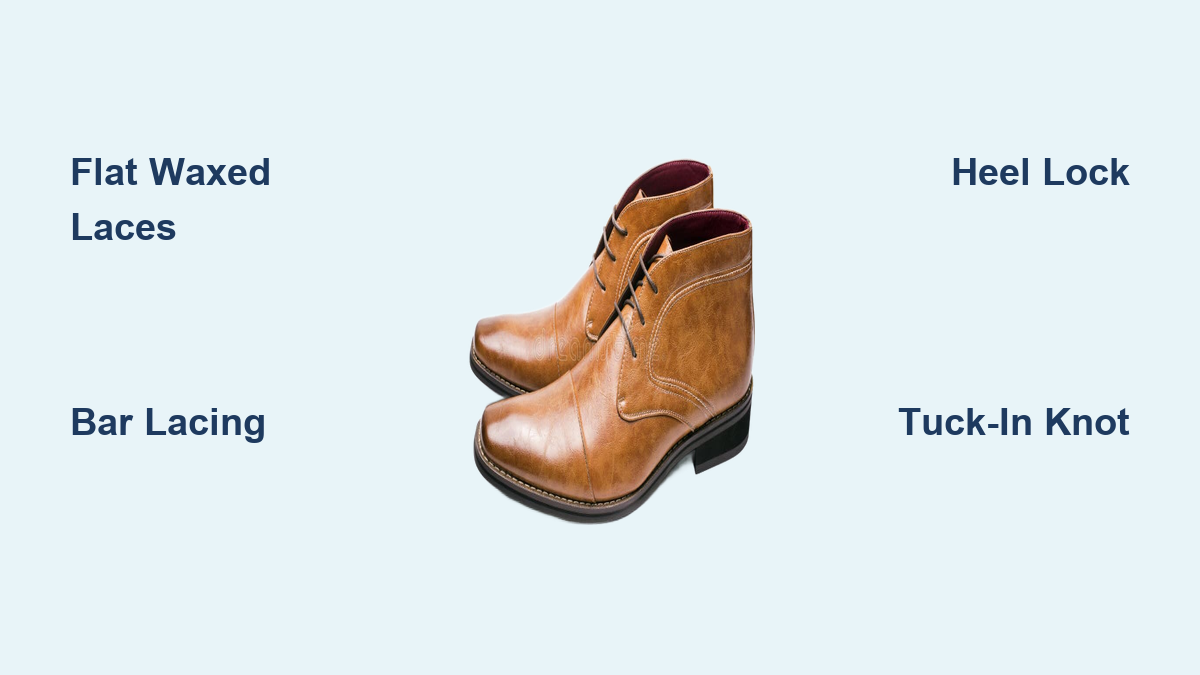
How to Lace Dress Boots
You bought premium leather dress boots, yet messy laces ruin the silhouette instantly. The wrong pattern creates bulk, shifts the tongue, or looks too casual for your suit.
This guide teaches you how to lace dress boots using methods designed for formal elegance and comfort. You will learn to select flat laces, execute bar lacing for black-tie events, and fix heel slippage without visible knots.
Select Flat Waxed Laces for Formal Wear

Your lacing journey begins before you thread the first eyelet. The type of lace determines whether your boots look refined or rugged. Round laces add unnecessary bulk and often belong on hiking gear.
Why Flat Laces Suit Dress Boots
Flat laces lie flush against the leather tongue. This creates a sleek front panel that complements sharp tailoring. They conform better to eyelets and hold knots more securely than round alternatives.
Choose Waxed Cotton for Best Results
Waxed cotton offers the ideal balance of style and function. The wax coating prevents fraying and helps the lace maintain its shape throughout the day.
* They resist moisture better than untreated cotton.
* They hold tension without slipping.
* They age beautifully with the leather.
Expert Note: Avoid synthetic paracord or thick nylon rounds. These materials scream “work boot” and clash with formal attire.
Execute Standard Criss-Cross Lacing Correctly
The standard criss-cross is the universal default for good reason. It distributes tension evenly and works with any eyelet configuration. When done precisely, it offers a clean look suitable for daily office wear.
Step-by-Step Criss-Cross Method
- Thread both lace ends from the inside out through the bottom eyelets.
- Cross the left lace over the tongue and thread it under the right eyelet above.
- Repeat this diagonal crossing pattern up to the top eyelets.
- Ensure every “X” sits symmetrically on the tongue.
Common Mistakes to Avoid
Many people let the tongue drift to one side while lacing. This causes uneven pressure and an unkempt appearance. Pull the tongue forward and center it after every cross. If one side of your “X” pattern dips lower than the other, restart with equal lace lengths.
Apply Bar Lacing for Black-Tie Events

Bar lacing (or straight lacing) creates horizontal lines across the front of the boot. This method offers the highest level of formality and mimics the clean lines of a tuxedo. It is the top choice for weddings and business formal settings.
How to Create Straight Horizontal Bars
- Insert laces from the outside in through the bottom eyelets.
- Take the left end and run it straight up inside the boot to the next eyelet on the same side.
- Pull it across the tongue and thread it outside in through the opposite eyelet.
- On the right side, skip the immediate next eyelet and go to the one above it.
- Run this end straight up inside, then cross it over to the opposite side.
Handling Odd Numbers of Eyelets
Some boots have an odd number of eyelet pairs. In this case, complete the pattern normally but finish with a hidden cross under the tongue. This preserves the straight-bar illusion on the exterior.
Pro Tip: For a seamless finish, do not tie a bow. Tuck the excess lace ends up inside the boot shaft. This “no-bow” look is perfect for cropped trousers.
Use Over-Under Lacing for Easy Adjustments

The over-under method is a smarter variation of the criss-cross. It reduces friction between the lace and the eyelet metal. This makes tightening or loosening your boots significantly easier during the day.
Benefits of Alternating Crossover Points
Standard lacing rubs against the same spot on the eyelet constantly. Over-under lacing alternates the friction point.
* Laces slide smoother when you pull them tight.
* Internal wear on the lace decreases over time.
* The interior of the boot feels less abrasive against your foot.
Execution Steps for Over-Under Pattern
- Check your eyelet count. Start from the outside if even, inside if odd.
- Cross the first lace over the tongue and under the opposite eyelet.
- Cross the next lace under the tongue and over the opposite eyelet.
- Continue alternating this path until you reach the top.
- Finish with a standard knot or tuck the ends.
This technique creates a refined look with functional benefits for those who walk extensively.
Prevent Heel Slippage with a Hidden Lock

New dress boots often suffer from heel slippage. A loose heel causes blisters and ruins your stride. You can fix this with a heel lock modification that remains invisible to observers.
Create a Discreet Runner’s Loop
- Lace normally using your preferred method up to the second-to-last eyelets.
- Instead of crossing over, run each lace end straight up the same side to the top eyelet.
- This creates two vertical loops on either side of the boot opening.
- Pull each lace end under the opposite vertical loop.
- Pull tight to lock the heel in place, then tie normally.
This technique secures the ankle without adding bulky knots. It is ideal for narrow heels or stiff leather that has not yet broken in.
Avoid These Common Lacing Errors
Even minor mistakes can downgrade the look of high-end footwear. Attention to detail separates a polished appearance from a sloppy one.
Critical Mistakes to Eliminate
- Crooked Tongue: Caused by uneven pulling. Fix by centering the tongue before tightening each section.
- Uneven Lengths: One side hangs lower than the other. Measure laces before starting or trim them if too long.
- Bulky Knots: Large bows distract from the boot line. Use the tuck-in method or a hidden knot under the tongue.
- Wrong Lace Length: Laces that are too short prevent full lacing. Laces that are too long create messy loops.
Recommended Lace Length Chart
| Eyelet Pairs | Ideal Lace Length |
|---|---|
| 6–7 Pairs | 48 inches |
| 7–8 Pairs | 60 inches |
| 8–9 Pairs | 72 inches |
| 9–10 Pairs | 84 inches |
Add 12 inches for every additional pair of eyelets beyond ten.
Enhance Style with Kilties and Speed Hooks
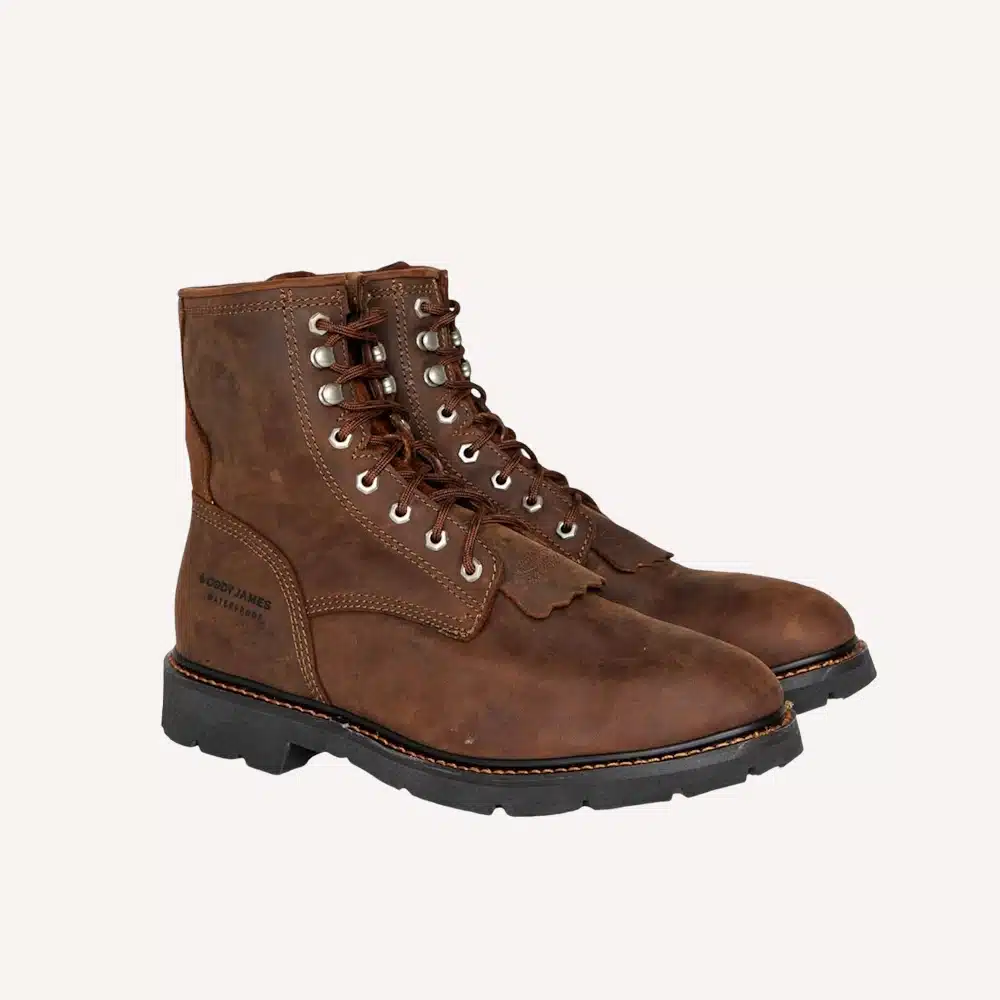
Accessories can elevate the function and look of your dress boots. Kilties protect the tongue, while speed hooks simplify the process.
Installing a Kiltie for Protection
A kiltie is a false tongue that shields the leather from dirt and scuffs.
1. Lace through the bottom two eyelets of the kiltie first.
2. Thread these laces through the corresponding boot eyelets.
3. Continue your chosen lacing pattern normally.
4. At the top, pull laces through the upper eyelets of the kiltie and tighten.
Utilizing Speed Hooks Efficiently
Some dress boots feature metal hooks at the top. Do not thread laces through these like eyelets. Instead, wrap the lace around the hook. Maintain your established over/under sequence for consistency. This allows for rapid removal while keeping the lower section secure.
Maintain Your Laces for Long-Term Polish
A great lacing job fails if the laces themselves are worn out. Regular maintenance ensures your boots always look their best.
Prevent Wear and Tear
Friction points cause laces to fray over time. Switch to the over-under method to reduce stress on specific spots. Inspect your laces monthly for thinning or discoloration.
Replace Worn Materials Immediately
Frayed laces undermine expensive boots. Replace them at the first sign of damage. Stick to waxed cotton or high-quality synthetic flat laces. Avoid round paracord as it looks out of place on formal footwear. Iron cotton laces gently on low heat to remove kinks before reinstalling them.
Frequently Asked Questions About Lacing Dress Boots
What is the most formal way to lace dress boots?
Bar lacing (straight lacing) is the most formal method. It creates clean horizontal lines that pair perfectly with suits and tuxedos. For the sleekest look, tuck the lace ends inside the boot instead of tying a bow.
How do I stop my dress boot tongue from sliding?
Center the tongue manually before tightening each cross. Using flat laces helps hold the tongue in place better than round laces. You can also stitch a small loop on the tongue to thread the lace through.
Can I use round laces on dress boots?
It is not recommended. Round laces add bulk and look too casual for formal occasions. Flat laces lie flush against the leather and provide the sleek profile required for dress boots.
What length laces do I need for 8-eyelet dress boots?
For boots with 8 to 9 pairs of eyelets, you generally need 72-inch laces. If you plan to use complex patterns like heel lock or ladder lacing, consider going up to 84 inches.
How do I hide the knot on my dress boots?
Use the “tuck-in” method. After lacing to the top, pull the excess lace tight and tuck the ends up inside the boot shaft between the leather and your ankle. This creates a seamless, knot-free appearance.
Key Takeaways for Mastering How to Lace Dress Boots

Mastering how to lace dress boots transforms both the fit and the aesthetic of your footwear. Start by choosing flat, waxed cotton laces to ensure a sleek profile. Select bar lacing for formal events and over-under lacing for daily comfort and adjustability.
Always center your tongue and avoid bulky knots to maintain a polished silhouette. Check your lace length against the eyelet count to prevent messy overlaps. With the right technique, your boots will look intentional, fit securely, and elevate your entire outfit.