How to Sew on Lace: Quick Steps
Sewing on lace transforms simple fabric into elegant couture, but it demands precise handling to avoid ruining delicate fibers. Many beginners struggle with puckering or visible holes because standard sewing methods often damage sheer materials.
This guide reveals exactly how to sew on lace using professional techniques for invisible seams and secure attachments. You will learn proper preparation, tool selection, and specific stitching methods to achieve high-end results on any garment.
Pre-Wash Fabric and Lace to Prevent Shrinkage
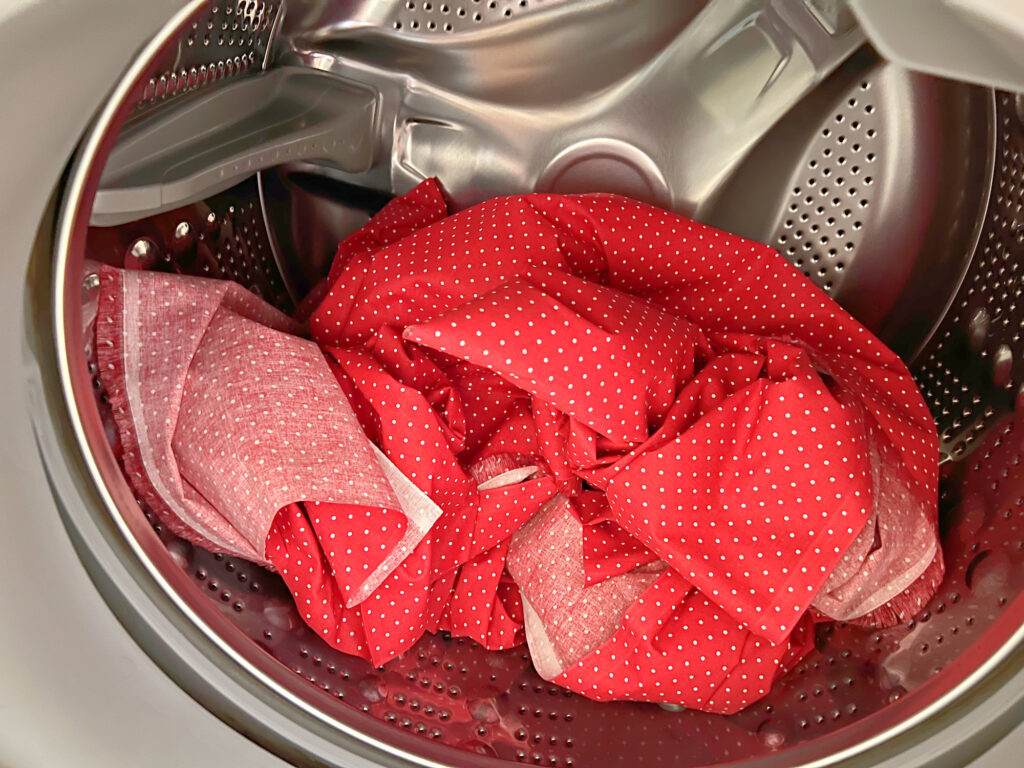
Proper preparation ensures your lace and base fabric behave identically after washing. Skipping this step often leads to differential shrinkage, where one material shrinks more than the other.
Match Washing Methods for All Components
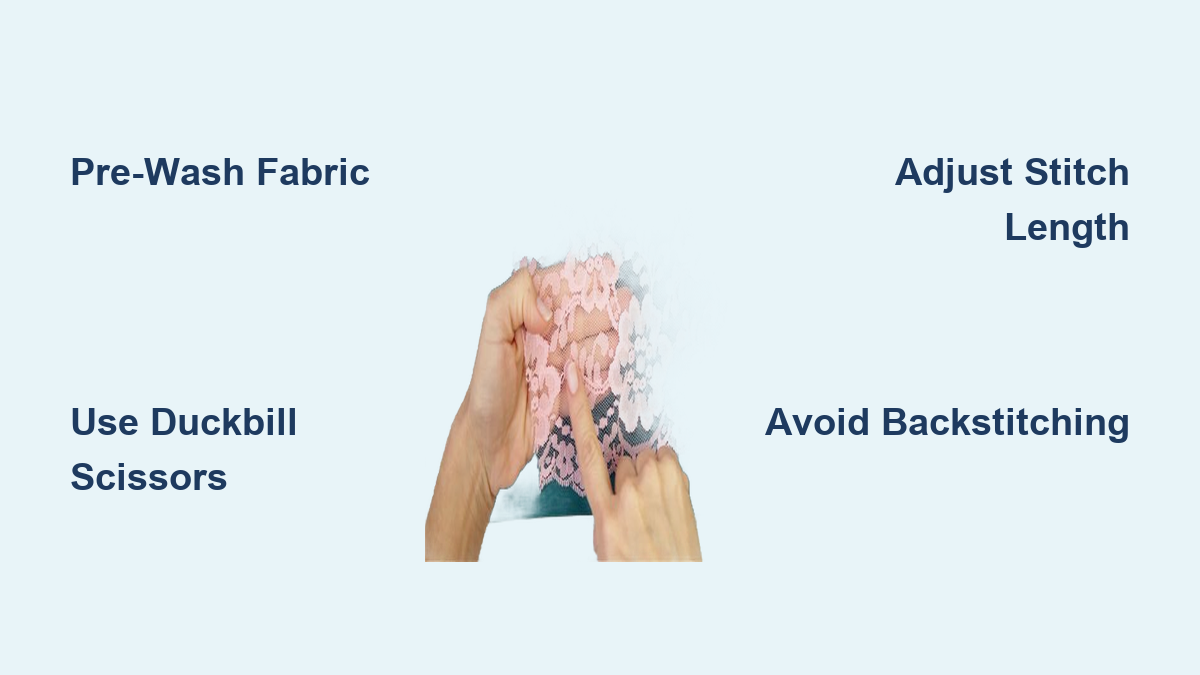
Always pre-wash both the base fabric and the lace using the method planned for the finished garment. If the final piece requires dry cleaning, treat raw materials the same way or test a scrap first. Many laces with sequins or metallic threads are dry-clean only and may bleed or shrink in water.
Stabilize Slippery Sheer Fabrics
Delicate fabrics like cotton voile or chiffon shift easily under the needle. Apply spray starch lightly to the wrong side to add body and prevent the feed dogs from eating the fabric. This stabilization is crucial during lace insertion or appliqué work where precision matters most.
Plan Lining and Thread Visibility Early
Decide immediately if the lace area will remain sheer or feature a lining. A black lining under sheer lace adds modesty while preserving design visibility. Choose thread color based on what shows, matching the lace or using clear thread for invisible stitching on multicolored patterns.
Select Specialized Tools for Delicate Lace Work

Standard sewing tools can snag fibers or cut too deeply into intricate patterns. Using specialized equipment protects delicate materials and ensures clean results.
Use Precision Cutting Scissors
Regular scissors risk crushing lace fibers or cutting underlying fabric.
* Duckbill scissors: Slide under lace to trim excess fabric without cutting the top layer.
* Appliqué scissors: Ideal for tight spaces and trimming right up to stitching lines.
* Sharp embroidery scissors: Pointed tips allow cutting intricate shapes without damaging surrounding threads.
Replace Pins with Clips or Weights
Pins leave permanent holes and slip out of open weave patterns easily. Quilting clips hold lace securely without piercing the fibers. Fabric weights keep layers flat during placement. If you must pin curved edges, insert the pin near a solid part and sew over the lower end before removing it.
Choose Correct Needles and Thread
Use a 68/10 or 70/10 needle for fine fabrics to minimize visible holes. Switch to a ballpoint or stretch needle for stretch lace to glide between fibers instead of cutting them. Match thread to the dominant lace color or use clear monofilament thread for invisible seams on multicolored designs.
Adjust Machine Settings for Sheer Materials
Standard machine settings often damage lace by creating too much tension or stitch density. Fine-tuning these settings prevents puckering and fiber stress.
Set Proper Stitch Length and Tension
Increase stitch length to 2.5–3 mm to reduce stress on delicate fibers. Test tension on scrap fabric first to ensure stitches lie flat without looping or pulling. If the machine eats the lace, lower the upper tension slightly until the fabric feeds smoothly.
Utilize Specialized Presser Feet
A walking foot or knit foot feeds top and bottom layers evenly, which is essential for stretch lace. A free-motion foot improves control when guiding sheer or bunched fabric. For hems, a narrow rolled hem foot on a serger creates nearly invisible edges on lace borders.
Secure Stitches Without Backstitching
Backstitching bunches lace and creates unsightly bulk. Instead, manually knot threads at the start and end of seams. Use your machine’s locking stitch function or sew two to three stitches in place with a rocking motion. For hand finishing, pull threads to the underside and knot them under a bead or seam.
Finish Edges to Stop Fraying Completely
Lace edges fray easily and require clean finishes that disappear on sheer fabrics. Professional techniques enclose raw edges for a polished look.
Construct French Seams for Invisible Joins
French seams are ideal for side seams on sheer fabrics because they fully enclose raw edges.
1. Sew the first seam at ¼ inch with wrong sides together.
2. Trim the seam allowance down to ⅛ inch.
3. Fold fabric so right sides are together, enclosing the raw edge.
4. Sew again at ⅜ inch to complete the seam.
Apply Serged Rolled Hems for Clean Borders
Use a serger with a narrow rolled hem foot for hems on skirts or sleeves. This creates a tiny, professional edge that does not show through sheer lace. Avoid folded hems as they add unnecessary weight and visibility to delicate garments.
Avoid Heat Distortion When Pressing
Heat and pressure can distort lace permanently. Press seams gently with a pressing cloth and low heat setting. Never iron directly over beads or sequins, as they can melt or crack synthetic fibers. Use steam or a cool press instead for embellished areas.
Insert Lace Panels Into Fabric Seamlessly
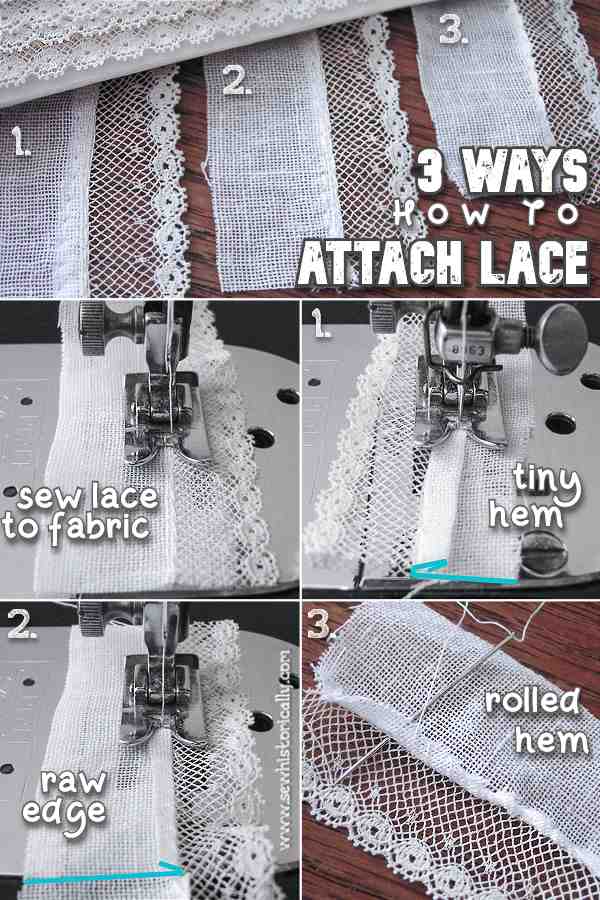
Lace insertion integrates the material into the garment structure rather than just decorating the surface. This technique requires careful alignment and trimming.
Distinguish Between Insertion and Edging Lace
Insertion lace has two straight edges designed to be sewn between fabric panels. Edging lace features one straight edge and one decorative scalloped edge for borders. Choose flat or gathered lace based on your specific design needs.
Execute the Insertion Process Step-by-Step
- Pin lace to the right side of the fabric where insertion will occur.
- Sew one edge of the lace down, sewing the outer edge first on curves.
- Sew the opposite edge of the lace securely.
- Trim excess lace to match the fabric edges exactly.
- Flip to the wrong side and cut down the center between the two seams.
- Clip corners and curves to reduce bulk and allow flattening.
- Press seams open so fabric lies flat against the lace.
- Topstitch on both sides just outside original seams to secure edges.
- Trim excess fabric carefully using duckbill scissors to avoid cutting the base.
Cover Existing Seams with Decorative Lace
To cover a seam decoratively, sew the garment seam with a half-inch allowance and press open. Trim the allowance to a quarter inch to reduce bulk. Center three-quarter inch wide insertion lace over the seam and follow the standard insertion steps. Bulk is unavoidable but minimized by thorough trimming.
Apply Lace Appliqués for Invisible Embellishment
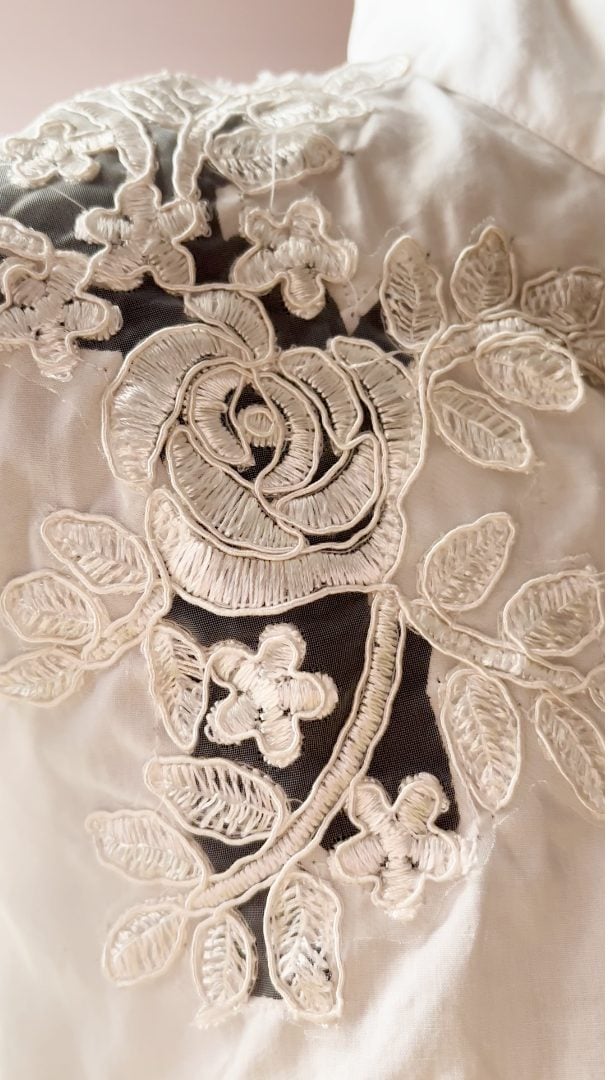
Appliqué adds lace motifs to the surface for custom designs. This technique allows for creative placement and layering of textures.
Cut Appliqué Pieces Safely and Precisely
Use sharp embroidery scissors to cut along the corded edge of lace motifs. Do not cut through the lace threads themselves. For beaded lace, leave one thread intact at the back to secure beads before cutting. Treat lace like a jigsaw puzzle by cutting between designs and reassembling them into new patterns.
Shape Lace to Fit Curves Perfectly
For convex curves, cut between floral shapes and spread slightly to follow the curve. For concave curves, cut and overlap the lace, using excess material to fill gaps. To fit a neckline, cut between two flowers and overlap the center to conform to the shape.
Sew Appliqués with Invisible Stitches
- Start from underneath by inserting the needle from the wrong side.
- Bring the needle up just outside the lace edge so the knot stays hidden.
- Stitch by going up through lace, down through fabric, and up through lace every eighth of an inch.
- Avoid double-piercing the same spot to prevent visible holes on the inside.
- Finish by knotting thread beneath a bead or sequin and tucking the end under the lace.
Prevent Common Mistakes and Fix Errors
Small errors show immediately on sheer fabrics, but knowing how to fix them saves your project. Understanding causes helps you avoid these issues entirely.
Fix Puckering and Fabric Slippage
Puckering usually results from stitch length being too short or tension too tight. Increase stitch length to 2.5–3 mm and reduce upper tension to fix this. Use spray starch or a walking foot to prevent slippage on sheer fabrics during sewing.
Stop Fraying and Reduce Bulk
Enclose raw edges with French seams or serged hems to stop fraying completely. Trim seam allowances to a quarter inch or less to reduce bulk. Use duckbill scissors to trim close to stitching without cutting the base fabric underneath.
Repair Accidental Nicks in Fabric
If you accidentally cut the base fabric during insertion, cover small nicks with a tight zig-zag stitch. For larger tears, hide the damage with a perpendicular piece of insertion lace. These repairs camouflage errors effectively when done carefully.
Start Simple Projects to Build Confidence
Sewing on lace takes time and patience, but it is accessible even for beginners. Starting with small items helps you master techniques before tackling full garments.
Begin with Small Manageable Projects
Try adding lace to blouse cuffs, yokes, napkins, or table runners first. These projects let you practice insertion and appliqué without the pressure of fitting a full garment. Success on small scales builds the confidence needed for complex dresses.
Understand the Time Investment Required
Lace work is slow and detailed. One insertion may require four rounds of sewing, one press, and three separate cuts. The result elevates simple fabric into high-fashion detail, making the time investment worthwhile for special occasions.
Maintain and Wash Garments Properly
Wash by hand or dry-clean if the lace contains beads or delicate threads. Always follow care instructions for the most delicate component in the garment. Check for loose beads or threads after every wear and secure them immediately to prevent unraveling.
Frequently Asked Questions About Sewing on Lace
Can I use regular pins on lace fabric?
No, regular pins often leave permanent holes or slip out of the open weave. Use quilting clips or fabric weights to hold lace securely without piercing the fibers. If pins are absolutely necessary, sew over the lower end before removing them.
What needle size works best for sheer lace?
Use a fine needle sized 68/10 or 70/10 to minimize visible holes in delicate fabrics. For stretch lace, switch to a ballpoint or stretch needle to glide between fibers rather than cutting them.
How do I stop lace from puckering when sewing?
Increase your stitch length to 2.5–3 mm and reduce upper tension to prevent pulling. Using a walking foot and stabilizing the fabric with spray starch also helps feed layers evenly without distortion.
Is backstitching safe for securing lace seams?
No, backstitching creates bulk and can damage delicate lace fibers. Secure threads by manually knotting them, using a locking stitch function, or sewing two to three stitches in place without reversing.
How do I hide stitches on multicolored lace?
Use clear monofilament thread for invisible seams on multicolored lace. This thread disappears against various colors, ensuring your stitching remains undetectable on sheer or patterned materials.
Key Takeaways for Sewing on Lace Successfully
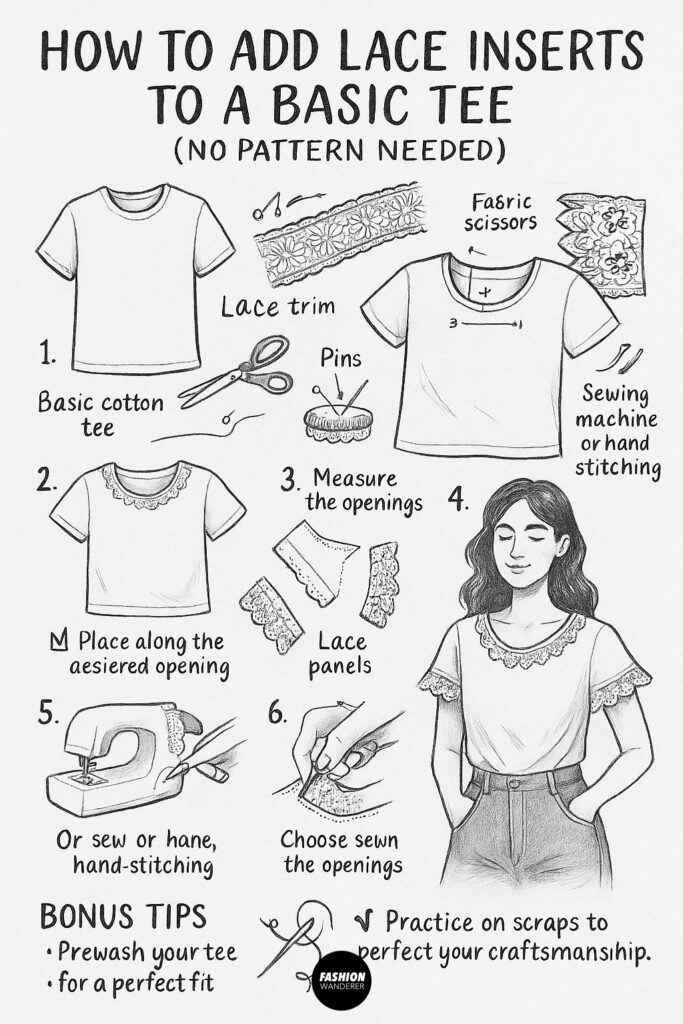
Mastering how to sew on lace requires preparation, specialized tools, and adjusted techniques. Pre-washing all components prevents differential shrinkage, while using duckbill scissors and clips protects delicate fibers from damage.
Avoid backstitching and adjust your machine settings to prevent puckering and bulk. Start with small projects to build confidence, and always finish edges with French seams or rolled hems for a professional look.
Take action today by gathering your specialized tools and testing these techniques on a scrap piece. With patience and precision, you can transform simple fabrics into elegant, couture-quality garments.