How to Lace Adidas Samba
Your new Adidas Sambas look great, but the default factory lacing often ruins their clean streetwear potential. Learning how to lace Adidas Samba shoes correctly transforms them from basic sneakers into a styled statement piece.
This guide reveals the exact techniques pros use to achieve the trending loose look or a secure daily fit. You will master specific finishing moves for left and right feet to ensure your laces stay flat and your logo stays visible.
Choose the Right Lacing Style for Your Needs
Selecting the correct method depends entirely on whether you prioritize fashion aesthetics or foot security. The right choice prevents discomfort and ensures your shoes match your outfit’s vibe perfectly.
Identify Your Primary Goal
- Streetwear Fashion: Requires the loose-laced method with hidden finishes for a relaxed silhouette.
- Daily Commuting: Needs a secure criss-cross pattern that prevents slipping during long walks.
- Minimalist Aesthetic: Benefits from parallel bar lacing that removes diagonal visual clutter.
Each approach offers distinct advantages regarding comfort and visual appeal. Your specific activity level should dictate which technique you apply today.
Select Proper Lace Materials
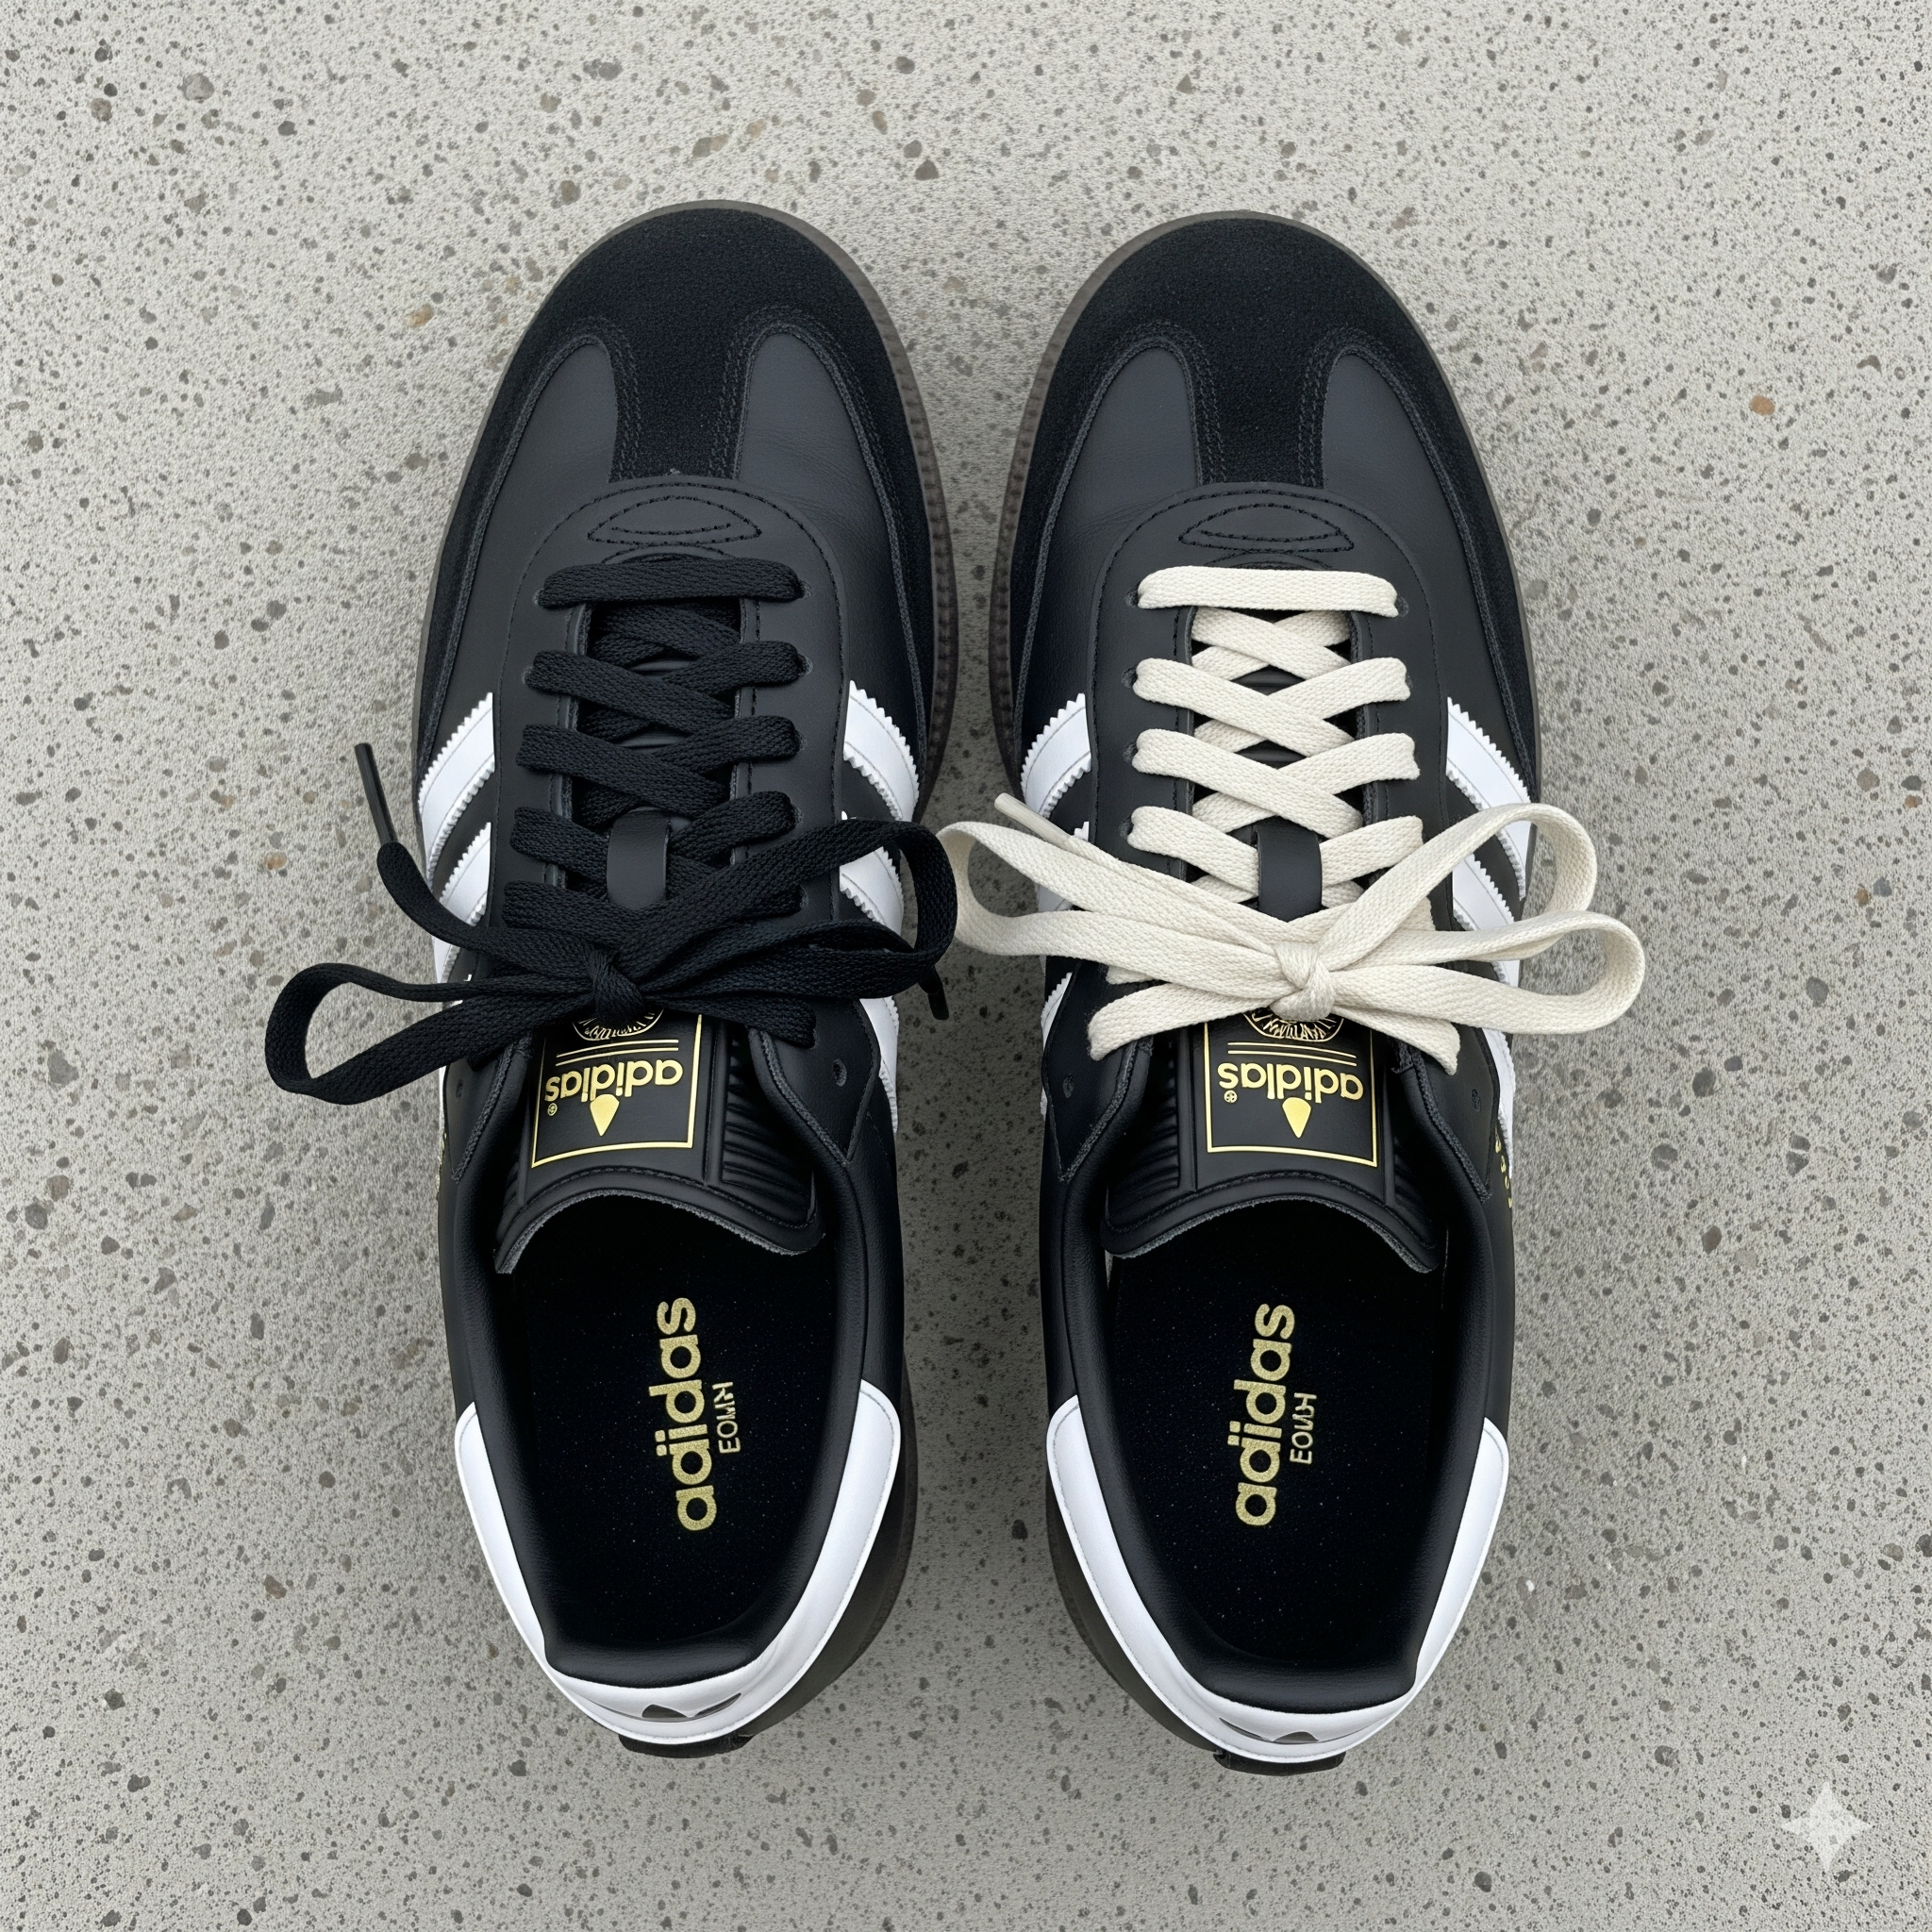
Flat cotton laces are essential for achieving the authentic Samba look without unwanted bulk. Round or thick synthetic laces tend to twist easily and create messy bumps across the toe box.
Master the Loose-Laced Streetwear Look

The loose-laced style is the gold standard for modern street fashion enthusiasts who want a relaxed yet intentional appearance. This method relies on specific tension control to keep the shoe secure without feeling tight.
Prepare Flat Untwisted Laces
Start by manually flattening your laces between your fingers to remove any factory twists before threading. This simple step ensures the laces lay flush against the leather for that crisp editorial look.
Pro Tip: Use original flat cotton laces if possible since they hold their shape better than cheap alternatives.
Execute the Alternating Bottom-Up Pattern
- Thread the outside lace end up through the bottom outside eyelet and cross it over.
- Push the same lace end down through the inside bottom hole while keeping it flat.
- Take the inside lace and cross it over to thread down through the second outside hole.
- Continue this staggered pattern upward by alternating which side you thread next.
Pull each section slightly outward horizontally rather than tightening vertically to maintain width. This technique creates space for your foot while keeping the laces symmetrical.
Decide on Tongue Loop Usage
You can thread the lace through the central tongue loop to keep it centered during movement. Alternatively, skip this loop entirely if you prefer an uninterrupted visual line across the vamp.
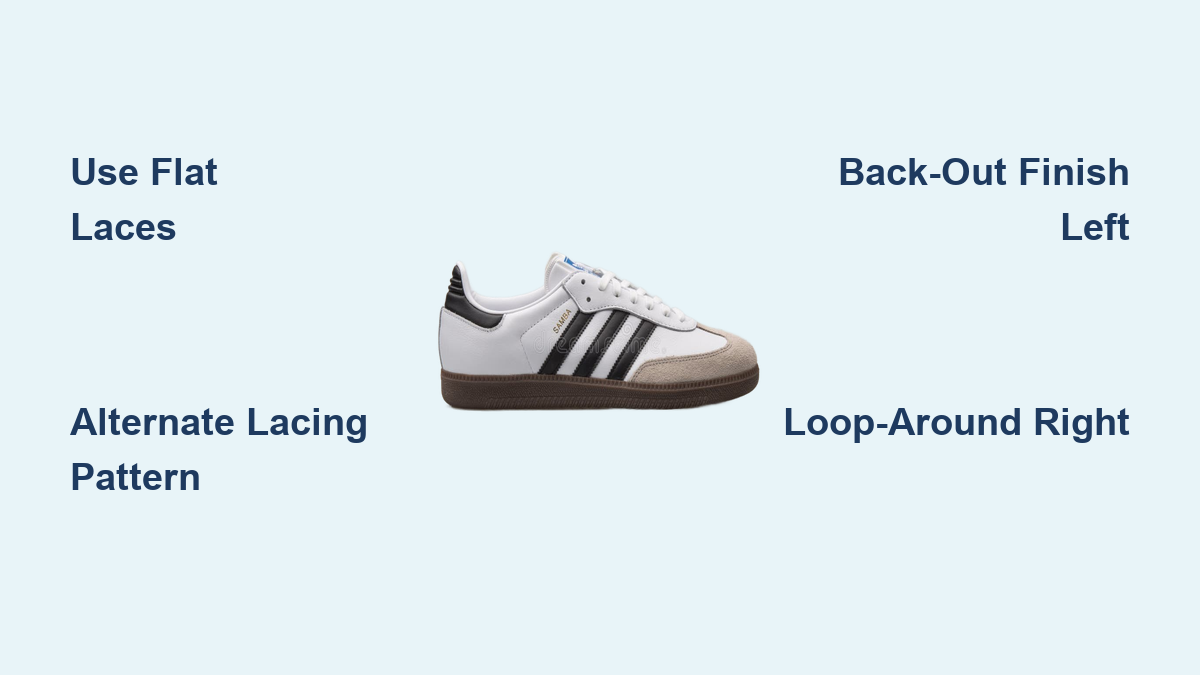
Apply the Back-Out Finish for Left Shoe
This specific finish creates a minimalist look where the lace ends disappear behind the tongue wings.
- Pull the outside lace straight out through the back of the top eyelet instead of crossing over.
- Repeat this action with the inside lace so both ends emerge from the back.
- Adjust the length by pulling each lace back through until both sides match perfectly.
- Tuck the resulting loops behind the tongue wings to lock them in place securely.
Apply the Loop-Around Finish for Right Shoe
Use this method on your right foot for a slightly tighter hold that still maintains the loose aesthetic.
- Lace normally to the top eyelets using the alternating pattern described earlier.
- Bring the outside lace around the back and feed it down through the inside top hole.
- Feed the inside lace around the back and down through the outside top hole similarly.
- Push each lace end up from underneath the hole so the tip emerges on top again.
- Balance the loop sizes by tugging gently then tuck both behind the tongue.
Tuck Ends Under the Tongue
Push both finished lace ends underneath the tongue to hide them completely from view. Pull the tongue up over the laces to lock everything in place and center the Adidas trefoil logo.
Bonus Detail: Thread long laces through the optional side eyelets near the ankle to form small decorative loops.
Use Standard Criss-Cross for Everyday Wear

The standard criss-cross method provides reliable support and symmetry for active days or rainy weather. It is the most durable option for users who need their shoes to stay secure during movement.
Start With Equal Lengths
Insert both lace ends into the bottom eyelets from the top down to begin the process correctly. Grab both ends together and pull them through simultaneously to guarantee perfect symmetry from the start.
Build the Criss-Cross Pattern
- Cross one lace over the tongue and feed it up through the second eyelet on the opposite side.
- Repeat with the other lace by crossing over and going up through its corresponding hole.
- Continue alternating up the shoe while pulling gently after each cross to remove slack.
Ensure your laces form clean X shapes without any twists or kinks along the way.
Secure the Tongue Loop
Thread one lace through the tongue loop at the midpoint to anchor the tongue firmly. Cross the other lace over the first one before passing it through the loop to create a locking mechanism.
Finish With a Neat Bow
Tie a standard bow at the top and double-knot it if you plan to be active all day. Center the knot so it sits straight and does not drag down on one side of the shoe.
Try Alternative Lacing Styles

These unique methods solve specific fit issues or create distinct visual effects for special occasions. They offer functional benefits beyond simple aesthetics.
Skip Midpoint for High Arches
Relieve pressure on your instep by skipping the middle set of eyelets entirely during lacing. Lace normally to the middle then jump straight up one row before resuming the criss-cross pattern.
Go Minimal With Parallel Lacing
Create horizontal bars across the shoe by running laces straight across without crossing them. Start at the bottom and run one lace straight across to the opposite hole then bring it up inside.
Embrace the Just Thrown On Vibe
Achieve an ultra-casual look by lacing loosely without tying a final knot at the top. Tuck the loose ends inside the shoe or let them dangle naturally for an effortless vibe.
Pick the Right Laces and Know Your Shoe
Understanding your specific Samba model helps you choose the best lacing strategy for maximum comfort. Different eyelet layouts require slight adjustments to these core techniques.
Use Flat Cotton Laces Only
Flat laces lie flush against the shoe and resist the twisting that ruins clean lines. Avoid round or thick laces because they bunch up and destroy the sleek Samba aesthetic.
Understand the Eyelet Layout
Most models feature six to eight standard eyelets plus an optional side eyelet near the ankle collar. The central tongue loop acts as a stabilizer that you can use or ignore based on your needs.
Consider Your Sock Choice
Wear thin socks when lacing loosely to allow the laces to stretch slightly without binding. If you wear thick socks, lace the shoes while wearing them to avoid tightness later.
Fix Common Lacing Problems

Even experienced sneakerheads encounter issues like uneven lengths or shifting tongues during the process. These quick fixes address the most frequent complaints users face.
Correct Uneven Lace Lengths
Unequal starting lengths cause one side to hang lower than the other throughout the shoe. Always pull both ends through the first eyelets together to reset your baseline symmetry.
Eliminate Twisted Laces
Twists happen when you fail to flatten the lace manually before threading it through an eyelet. Stop and flatten every segment with your fingers before inserting it to maintain a smooth surface.
Stop Tongue Shifting
A drifting tongue usually means you skipped the stabilizing loop or failed to tuck the ends properly. Use the tongue loop in your pattern or tuck lace ends under the tongue to lock it in place.
Relieve Pressure on Top of Foot
Vertical pulling creates tight spots that hurt the top of your foot during long wear. Pull outward horizontally after each cross or try the skip-midpoint method for high insteps.
Style by Use Case Scenario
Match your lacing technique to your daily activities for the best balance of function and fashion. This table helps you decide quickly based on your schedule.
| Scenario | Best Lacing Method |
|---|---|
| Streetwear Fashion | Loose-laced with Back-Out finish |
| Daily Commuting | Loose-laced with Loop-Around finish |
| Walking or Active Use | Standard criss-cross with tongue loop |
| Wide Feet or High Arches | Skip-midpoint or parallel lacing |
| Minimalist Aesthetic | Bar lacing with hidden knot |
Troubleshooting and Optimization Tips
Regular maintenance keeps your lacing looking fresh and prevents permanent deformation of the materials. Simple habits extend the life of both your laces and your shoes.
Prevent Fraying and Damage
Poke lace ends gently through tight eyelets to avoid fraying the aglet or fabric. Force causes unnecessary wear that shortens the lifespan of your lacing system significantly.
Maintain Long-Term Shape
Re-lace your shoes regularly to prevent the laces from setting in a twisted or stretched shape. Wash flat cotton laces separately to keep your Sambas looking pristine and new.
Frequently Asked Questions About Lacing Adidas Samba
How do I keep my Samba laces from coming undone?
Use the Loop-Around finish method which locks the lace ends behind the tongue wings securely. This technique eliminates the need for a traditional knot while maintaining tension.
Can I use round laces for the loose streetwear look?
No, round laces twist easily and create bulk that ruins the clean flat aesthetic required. Stick to flat cotton laces for the authentic loose-laced appearance.
Why does my tongue keep moving to the side?
You are likely skipping the central tongue loop or failing to tuck the lace ends underneath. Thread the lace through the loop or tuck the ends under the tongue to stabilize it.
What is the difference between Back-Out and Loop-Around finishes?
The Back-Out finish pulls laces straight out the back for a minimalist look while Loop-Around feeds them back through for security. Left shoes typically use Back-Out and right shoes use Loop-Around.
How do I fix pressure on the top of my foot?
Try the skip-midpoint technique where you jump over the middle eyelets to relieve instep pressure. You can also pull laces horizontally instead of vertically to widen the fit.
Do I need special laces for Adidas Sambas?
Original flat cotton laces work best because they hold their shape and resist twisting effectively. Premium cotton replacements are recommended if your original laces are worn out.
Key Takeaways for Lacing Your Adidas Samba
Mastering how to lace Adidas Samba shoes transforms both their comfort and visual impact significantly. The difference between a sloppy fit and a styled look often comes down to flattening your laces and choosing the right finish.
Remember to use flat cotton laces, apply the alternating pattern for loose styles, and finish left and right shoes differently for optimal balance. Start with the loose-laced method today to instantly upgrade your streetwear game.