How to Make a Lace Collar: Quick Steps
A simple blouse often lacks the drama needed for a special occasion, but learning how to make a lace collar instantly transforms any outfit into a statement piece. Whether you desire vintage elegance or a bold ruffled look, this accessory adds unique character that store-bought items rarely match.
This guide details two distinct construction methods using precise measurements and professional finishing techniques. You will discover how to select the right materials, execute flawless seam finishes, and troubleshoot common issues to create a polished collar that lasts.
Select the Right Lace and Base Materials
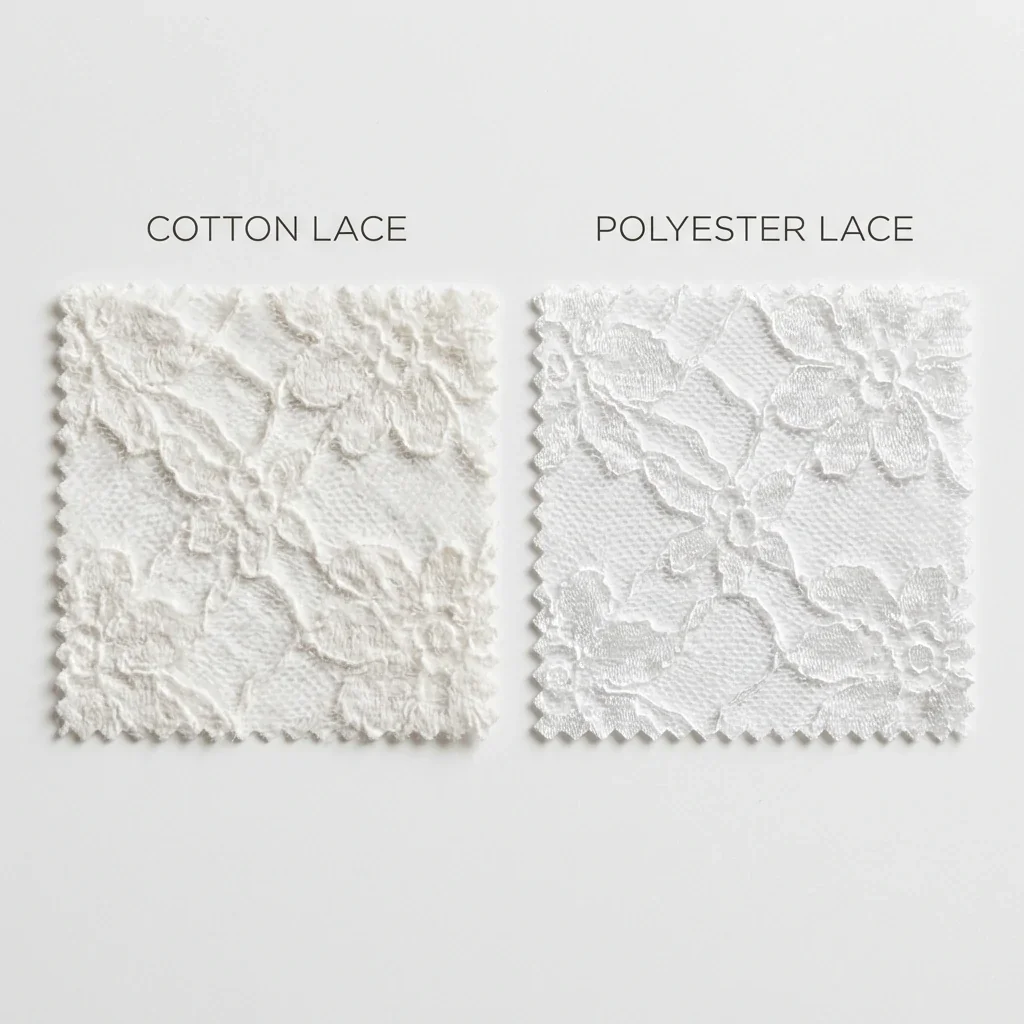
Your project success depends heavily on choosing materials that match your desired silhouette and structural needs.
Choose Lace by Style and Structure
Eyelet fabric features embroidered open-work patterns and works well for crisp, classic looks. Cotton or linen eyelet provides a traditional feel, while synthetic blends offer durability but require heat testing. Scalloped lace is ideal for standalone collars because its decorative edge acts as a finished hem. Lace trim works best when applied over a solid base fabric for customized width.
Select Base and Lining Fabrics
Structured collars require a stable base like felt to maintain their shape without fraying. Cut your base pieces 3 to 4 inches wide and slightly longer than your neck measurement for overlap. Use silk organza as a lining for sheer lace to add body without bulk. Apply medium-weight fusible interfacing to soft fabrics if extra stiffness is needed.
Gather Essential Tools and Notions
Having the correct equipment ensures clean cuts and secure stitches on delicate fabrics.
Use the Correct Thread and Needle
Match your thread type to the lace fiber content for the best results. Use size 50 cotton or polyester thread for cotton and linen eyelet projects. A Universal 70/10 needle works best for lightweight materials, while a Jeans 70/10 needle pierces dense synthetic blends cleanly.
Prepare Cutting and Pressing Supplies
Sharp fabric scissors are mandatory for cutting intricate motifs without snagging. Place a terry cloth towel under your work when pressing to protect embroidery from flattening. Keep a chopstick handy for pushing out corners on structured collars. Use a safety pin or bodkin to thread ribbon through casings easily.
Plan and Cut Collar Pieces Accurately
Proper layout prevents pattern misalignment and ensures your final piece looks professional.
Lay Out Lace in a Single Layer
Never fold lace to cut multiple layers because motifs will not align correctly. Lay the fabric flat on a clean surface to see the full pattern clearly. Position key designs at focal points like the center front or back of the collar. Align scalloped edges with your intended hemline for a seamless border.
Cut for a Seamless Finish
Cut a 44-inch by 5.5-inch rectangle for a finished ruffled necklace collar that fits most adults. For structured styles, cut two base pieces matching your neck circumference plus 1 to 2 inches for overlap. Cut your lace to the same length, allowing an extra quarter inch on each end.
Pro Tip: Cut ends at the center of a lace motif so the design mirrors itself when folded for a balanced look.
Finish Raw Edges Professionally
Preventing fraying is critical for the longevity and appearance of your lace collar.
Prevent Fraying with Smart Seams
Finish any raw edges that are not selvage before beginning assembly. Use a zigzag stitch, serger, or bias tape to seal edges effectively. Choose low-bulk finishes like French seams or bound seams with silk organza for sheer lace where seams remain visible.
Hem for Drape and Durability
Fold raw neckline edges under twice and press before stitching for a clean finish. Use a blind hem stitch or straight stitch close to the edge for security. Deep hems ranging from half an inch to one inch help ruffled collars hang smoothly. Opaque lace can utilize facings instead of traditional hems for a clean interior.
Build a Structured Double-Layer Collar

This method creates a crisp, tailored accessory perfect for attaching to garments.
Prepare and Reinforce the Base
Cut two identical pieces from felt or your chosen base fabric. Apply fusible interfacing to one piece if your fabric lacks natural stiffness. This step prevents sagging and gives the collar its defined shape.
Attach Lace to the Base
Lay one base piece right side up and place the lace on top. Align the long edges carefully and pin around all sides. Stitch along the edge using a straight stitch or narrow zigzag to secure the lace firmly.
Assemble and Turn the Collar
Place the second base piece on top with right sides together. Pin around all edges but leave a 2 to 3-inch gap on one side for turning. Sew around the perimeter with a quarter-inch seam allowance and clip curves lightly. Turn the collar right-side out through the opening.
Close the Opening and Finish
Use a chopstick to push out corners and points firmly for a crisp shape. Hand-stitch the gap closed using a ladder stitch for an invisible finish. Topstitch around the entire collar one-eighth inch from the edge for extra durability.
Craft a Ruffled Lace Necklace Collar
Create a dramatic, standalone piece with this drawstring method inspired by bold fashion statements.
Shape the Ends with Mirror Motifs
Lay your cut lace flat and identify the short ends. Fold each end inward about one inch at the center of a scallop or motif. Press the fold to set it, ensuring the design mirrors itself for symmetry.
Finish Long Edges Before Casing
Finish the long sides with a serger or zigzag stitch if they are not selvage. Complete this step before folding the casing to ensure clean edges throughout.
Create the Drawstring Channel
Fold the top long edge down 2 inches toward the wrong side to form the casing. Pin across the width to hold it in place securely. Stitch the casing 1 and 1/8 inches wide if using 7/8-inch grosgrain ribbon to allow free movement.
Insert and Adjust the Drawstring
Thread a safety pin onto one end of the ribbon and feed it through the casing. Pull both ends out evenly, leaving 6 to 8 inches free on each side for tying. Gently pull the ribbon to gather the lace until ruffles are even and full.
Press with Care to Preserve Detail
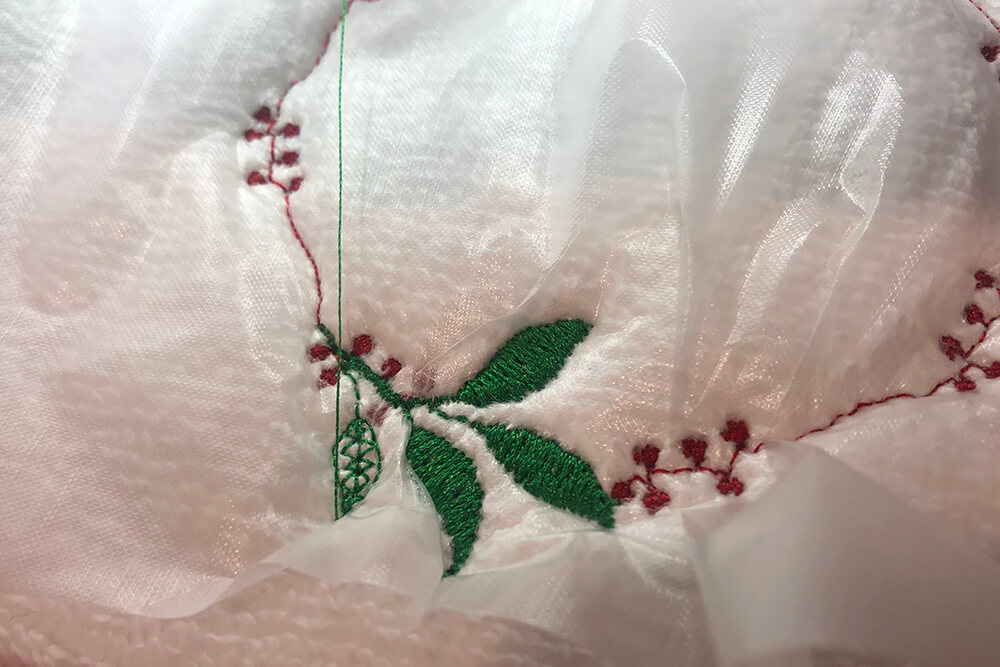
Proper pressing techniques maintain the texture and dimension of your lacework.
Protect Embroidered Surfaces
Always press lace face-down on a terry cloth towel to prevent flattening the embroidery. Use a pressing cloth for synthetic lace to shield threads from direct heat and shine. Test your iron temperature on a scrap piece first to avoid melting.
Shape Seams and Edges
Press seams flat first, then open them slightly if needed for your specific finish. Mold curves and corners into place with your fingers while the fabric is warm. Avoid steam on delicate fibers unless the care label explicitly permits it.
Troubleshoot Common Issues
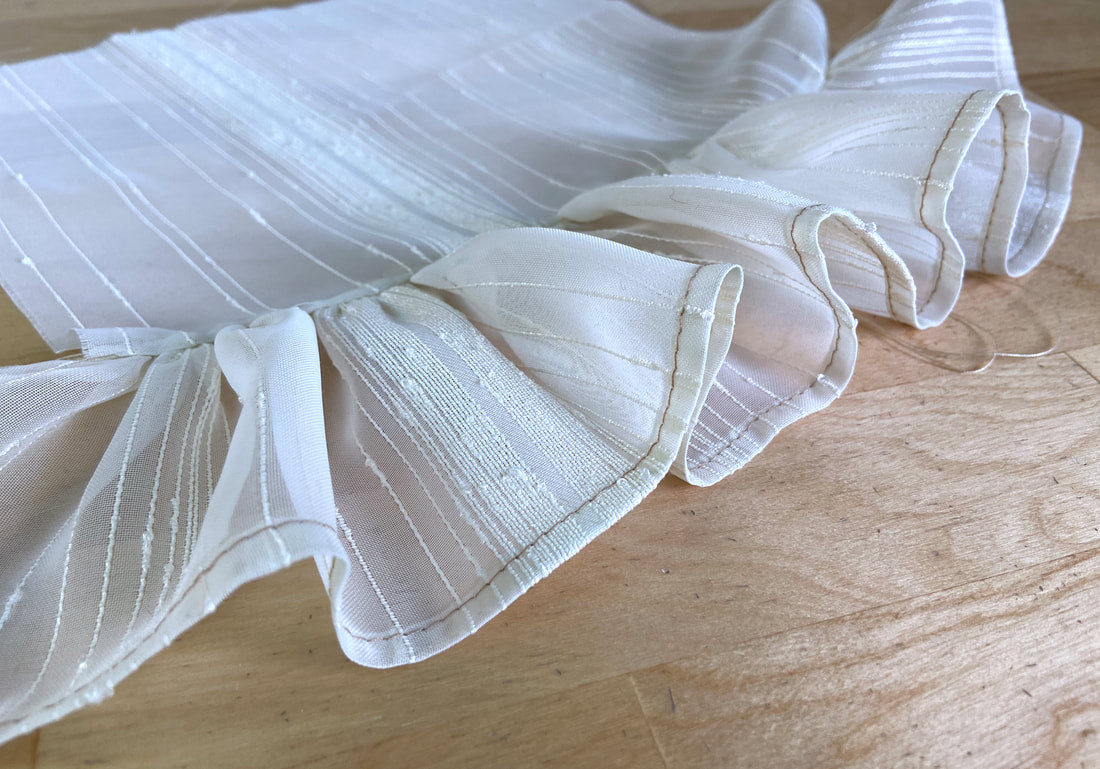
Address these frequent challenges to ensure a professional final result.
Fix Flattened Embroidery
Re-press your work face-down on a soft surface if the eyelet looks flat. The 3D effect should return once the embroidery has room to expand.
Reduce Bulky Seams
Switch to bound seams with silk organza if your current seams feel too thick. These methods encase raw edges without adding unnecessary volume.
Stop Edges from Fraying
Finish raw lace edges with a zigzag stitch before sewing to ensure longevity. Clip ribbon ends at an angle to slow down fraying over time.
Improve Ruffle Gathering
Check your casing width if the collar will not gather well. Ensure your casing is wide enough for the ribbon to pull the fabric effectively.
Style and Wear Your Lace Collar
Maximize the impact of your handmade accessory with strategic styling choices.
Pair with Vintage or Modern Outfits
Wear a delicate lace collar over a white blouse for garden parties or brunch events. Tuck it under a cardigan for subtle detail that adds texture to simple outfits.
Layer for Added Interest
Place a ruffled necklace collar over a black halter top for an evening look. Wear it over a V-neck sweater to break up solid colors and add femininity to winter knits.
Maintain and Store Properly
Proper care extends the life of your handmade lace collar significantly.
Wash with Gentle Care
Hand-wash your collar in cool water with mild detergent to preserve fibers. Lay the piece flat to dry and avoid wringing which can distort the shape.
Store to Prevent Damage
Store collars flat in a drawer or on a padded hanger to avoid crushing scallops. Keep them away from direct sunlight to prevent fading of white or ivory pieces.
Repair Loose Threads Quickly
Secure loose threads immediately with a few small stitches on the wrong side. Do not pull on loose ends as this causes unraveling of the entire motif.
Frequently Asked Questions About Making Lace Collars
What type of needle works best for lace fabric?
Use a Universal 70/10 needle for lightweight cotton or linen eyelet. Switch to a Jeans 70/10 needle for denser lace or synthetic blends to pierce tightly woven areas cleanly.
How do I prevent lace edges from fraying?
Finish raw edges with a zigzag stitch, serger, or bias tape before assembly. For sheer lace, use French seams or bound seams with silk organza for a low-bulk finish.
What dimensions do I need for a ruffled necklace collar?
Cut your lace to 44 inches by 5.5 inches to achieve a finished size of approximately 42 inches by 4 inches. This allows enough fabric for generous gathering and a comfortable fit.
How can I keep eyelet embroidery from flattening?
Always press eyelet fabric face-down on a terry cloth towel. This cushions the embroidery and preserves its three-dimensional texture during pressing.
What ribbon width works best for a drawstring casing?
Use 7/8-inch grosgrain ribbon with a casing stitched 1 and 1/8 inches wide. This provides sufficient room for the ribbon to slide freely and gather the fabric fully.
Key Takeaways for Making Your Lace Collar
Creating a lace collar requires careful material selection, precise cutting, and attention to finishing details for the best results. Whether you choose a structured double-layer design or a ruffled drawstring style, proper pressing and edge finishing make all the difference. Start with high-quality materials and follow these steps to create a timeless accessory that elevates your wardrobe.