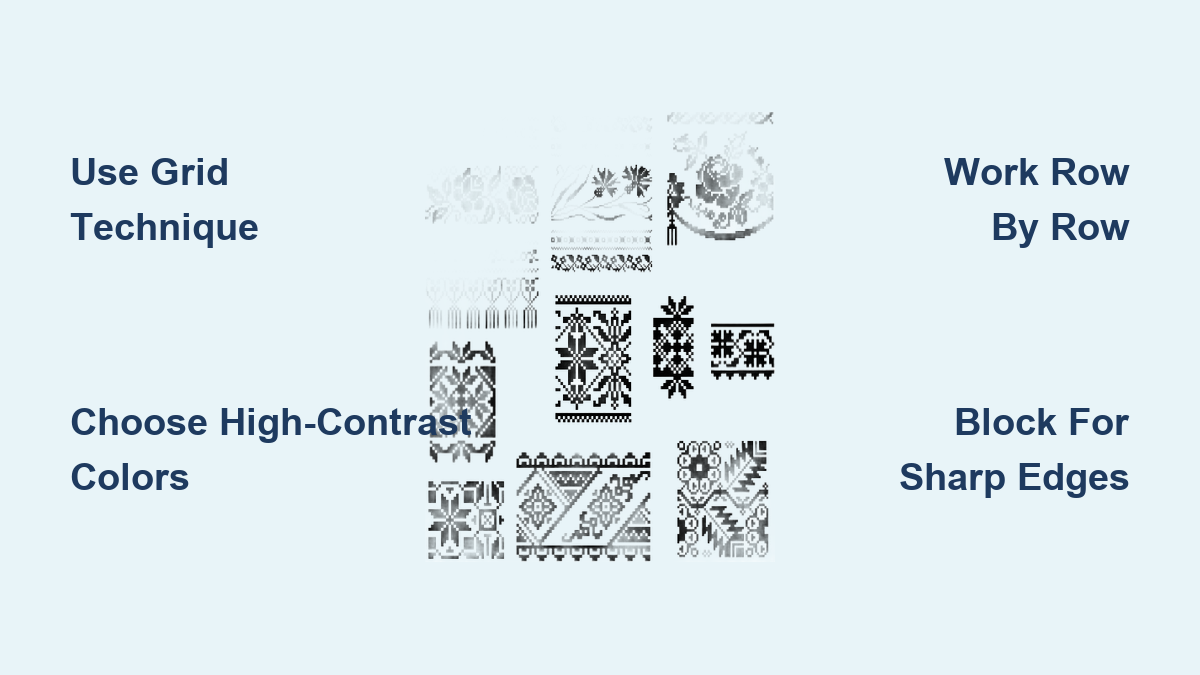
How to Make Pixel Lace: Quick Steps
Does your crochet work look messy when you try to create blocky, retro designs? Learning how to make pixel lace solves this by using specific grid techniques to turn simple stitches into sharp, 8-bit style art.
This guide details the exact tools, color strategies, and step-by-step methods you need to craft clear pixel patterns without confusion. You will discover how to select the right yarn, map your designs, and fix common tension issues for professional results.
Select the Right Crafting Technique for Pixel Lace

Choosing your base method determines the texture and detail level of your final piece. Each approach offers unique benefits depending on whether you want a soft fabric or a structured wall hanging.
Crochet on a Grid for Defined Blocks
Crocheting allows you to work on a pre-marked grid to maintain perfect alignment. You can use graph paper templates where each square represents a single stitch for accurate scaling.
* Start with single crochet stitches in tight rows to create solid blocks of color.
* Change colors frequently to form shapes like hearts or classic game characters.
* Keep your tension even so the fabric stays flat and uniform throughout the project.
Pro Tip: Use scrap yarn to practice color transitions before starting your final piece to ensure clean edges.
Knit Pixel Patterns for Fine Detail
Knitting provides finer detail but requires more precision than crochet. This method works well for scarves or cuffs where you want subtle pixel designs.
* Use a 10×10 or 20×20 grid pattern with garter or stockinette stitch.
* Employ intarsia or stranded colorwork techniques to switch between colors cleanly.
* Watch for twisted yarns when changing colors to avoid gaps in the back.
Punch Needle Art for Textured Wall Hangings
Punch needle creates a rug-like texture that is ideal for decorative wall art. This method is fast, forgiving, and perfect for beginners who want quick results.
* Transfer your pixel design onto an embroidery hoop fitted with monk’s cloth.
* Use different colored threads to paint each pixel by punching through the fabric.
* Look for consistent loop height since uneven punches create a bumpy surface.
Design Your Pixel Pattern Before You Start
Planning your design is the foundation of great pixel lace. A strong pattern prevents errors and ensures your final image looks recognizable.
Start With Simple Low-Resolution Shapes
Beginners should choose icons with low resolution such as 8×8 or 16×16 grids. These small sizes work best for learning the mechanics of color changing.
* Select classic sprites like a smiley face, a gem, or a tiny animal.
* Focus on designs with clear edges and minimal color shifts.
* Expect a small 10×10 design to take 1–2 hours to complete.
Use Digital Tools to Map Pixels
Leverage free online tools like Pixilart or Make 8-Bit Art to draw your design digitally. These tools help you visualize the final output before you commit yarn to fabric.
* Export the image and print it on graph paper.
* Resize the printout so each pixel equals one stitch in your chosen craft.
* Color-code the squares with matching yarn shades for easy reference while working.
Expert Note: Limit your palette to 3–4 colors to avoid confusion and simplify execution.
Flip Patterns for Mirror Accuracy
Some techniques like punch needle will reverse the image when viewed from the front. You must account for this during the planning phase.
* Check if your chosen method reverses the design.
* Flip your template horizontally before transferring it to the fabric.
* This step prevents backward text or asymmetrical shapes from appearing wrong.
Select Materials and Colors for Sharp Pixels
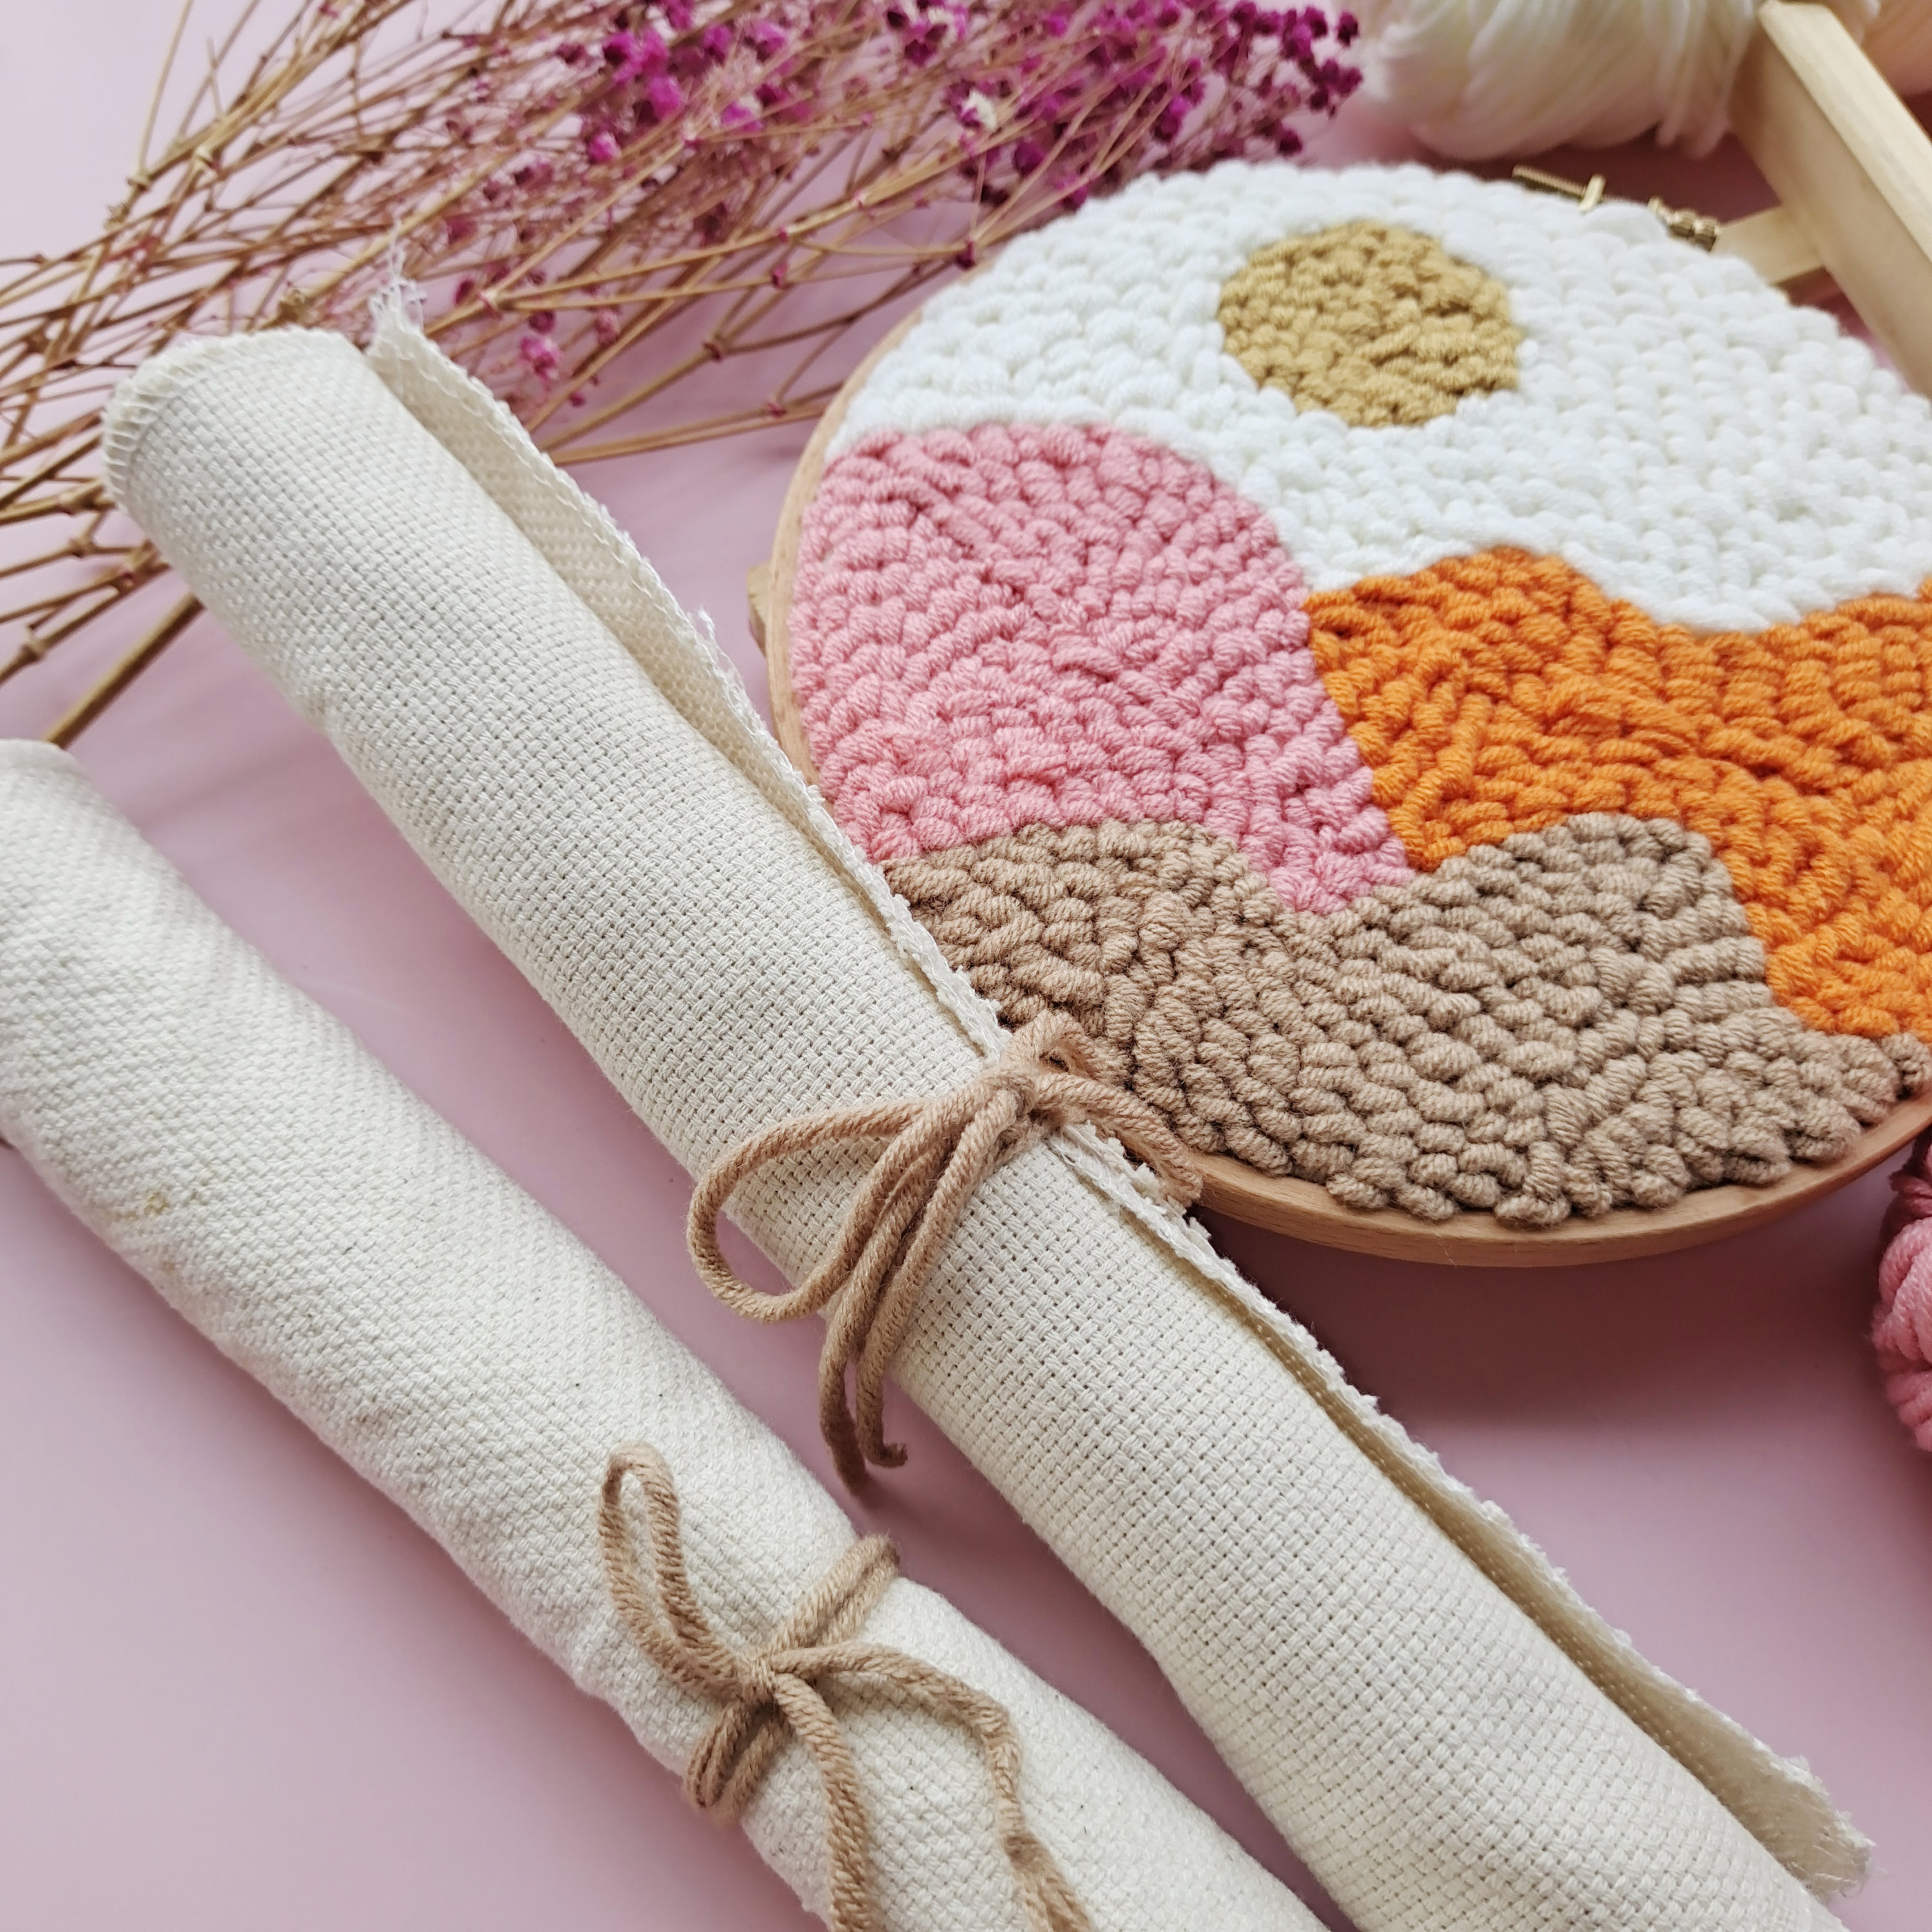
The right supplies ensure your pixel lace looks crisp and holds its shape over time. Poor material choices can blur your hard work.
Pick Stiff Fabric or Stiff-Yarn Combo
Use a firm base fabric like Aida cloth for punch needle or stiff cotton yarn for crochet. These materials prevent sagging and maintain the grid structure.
* Avoid loose weaves that distort the grid and blur your pixel effect.
* Stay away from stretchy materials that lose shape after washing.
* Ensure your base provides enough resistance for clear stitch definition.
Warning: Avoid acrylic blends with too much give as they stretch out of shape over time.
Match Yarn Weight to Pixel Size
Your yarn thickness directly dictates the size of your pixels. Thicker yarn creates larger pixels while thinner threads allow for fine detail.
* Use thinner threads and smaller hooks (2.5–3.5mm) for intricate details.
* Go up to 5mm hooks with bulky yarn for bold, chunky designs.
* Test your gauge on a swatch first to verify stitch count matches your target width.
Choose High-Contrast Colors
Pixel art relies on clear boundaries to define shapes. You must pick colors that contrast sharply to make the image readable.
* Select pairings like black and yellow, navy and red, or white and purple.
* Avoid shades too close in tone like light gray and silver.
* Remember that low-contrast colors blur together from a distance.
Build Your Pixel Lace Piece Step by Step
Now that you are prepared, follow these steps to craft your piece with clean, professional results. Consistency is key during the building phase.
Transfer Design to Fabric
For punch needle or embroidery-based pixel lace, trace your grid onto the fabric using a water-soluble pen. This gives you a visual guide to follow.
* Lightly draw each square or use pre-printed cross-stitch fabric.
* For crochet, follow your graph without transferring by counting stitches carefully.
* Look for evenly spaced lines because crooked grids lead to tilted designs.
Work Row by Row Consistently
Always work in the same direction, such as left to right then back, to maintain consistency. This habit helps you catch errors early.
* Count stitches at the end of each row to verify accuracy.
* Use stitch markers every 5–10 stitches to help with tracking progress.
* Double-check every color change to avoid skipping a square or adding an extra stitch.
Change Colors Cleanly
Managing your yarn tails is crucial for a neat back and clean front. Poor color management creates bulk and confusion.
* Carry unused yarn up the side or weave in ends as you go.
* Avoid cutting too often as this creates loose threads.
* Twist the new color around the old at the back when switching to secure it.
Time-Saving Shortcut: Use bobbins for small color blocks to reduce tangles and speed up work.
Add Finishing Touches for Professional Display
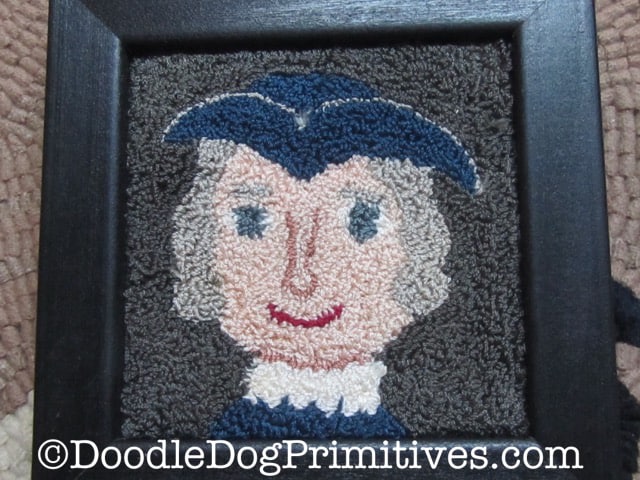
Once your pixel lace is complete, proper finishing ensures it lasts and displays well. These steps transform a craft project into a polished piece of art.
Block Your Crochet or Knit Piece
Wet block your item by soaking it in cool water then pinning it flat on a towel to dry. This process evens out stitches and sharpens the pixel edges.
* Gently stretch the fabric to match your original grid dimensions.
* Allow it to dry completely before removing pins.
* Never wring or hang the piece as this stretches the grid out of shape.
Frame or Seam for Display
Mount punch needle or flat pieces in an embroidery hoop or frame under glass. For wearable items, sew edges with a border to define the artwork.
* Use a blanket stitch or crochet edging in black to help pixels pop.
* Add a backing fabric to hide loose ends and give durability.
* Ensure the frame supports the weight of the textile to prevent sagging.
Share on Instagram Creatively
Sharing your finished pixel lace can inspire others and build community connections. Visual platforms are perfect for showcasing this detailed craft.
* Take high-contrast photos with clean lighting to show detail.
* Use Reels to show a time-lapse of your work process.
* Tag with hashtags like #PixelLaceArt or #HandmadePixels for visibility.
Engagement Hack: Post a guess the game story with your pixel design to spark interaction.
Troubleshoot Common Pixel Lace Issues
Even experienced crafters run into problems. Here is how to identify and fix them fast.
Fix Misaligned Grids
If your design looks skewed, check your starting chain or foundation row. Uneven tension at the beginning throws off the entire piece.
* Rip back to the first row if necessary.
* Rework with consistent stitch tightness to reset the alignment.
* Ensure your initial chain is not too tight or too loose.
Correct Muddy Color Transitions
Blended or fuzzy edges usually mean too many yarn tails or loose color changes. This makes the pixel boundaries unclear.
* Weave in ends neatly to reduce bulk.
* Twist colors at the back every few rows to tighten the transition.
* Trim excess yarn closely to prevent fuzziness.
Resolve Fabric Warping
Loose tension or incorrect hook size causes ripples in the fabric. This distorts the square shape of your pixels.
* Switch to a smaller hook to tighten the stitch.
* Practice tighter stitches on a test swatch before continuing.
* Block the finished piece aggressively to reshape the grid.
Maintain and Store Your Work Properly
Keep your pixel lace looking fresh with proper care and storage habits. Good maintenance extends the life of your handmade items.
Clean Gently to Preserve Shape
Hand wash your piece in cold water with mild soap to avoid damage. Machine washing can distort the grid and felt the fibers.
* Soak briefly and press water out gently without wringing.
* Lay flat away from direct sunlight to prevent fading.
* Reshape while damp to maintain the original dimensions.
Store Flat or Rolled
Avoid folding along color seams which can crease fibers permanently. Proper storage prevents permanent distortion.
* Roll your piece around a tube for long-term storage.
* Store flat in a drawer if space allows.
* Place tissue paper between layers if stacking multiple pieces.
Repair Damaged Pixels
If a stitch comes loose, use a small needle to reweave the yarn through the back loops. Quick repairs prevent further unraveling.
* Match the original color exactly for invisible repairs.
* Secure with a knot hidden in the back of the work.
* Trim any loose ends flush with the fabric surface.
Explore Advanced Pixel Lace Ideas
Once you have mastered the basics, try these creative upgrades to expand your skills. Advanced techniques add interactivity and complexity.
Mix Techniques for Unique Textures
Combine crochet borders with a punch-needle center for varied textures. You can also knit a sleeve with embedded pixel motifs.
* Experiment with a beanie featuring a hidden logo on the cuff.
* Mix fiber types to create contrast between background and subject.
* Use different stitch heights to add dimension to specific pixels.
Add Light-Up Elements
Sew in small LED sequins along key pixels like eyes or stars. This adds a dynamic element to your static pixel art.
* Use conductive thread to connect the lights.
* Power the system with a tiny battery pack hidden in the seam.
* Only use low-voltage LEDs and insulate connections for safety.
Integrate Wearable Tech
Pair your pixel lace with flexible sensors or touch-responsive threads. This creates interactive fashion pieces that react to the wearer.
* Tap a pixel to change music or light patterns.
* Start with pre-made snap-on electronics modules for ease.
* Ensure all electronic components are removable for washing.
Frequently Asked Questions About Pixel Lace
What is the best yarn for beginner pixel lace projects?
Beginners should choose stiff cotton yarn or worsted weight acrylic blends. These materials hold their shape well and make the individual pixels distinct and easy to see.
How do I keep my pixel lace from curling at the edges?
Curling often happens due to tension issues or stitch type. Switching to a smaller hook, adding a border of single crochet, or blocking the finished piece usually fixes this problem.
Can I use regular graph paper for pixel lace patterns?
Yes, regular graph paper works perfectly for mapping designs. Just ensure each square on the paper corresponds to one stitch or one punch in your chosen technique.
How do I change colors without leaving holes in the fabric?
Twist the new color around the old color at the back of the work when switching. This locks the yarns together and closes any potential gaps between color blocks.
Is pixel lace suitable for wearable items like scarves?
Absolutely. Knitting or crocheting pixel lace creates durable fabric suitable for scarves, hats, and cuffs. Just ensure you use soft yarn if the item touches sensitive skin.
Key Takeaways for Making Perfect Pixel Lace
Creating stunning pixel lace requires choosing the right technique, planning your grid, and maintaining consistent tension. Whether you crochet, knit, or use a punch needle, the secret lies in high-contrast colors and careful color management.
Start with simple 8×8 designs to build confidence before attempting complex sprites. With the right materials and a bit of practice, you can transform simple yarn into retro-inspired masterpieces. Grab your hooks and start stitching your first pixel art piece today.