How to Lace Shoes for Slip On
Running late often means scrambling to tie shoes while balancing on one foot. You can skip the hassle entirely by learning how to lace shoes for slip on access.
This guide reveals proven methods to lock tension and hide knots for instant entry. You will master techniques ranging from quick tucks to permanent elastic upgrades.
Tuck Knots Under the Tongue for Instant Results
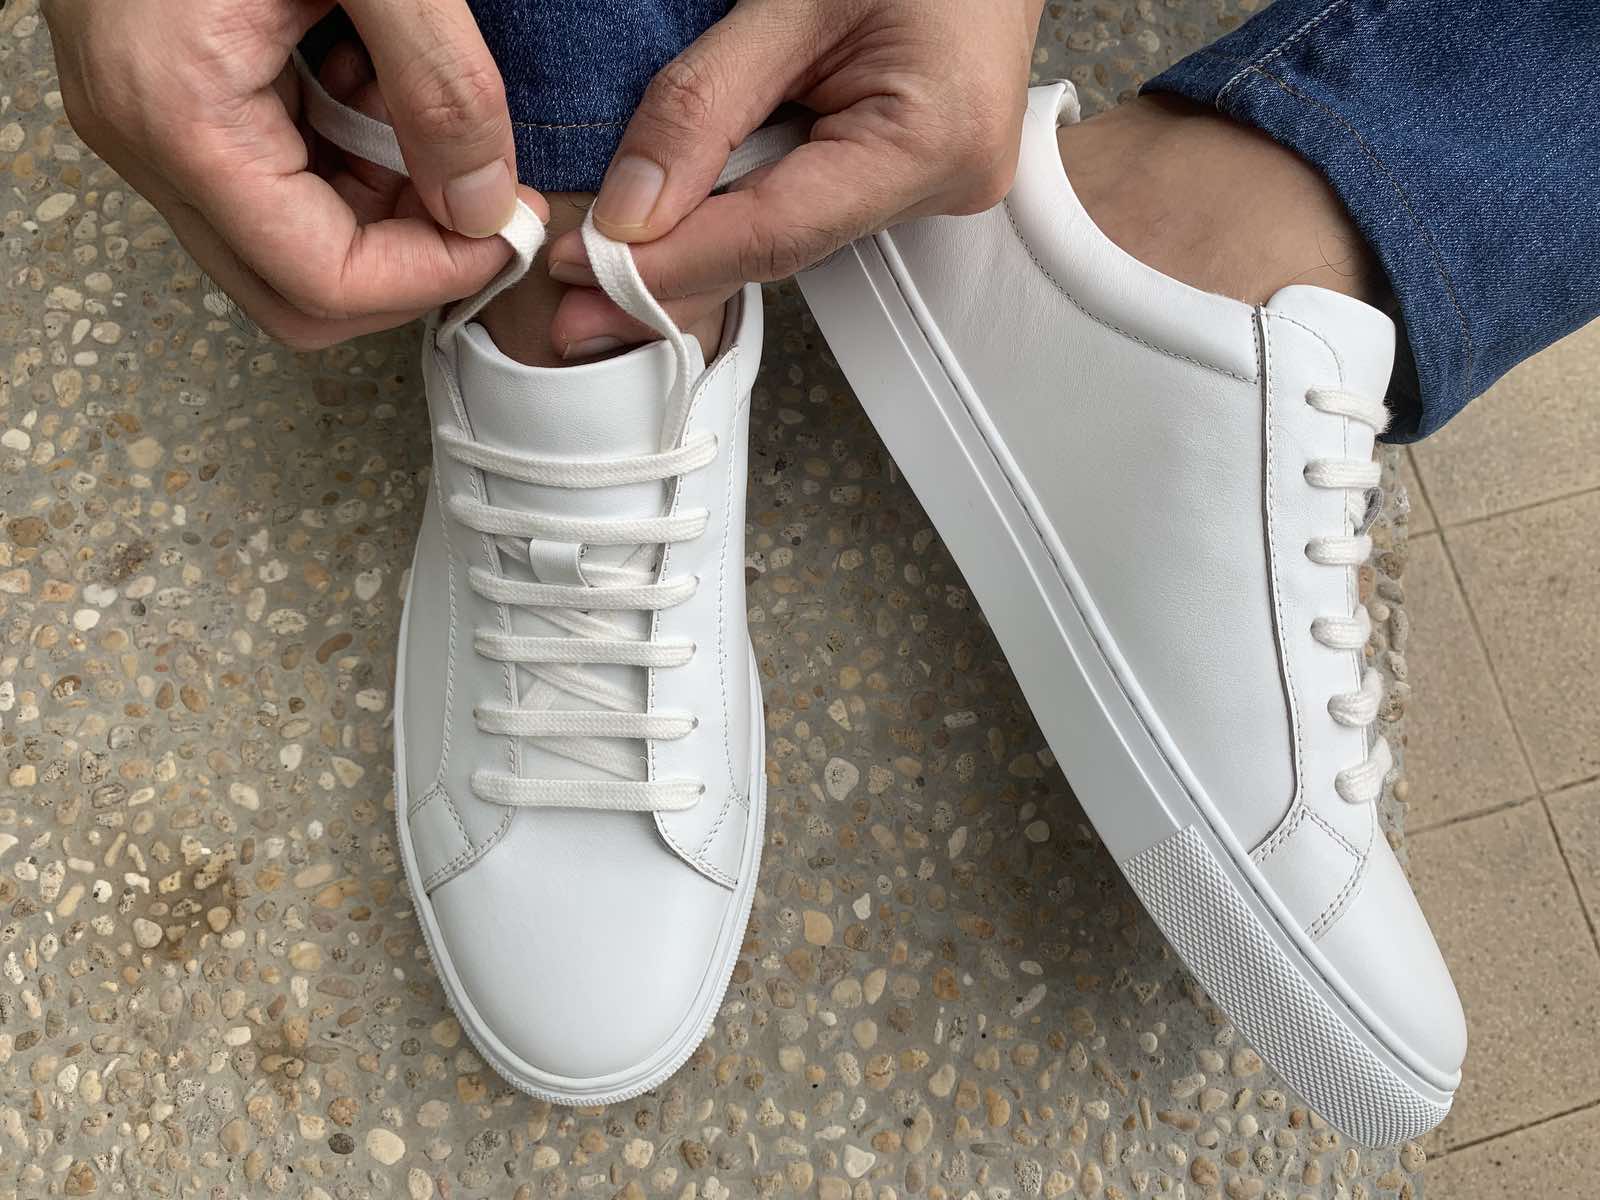
This method offers the fastest solution for converting standard laces into slip-ons. It requires no relacing and works with your current setup.
Hide the Bow Completely
- Untie your existing bow completely.
- Pull laces to your ideal walking tightness.
- Tie a secure double knot or standard bow.
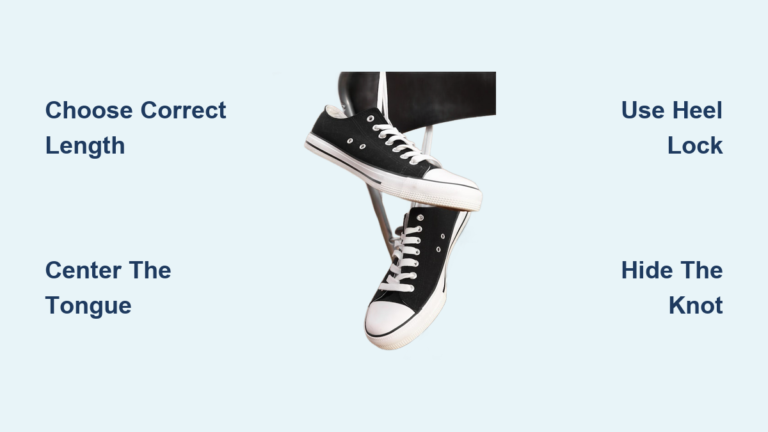
- Lift the shoe tongue and push the knot underneath.
- Press the tongue down to secure the knot in place.
Thick tongues work best to conceal the bulk of the knot. Push the knot to the left or right edge if the center feels lumpy.
Pro Tip: Use a flat knot instead of a bulky bow to reduce thickness under the tongue.
Trap Laces Under the Insole for a Clean Feel
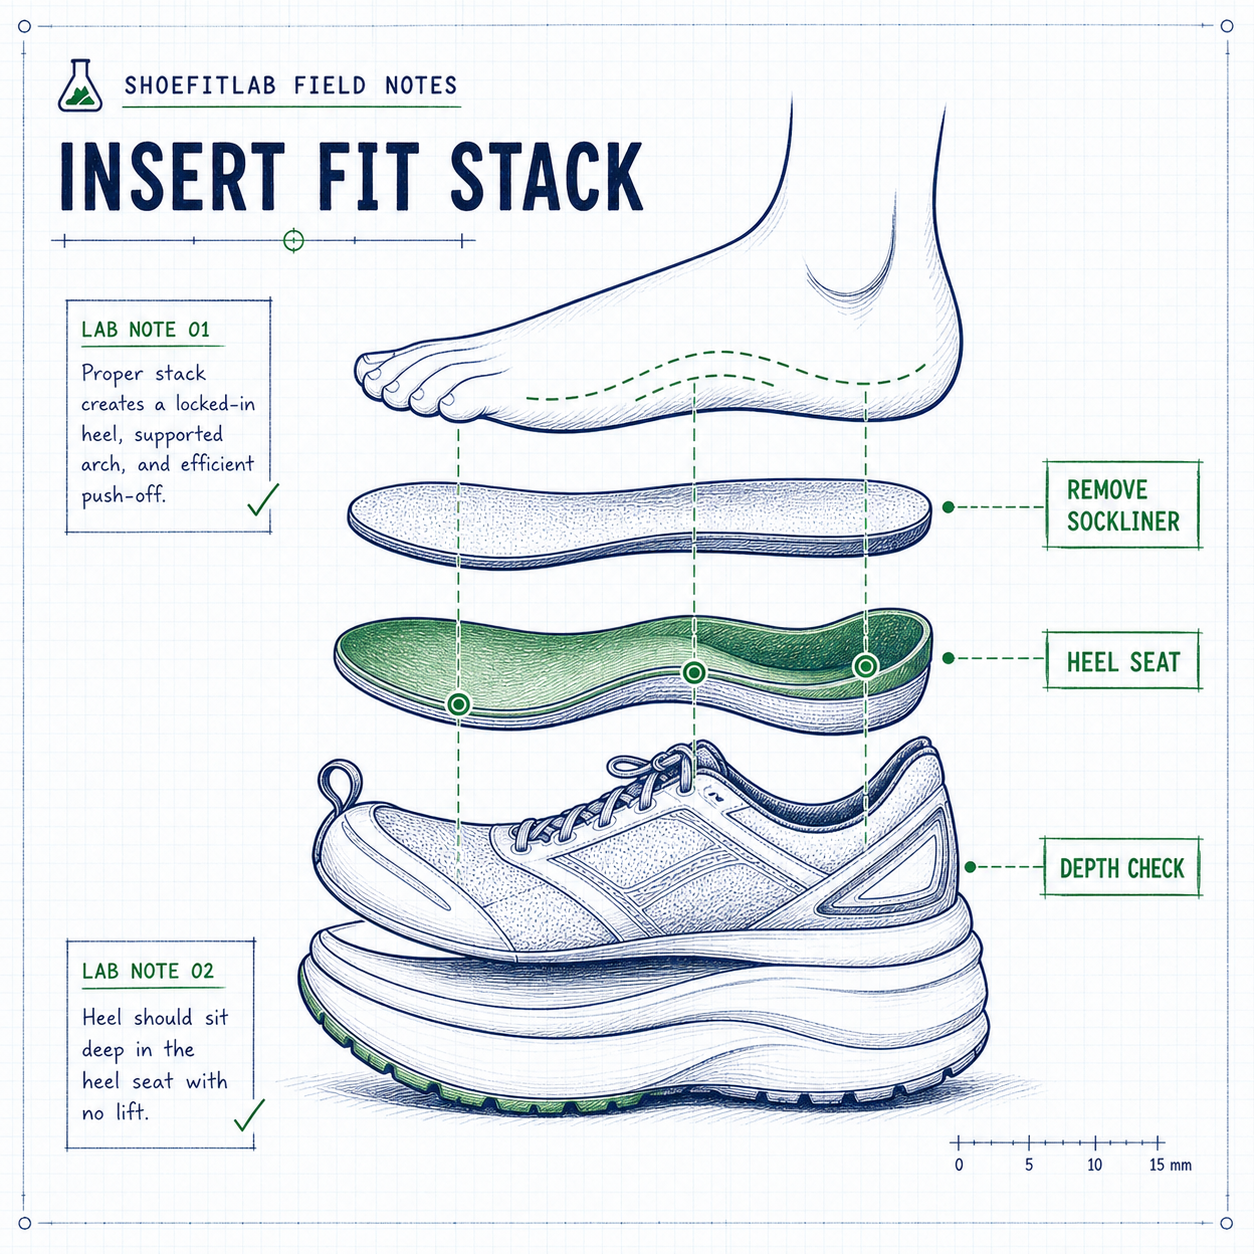
Hiding laces beneath the footbed creates a true no-lace interior experience. This technique works only if your shoe has a removable insole.
Create a No-Lace Interior
- Pull the insole out of the shoe completely.
- Untie the laces and loosen them significantly.
- Feed both lace ends into the cavity between the midsole and insole.
- Push excess lace material toward the toe box area.
- Reinsert the insole to trap the laces underneath.
Your foot now rests directly on the insole with zero lace interference. The laces stay tensioned at the eyelets while remaining hidden.
Caution: Do not stuff too much lace into the toe area to avoid pressure points.
Use Loose Lacing for Easy Entry
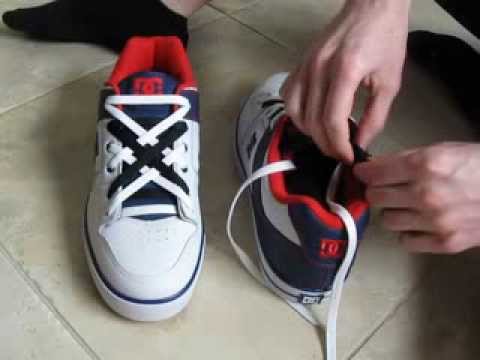
Intentional slack allows your foot to slide in effortlessly without untying anything. This method restructures the laces to act like stretchable hinges.
Step-by-Step Loose Cross Lacing
- Thread both lace ends through bottom eyelets from outside to inside.
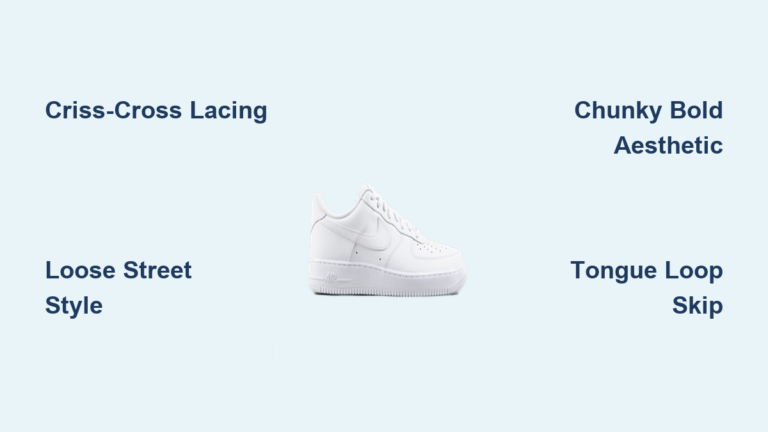
- Cross the left lace over and thread it down into the second right eyelet.
- Repeat with the right lace going down into the second left eyelet.
- Keep significant slack so laces feel loose rather than taut.
- Continue alternating sides up to the top eyelets.
- Thread each end up from underneath at the top to form small loops.
- Tuck both loose ends behind the shoe tongue.
The diagonal crosses should form soft flowing X shapes. Your foot glides in while the laces gently hug your instep during wear.
Visual Cue: Ensure laces look relaxed and never pull tight across the tongue.
Apply Straight Bar Lacing for Clean Lines
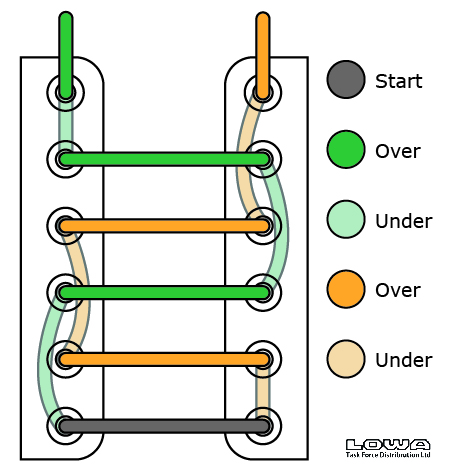
Horizontal bars distribute pressure evenly while locking tension without knots. This style offers a professional look ideal for dress shoes or minimal sneakers.
How to Create Horizontal Bars
- Thread both ends through bottom eyelets from outside to inside.
- Bring the left lace up through the next eyelet on the same side.
- Pull it across the tongue and thread it down into the matching right eyelet.
- Bring the right lace up from below on its side and across to the left.
- Repeat this up-and-across pattern until reaching the top.
- Bring both ends up from underneath so they exit on the same side.
- Tie a tight knot and pull it down flush against the inside top eyelet.
- Tuck the remaining excess lace behind the tongue.
The knot acts as a hidden tension lock that stays pinned against the eyelet. Horizontal bars prevent hot spots by spreading pressure across the foot.
Why It Works: The locked knot cannot loosen because the eyelet pins it in place.
Try Double-Cross Lacing for Style and Security
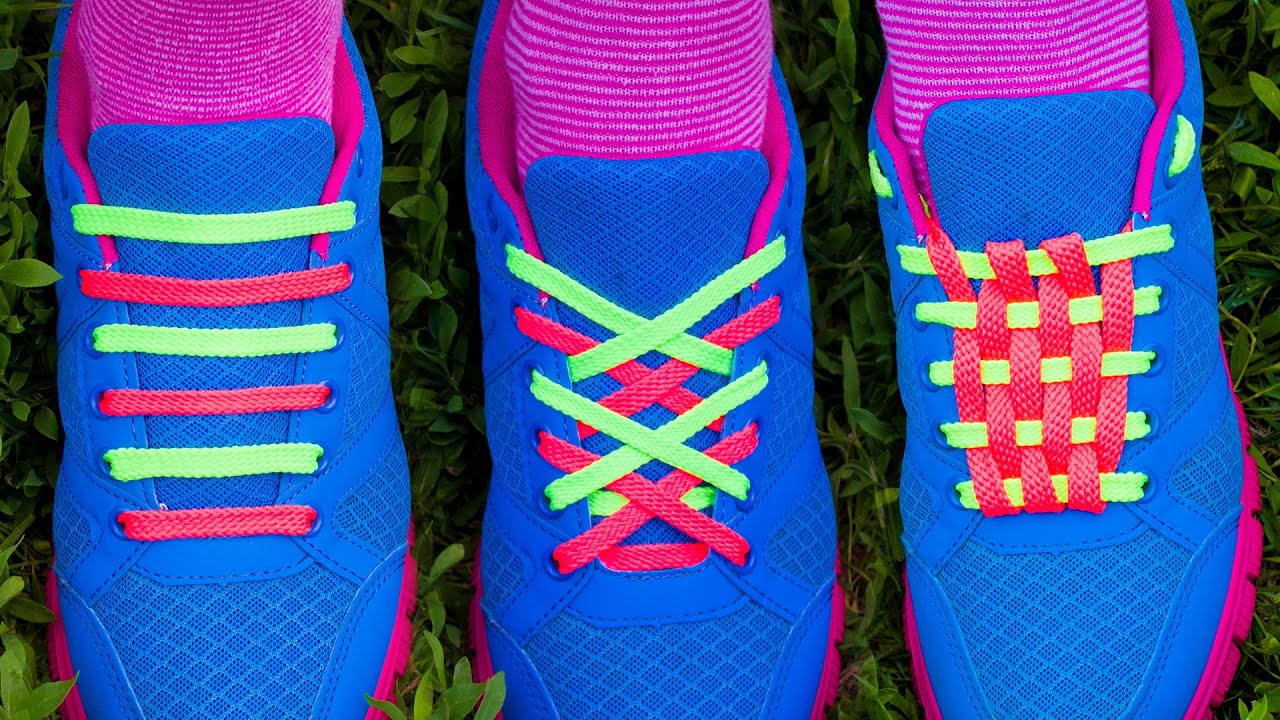
Using two different colored laces creates a woven effect that resists loosening naturally. This decorative method turns your laces into a fashion statement.
Steps for Dual-Color Lock
- Select two laces of contrasting colors.
- Tie them together securely at one end.
- Thread the connected end up from below through a bottom eyelet.
- Tuck the connecting knot under the tongue to hide it.
- Cross each free end to the opposite side next eyelet.
- Crisscross the laces twice to return them to their original sides.
- Continue upward while rotating laces to prevent twisting.
- Tuck the final ends inside the shoe at the top.
The double cross pattern creates natural friction that holds tension well. High-contrast colors like black and white maximize the visual impact.
Requirement: This pattern works best on shoes with six or more eyelet pairs.
Install Lace Anchors for Permanent Lock
Small plastic clips can lock lace tension inside the shoe forever. This hardware solution eliminates tying completely for a set-and-forget fit.
How to Fit Lace Anchors
- Lace your shoes normally and put them on to set tension.
- Pull lace ends through the top eyelets from outside to inside.
- Insert each lace end into the center hole of an anchor.
- Slide the anchor down until it sits flush against the inner eyelet.
- Thread the lace through the secondary hole and press to lock.
- Trim excess lace flush or leave a decorative bow if preferred.
Anchors sit flat against the inner wall so they do not create pressure points. This method provides very high security for runners or active users.
Security Level: Extremely high tension lock suitable for vigorous activity.
Replace Laces With Elastic Versions
Elastic laces stretch to allow entry and contract to hold your foot snugly. This replacement turns any standard shoe into a true slip-on.
Option 1: Locking Elastic Laces
- Remove old laces completely from the shoe.
- Lace the shoe with new elastic laces evenly.
- Gather both ends at the top and thread through a toggle lock.
- Press the button to adjust tension then release to lock.
- Trim excess lace and seal ends with anti-fray tabs.
Option 2: Curly Coiled Elastic Laces
- Thread coiled laces through eyelets while pulling to extend them.
- Allow coils to retract naturally to create tension.
- Leave curly ends visible or tuck them inside as desired.
These options offer dynamic fit adjustment for athletes or those with mobility challenges. Never over-tighten elastic as it should hug rather than squeeze.
Best For: Elderly users or anyone seeking maximum convenience.
Fix Heel Slip and Tension Issues
Heel slippage occurs when slip-on conversions lack proper tension control. Diagnosing the cause helps you adjust your method for a secure fit.
Diagnose the Cause
- Too much slack: Switch to bar lacing or use elastic locks.
- Wrong tension: Re-adjust anchors or toggles while wearing the shoe.
- Poor fit: Try anchors or elastic laces that adapt to foot swelling.
Walk around to test if your heel lifts more than half an inch. Tighten the internal knot for bar lacing or shorten the toggle for elastic versions.
Test: If your heel lifts significantly the fit is too loose and needs adjustment.
Adapt for Odd Eyelet Counts
Shoes with five or seven eyelets require slight pattern adjustments for symmetry. Most methods adapt easily with minor tweaks to the final steps.
Straight Bar With Odd Eyelets
- Use the standard up-and-down pattern for most of the shoe.
- Make the final cross diagonal if pairs do not match.
- Skip the top eyelet on one side to maintain horizontal bars.
Loose Lacing With Odd Pairs
- No major adjustment is needed for this flexible method.
- Simply end the pattern on the final available eyelet.
Maintain even tension on both sides regardless of eyelet symmetry. The goal is consistent pressure distribution across the entire foot.
Key: Focus on balanced tension rather than perfect visual symmetry.
Prevent Lace Twisting and Bulk
Twisted laces reduce strength and create uneven pressure points on your foot. Keeping laces flat ensures durability and comfort during wear.
How to Avoid Twisting
- Pause after every few eyelets to smooth the lace flat.
- Ensure the lace lies flat against the shoe before threading.
- Rotate the lace 180 degrees if you notice twisting starting.
Move bulky knots to the side of the tongue if center tucking fails. Switching to insole concealment or anchors eliminates internal bulk entirely.
Solution: Smooth laces regularly to maintain even pressure and strength.
Choose the Right Method for You
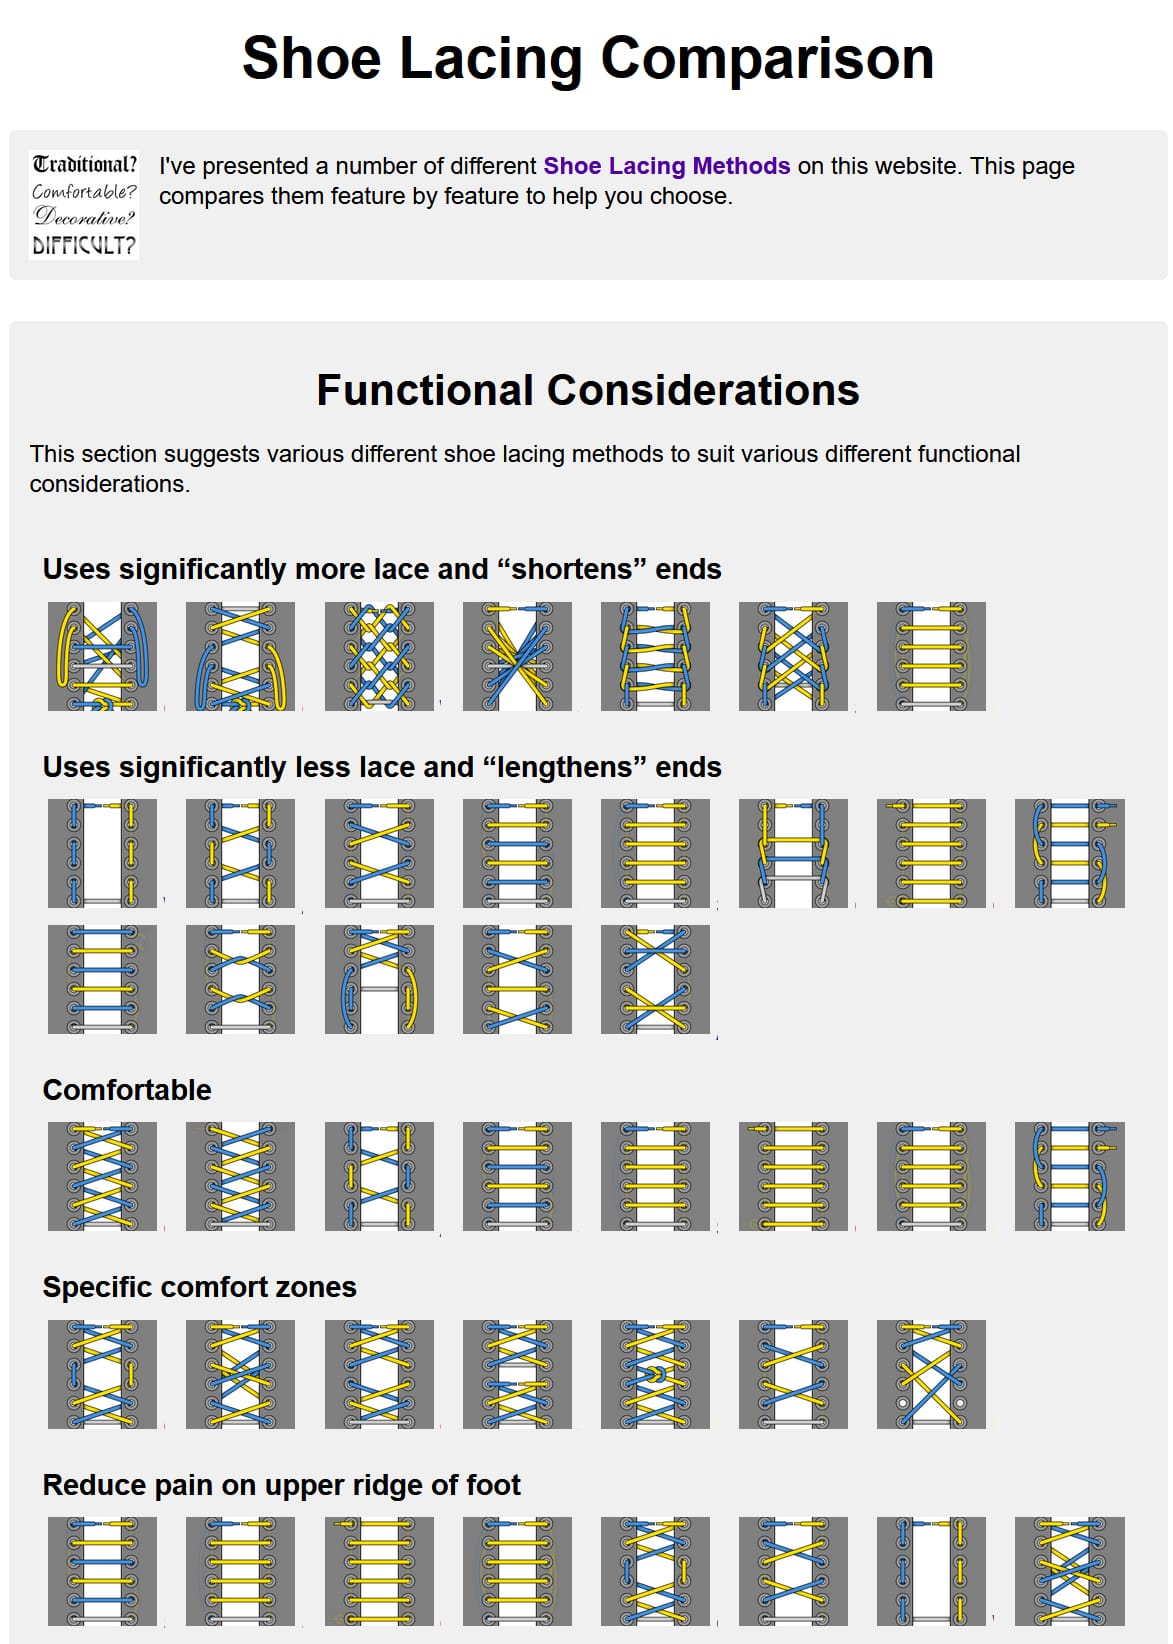
Select a technique based on your specific lifestyle needs and shoe type. Different scenarios demand different balances of speed and security.
| Your Need | Best Method |
|---|---|
| Quick daily fix | Tongue tuck or insole trap |
| Professional look | Straight bar lacing |
| Maximum security | Lace anchors or elastic locks |
| Kids or mobility issues | Elastic curly laces |
| Fashion statement | Double-cross lacing |
Start with the tongue tuck method since it is free and reversible. Upgrade to bar lacing or anchors if you need a more permanent solution.
Time to Try: Begin with simple adjustments before committing to hardware.
Frequently Asked Questions About Slip-On Lacing
Can I convert any shoe into a slip-on?
Yes, most lace-up shoes can be converted using these methods. Shoes with removable insoles offer the most options for hiding laces completely.
Will my shoes fall off without tying a knot?
No, proper tension locking prevents shoes from falling off. Methods like bar lacing and anchors hold tension securely without traditional knots.
How do I stop my heel from slipping out?
Adjust tension using anchors or elastic locks for a snugger fit. Ensure the lacing pattern hugs your midfoot tightly while allowing easy entry.
Do elastic laces stretch out over time?
Elastic laces may lose some tension after extended use and exposure to elements. High-quality elastic replacements generally maintain their shape for years.
Is straight bar lacing suitable for running?
Straight bar lacing provides good security but elastic laces offer better dynamic fit. Runners often prefer elastic or anchor systems for maximum stability.
Can I reverse these changes if I want to tie normally again?
Yes, all relacing methods are fully reversible by relacing normally. Hardware methods like anchors are removable unless you cut the laces.
Key Takeaways for Lacing Shoes for Slip On
Converting shoes to slip-ons saves time and eliminates daily tying frustration. You can choose from temporary tucks, structural relacing, or permanent elastic upgrades.
Matching the right method to your shoe type ensures both comfort and security. Try the tongue tuck today or install anchors for a permanent fix.