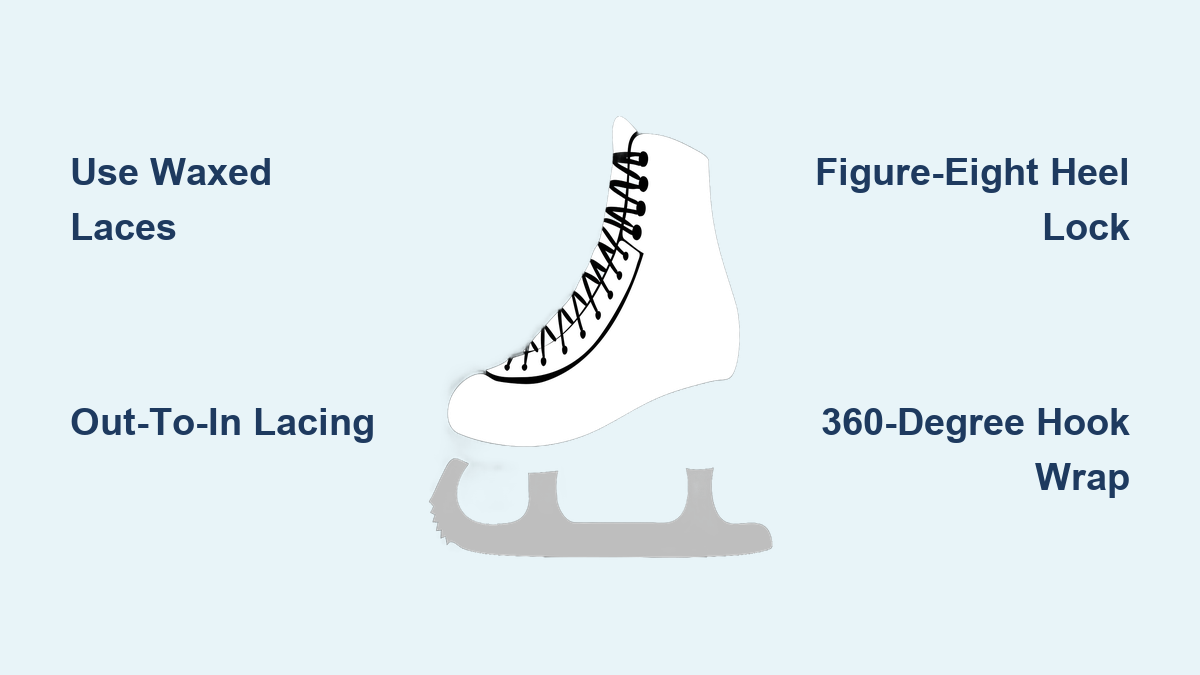
How to Lace Ice Skates
Struggling with heel lift or numb toes often means you need to learn how to lace ice skates correctly for your specific boot type. A loose fit ruins your balance while tight lacing cuts off circulation, making every stride on the ice a struggle against discomfort.
This guide details the exact tension strategies and lacing patterns professionals use to lock your foot in place without pain. You will discover how to prevent blisters, choose the right waxed laces, and apply the figure-eight lock that stops your heel from rising.
Select Waxed Laces to Prevent Slippage

Standard cotton laces often stretch and slip under the high stress of skating maneuvers. Waxed laces, specifically Tade 305 waxed laces, resist this movement to maintain consistent tension throughout your session.
Why Flat Laces Matter
You must ensure your laces lie completely flat against the boot shell. Twisted laces create uneven pressure points that lead to premature wear and reduced holding power.
* Flat laces distribute force evenly across the eyelets.
* The wax coating prevents the knot from loosening during jumps.
* Durable materials withstand the rigors of daily practice better than standard options.
Prepare a Backup Pair
Laces can snap unexpectedly during a test or competition. Always carry a spare pair of waxed laces in your skate bag so you are never stranded with unusable gear.
Prepare Your Feet Before Lacing
Proper preparation creates the foundation for a secure fit and prevents common injuries like blisters. Your internal skate environment must be optimized before you pull the first lace tight.
Choose Skate-Specific Socks
Wear specialized socks like Graph skate-specific socks that offer moisture-wicking properties and correct thickness. Avoid thick cotton socks as they bunch up, retain sweat, and increase friction inside the boot.
Add Protective Layers
Place PHA HFT Color medical bandage under your sock to shield high-friction zones on the top of your foot. This thin, reusable layer is essential for skaters with high arches or sensitive insteps who prone to blistering.
Center the Tongue Manually
Feet are naturally asymmetrical, causing the tongue to shift toward the outside of the boot. Center it manually before lacing and consider using Guard Dogs if it continues to move during skating.
Apply the Out-to-In Lacing Method
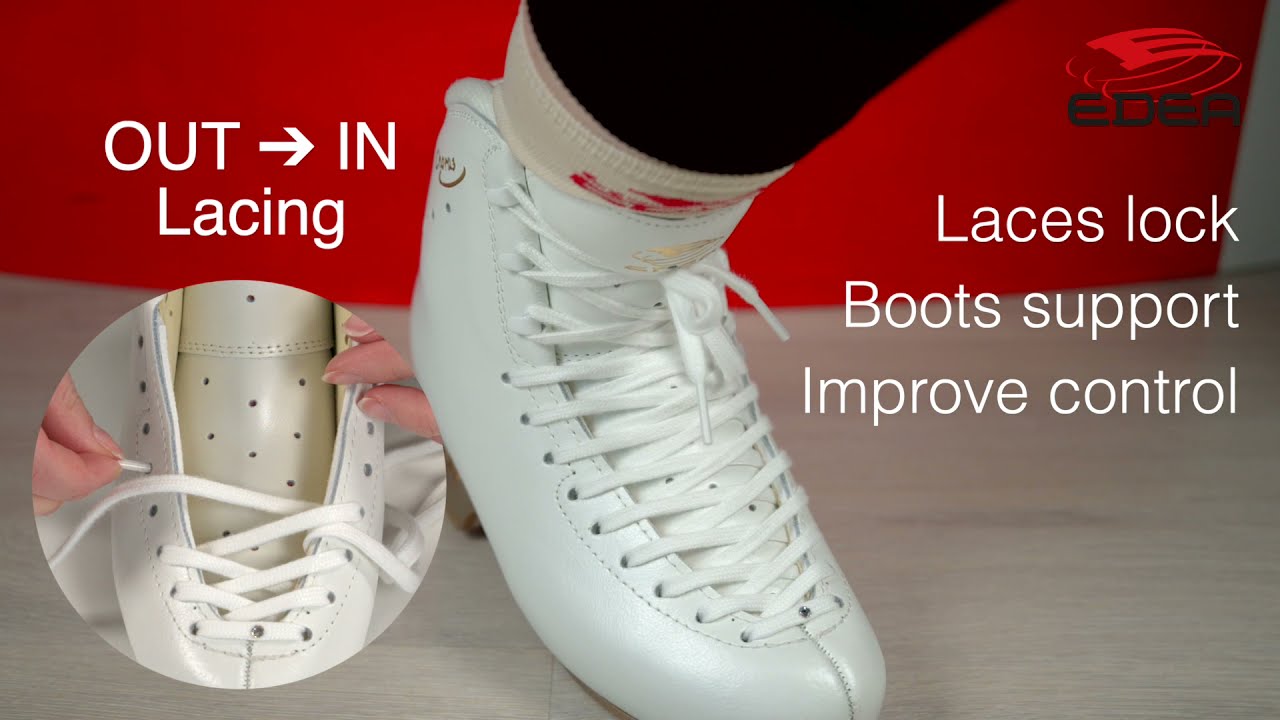
Modern composite boots require a specific approach known as the “Edea Way” to maximize control and stability. This technique differs significantly from traditional shoe lacing methods.
Thread from Outside to Inside
For boots like Edea Ice Fly or Piano, thread the lace from the outside of the boot to the inside at every eyelet. This direction creates a locking effect that holds the foot securely within the rigid shell.
* Start at the bottom eyelets and work upward.
* Pull the lace through the outer hole and into the inner hole.
* Maintain even tension on both sides as you progress.
Avoid Traditional Crisscross on Stiff Boots
Do not use the standard in-to-out crisscross pattern on non-flexing composite boots. That method creates loose tension that leads to increased foot movement and reduced edge control.
Lock Your Heel with a Figure-Eight
Preventing heel lift is critical for transferring power from your legs to the blade effectively. The figure-eight technique at the top eyelets secures the ankle before you reach the hooks.
Create the Locking Loop
At the top eyelets, thread the lace through and then back down through the adjacent hole to form a loop. Pass the lace through this loop to create a tight lock around your ankle.
1. Thread lace through the top eyelet normally.
2. Bring the lace back down through the hole next to it.
3. Pull the lace end through the resulting loop.
4. Tighten firmly to eliminate vertical movement.
Test for Vertical Movement
Stand up and gently bounce to verify your heel stays in place. If you feel any lifting, re-lace the top section with increased tension until you feel a snug hug.
Wrap Hooks Using the 360 Degree Technique

Skates with hooks require a specific wrapping method to maintain stability during dynamic movements. The 360° wrap ensures the lace does not slip under pressure.
Execute the Over-Under Motion
After the last eyelet, bring the lace up to the first hook and loop it over the top. Wrap it under and around to the next level, repeating this motion for all hooks.
* This pattern prevents the lace from sliding off the hook.
* It maintains consistent tension across the ankle support area.
* The method enhances control during sharp turns and stops.
Consider the V Pattern for Mobility
Some skaters use a “V” lacing pattern where they go to the top hook first and then down to the middle. This lowers the knot position and increases ankle mobility but offers slightly less security than the full wrap.
Adjust Tension for an Hourglass Fit

Achieving the perfect fit requires variable tension across different zones of the boot rather than one uniform tightness. This strategy creates an hourglass profile that supports the foot naturally.
Zone Your Tightness Levels
Apply moderate tension at the toes to allow slight wiggling room. Increase tension significantly at the last eyelets and first hook to lock the heel down.
* Toes: Snug but not constrictive to aid circulation.
* Ankle: Maximum tension to prevent sliding.
* Upper Hooks: Slightly tighter than lower sections to resist movement.
Perform the Finger Test
Run a finger across the lace intersections to check for stability. If the laces shift easily under your finger, the tension is insufficient and needs tightening.
Handle Four Hook Skates Correctly

Boots with four hooks, such as the Edea Tempo or Wave, need a specific approach to maximize instep closure. Skipping the lowest hook reduces the effectiveness of the entire lacing system.
Lace the Fourth Hook First
Start by lacing the fourth (lowest) hook from bottom to top before proceeding upward. This allows the boot shell to wrap the foot securely around the midfoot area.
* Use the standard 360° wrap for the remaining three hooks.
* Ensure no eyelets or hooks are skipped to maintain uniform pressure.
* This configuration is vital for heavier skaters needing full support.
Never Skip Eyelets or Hooks
Skipping holes creates weak points that lead to instability and uneven wear. Always lace through every available eyelet and hook to ensure the boot functions as designed.
Secure Laces and Manage Excess Length
Finishing your lacing properly ensures safety and prevents accidents on the ice. Loose ends can catch on blades or cause trips if not managed correctly.
Use the Loop Release Method
Waxed laces are difficult to untie when pulled tight, so use a small loop system instead of a hard double knot. Pull laces tight, form a small loop, and tie the excess around it for a quick-release mechanism.
Tuck Excess Lace Safely
Never wrap extra lace around your ankle as it can come loose and create a hazard. Loop the excess lace around the top hooks and tuck the ends neatly to avoid snags.
Unlace Fully After Every Session
Failing to unlace completely before removing your foot causes severe damage to the boot structure. This bad habit leads to a deformed toe box known as “Aladdin’s Tip.”
Follow Safe Removal Steps
Loosen all laces completely before attempting to remove your foot. Use a lace puller if needed to release tight sections without damaging your nails or the lace.
1. Undo the top knot and loosen all eyelets.
2. Gently pull the tongue forward to release pressure.
3. Slide your foot out slowly without yanking.
4. Leave laces untied to help the boot dry and maintain shape.
Prevent Boot Deformation
Forcing your foot out of a tight skate pinches the toe box and ruins the fit. Always fully loosen laces to preserve the boot’s integrity and protect your foot from injury.
Use Tools for Maximum Tension
Achieving professional-level tightness often requires mechanical advantage, especially with stiff boots or waxed laces. Hand-pulling alone is frequently insufficient for high-performance needs.
Invest in a Lace Puller
A lace puller fits under the laces to provide leverage for even, maximum tension. This tool is essential for stiff boot shells and prevents finger strain or broken nails during tightening.
Troubleshoot Common Lacing Issues
Specific problems usually indicate a specific error in your lacing technique or preparation. Identifying the root cause helps you adjust your method for immediate relief.
Fix Blisters on Top of Foot
Blisters often stem from a shifting tongue or improper sock layer. Use PHA bandage under your sock and ensure the tongue is centered with Guard Dogs if necessary.
Resolve Numb or Cold Toes
Numbness indicates over-tightening, particularly at the instep area. Reduce tension in the lower eyelets while maintaining a tight lock at the ankle.
Stop Heel Lift During Skating
Heel lift means your top eyelets or hooks are too loose. Re-lace using the figure-eight lock and apply the 360° wrap with increased tension at the ankle.
Maintain Skates with Proper Guards
Protecting your blades and boots extends the life of your equipment and ensures consistent performance. Proper storage habits prevent rust and material degradation.
Apply Guards Correctly
Use hard guards only for walking on pavement and apply soft soakers immediately after skating. Soft guards absorb condensation that builds as skates warm to room temperature.
Store in Ventilated Areas
Keep skates in a ventilated bag with soft guards on to allow drying. Ensure boots are completely dry before long-term storage to prevent material breakdown.
Frequently Asked Questions About Lacing Ice Skates
How tight should ice skates be laced?
Skates should feel snug at the toes with slight wiggle room but very tight at the ankle and top hooks. The goal is an hourglass fit that locks the heel without cutting off circulation to the foot.
Why do my ice skates hurt the top of my foot?
Pain on the top of the foot usually results from a shifting tongue or laces that are too tight over the instep. Center the tongue manually and consider adding a protective bandage layer under your sock.
What is the best way to lace skates with hooks?
Use the 360° wrap method where you loop the lace over the hook and then under and around to the next level. This technique prevents slippage and provides maximum ankle support during skating.
Should I unlace my skates after every use?
Yes, you must fully unlace skates after every use to prevent “Aladdin’s Tip” deformation of the toe box. Leaving them laced tight while removing your foot damages the boot structure over time.
Why do my laces keep coming undone?
Standard laces often slip under skating stress, so switching to waxed laces like Tade 305 is recommended. Waxed laces hold tension better and stay tied throughout intense practice sessions.
Key Takeaways for Lacing Ice Skates Securely
Mastering how to lace ice skates transforms your stability and comfort on the ice instantly. By using waxed laces, applying the out-to-in method for composite boots, and locking your heel with a figure-eight pattern, you eliminate dangerous movement. Remember to vary your tension for an hourglass fit and always unlace fully to protect your investment.
Start your next session by checking your lace condition and practicing the 360° hook wrap. These small adjustments create a secure foundation that lets you focus entirely on your skating performance.