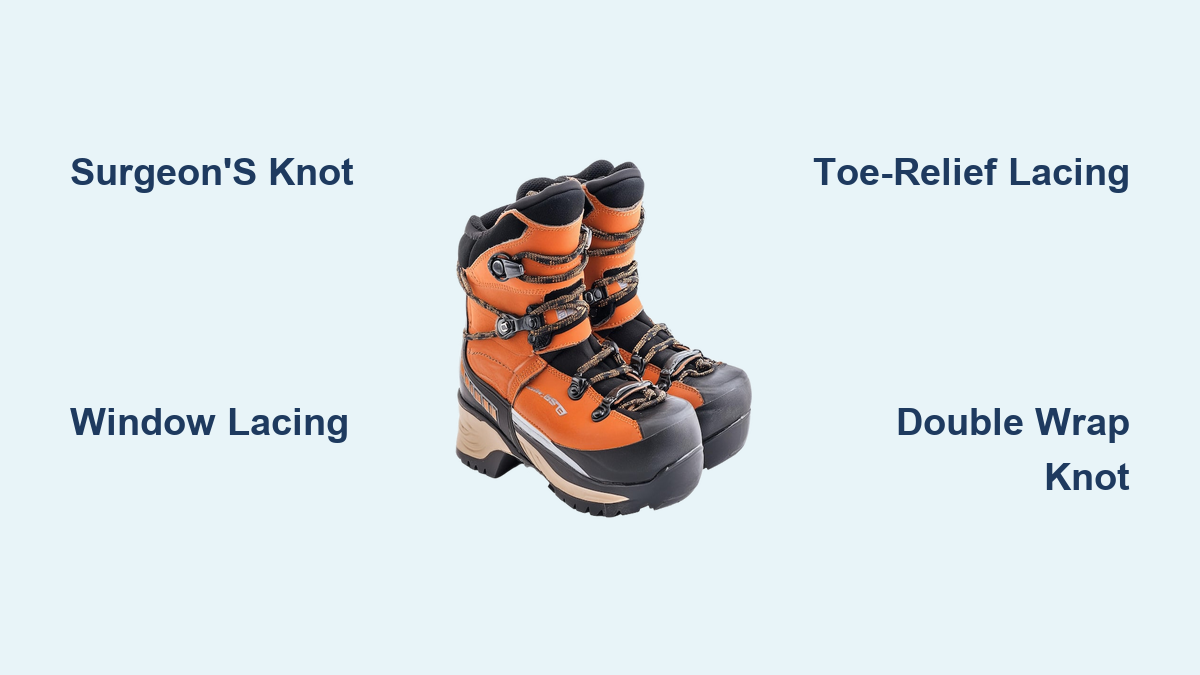
How to Lace Up Hiking Shoes
Nothing ruins a great hike like foot pain from blisters or slipping heels. Even expensive boots fail if you do not know how to lace up hiking shoes correctly for your specific foot shape.
This guide teaches you to fix common issues like heel lift and toe cramping with simple adjustments. You will learn targeted techniques to optimize fit and prevent injury on the trail.
Prepare Your Foot and Boot for Proper Fit
A poorly positioned foot causes discomfort regardless of your lacing skill. You must set a solid foundation before tightening any strings to ensure maximum effectiveness.
Seat Your Heel Firmly in the Cup
Start with completely untied laces to reset the system. Slide your foot in and tap your heel on the ground until it sits deep in the heel cup. There should be less than 5mm of movement when you walk. If your heel lifts significantly, the boot may not fit your foot shape properly.
Center the Tongue to Prevent Friction
Check that the tongue lies flat and centered under your laces. A twisted tongue creates pressure points and allows dirt or water to enter the boot. Align the tongue with the ankle cuff on high-top models to prevent pinching.
Master Basic Lacing and Tension Control
Even tension distribution is key to a comfortable hike. You must apply pressure consistently from the bottom eyelets to the top loops.
Apply Even Tension from Bottom Up
Pull laces straight back rather than upward to create uniform tension across the instep. The fit should be snug enough that you cannot fit a finger under the lace. Avoid pulling harder on one side to prevent hot spots and instability.
Secure the Ankle Zone with Double Wraps
Wrap each lace under and over the ankle loop twice before crossing to the other side. This double-wrap technique locks the lacing system in place during long hikes. It prevents slippage when you carry a heavy backpack or traverse uneven ground.
Tie a Secure Final Knot
Use a double wrap knot or surgeon’s knot to finish your lacing. These knots stay tight in wet conditions and resist vibration.
1. Cross the laces and make a standard bow.
2. Wrap each lace around twice before pulling through the loop.
3. Tighten securely so the knot stays put but remains easy to undo with gloves.
Fix Heel Slippage With Surgeon’s Knot

Heel lift causes blisters and reduces control on descents. The Surgeon’s Knot locks down the midfoot to keep your heel planted firmly.
Why This Technique Works
This method adds friction at key points to cinch the boot around your arch. It reduces internal volume where your foot flexes most. This prevents the heel from rising while you walk downhill.
Step-by-Step Application Guide
- Lace normally up to the first ankle hooks where the foot begins to bend.
- Cross the laces and wrap them around each other twice before pulling tight.
- Run the laces straight up to the next hook without crossing over.
- Repeat the double wrap at the second set of hooks.
- Resume regular crisscross lacing to the top of the boot.
Pro Tip: Use this method on boots with excess volume or when wearing thicker socks.
Relieve Top-of-Foot Pressure With Window Lacing

Numbness or burning on the top of your foot requires immediate attention. Window Lacing removes direct pressure from sensitive areas while maintaining support.
Create a Pressure-Free Zone
This technique creates an open box shape over the painful area. It redistributes tension to surrounding parts of the foot. You maintain structural integrity above and below the relief zone.
Execute the Window Lacing Pattern
- Unlace the boot down to the eyelets just below the painful area.
- Run each lace straight up to the next hook on the same side without crossing.
- Continue straight up one more set if the pressure point is large.
- Cross the laces and resume crisscross lacing to the top.
- Tie a Surgeon’s Knot at the bottom and top edges of the window for stability.
Best For: High insteps, swelling feet, or stiff new boots pressing on the dorsum.
Prevent Toe Pain With Toe-Relief Lacing

Cramped toes or blackened toenails often result from excessive forward pressure. Toe-Relief Lacing opens up the front of the boot instantly.
Expand the Toe Box Volume
Skip the lowest eyelets entirely to reduce forward compression. This gives your toes room to spread naturally. It is especially helpful when hiking downhill where feet slide forward.
Steps to Reduce Forefoot Pressure
- Leave the lowest set of eyelets empty on both sides.
- Start lacing from the second set using a standard crisscross pattern.
- Tie normally at the top of the boot.
- Test the fit by wiggling your toes freely.
Warning: If toe pain continues despite this fix, your boots are likely too short or narrow. No lacing trick can replace proper fit.
Choose the Right Laces for Performance

Not all laces perform equally under trail conditions. The wrong type can slip, fray, or fail to hold complex knots.
Match Shape and Length Specifications
- Shape: Use the same profile as the original laces. Flat laces grip better and resist slipping compared to round ones.
- Length: Replace with exact lengths unless modifying for specific methods. Short laces prevent advanced techniques while long ones snag on brush.
Upgrade for Durability and Grip
Consider replacing stock laces with performance options. Paracord-style laces offer superior durability. Elastic laces provide consistent tension as feet swell. Hydrophobic laces resist water absorption to prevent stretching.
Diagnose Problems and Pick the Right Fix

Use this quick reference to match your symptoms to the correct solution.
| Issue | Symptom | Best Lacing Fix | Outcome |
|---|---|---|---|
| Heel Slippage | Blisters and heel lift on descents | Surgeon’s Knot | Locks heel and reduces slippage |
| Top-of-Foot Pain | Numbness or pressure on instep | Window Lacing | Removes direct pressure |
| Toe Compression | Cramping or black toenails | Toe-Relief Lacing | Opens toe box |
| Loose Laces | Constant re-tying and instability | Double Wrap Knot | Keeps laces tight under load |
Rule of Thumb: If lacing fixes do not solve the pain, the boot does not fit. Visit a specialty retailer for a professional fitting.
Maintain Laces and Prevent Wear
Frayed or stretched laces compromise every technique you use. Regular inspection ensures your lacing system remains effective.
Inspect and Clean Regularly
Check for frayed ends, thinning spots, or discoloration. Replace laces at the first sign of wear. After muddy hikes, remove laces and wash them to prevent degradation. Let both laces and boots dry completely before reuse.
Final Tips for All-Day Comfort
- Retie at Breaks: Feet swell during hikes so loosen or re-lace at rest stops.
- Test Before You Hike: Practice techniques at home and walk up stairs to simulate terrain.
- Carry Spare Laces: Pack a backup pair since one broken lace can end a hike.
- Break In Boots First: Lacing cannot fix stiff unbroken leather so wear new boots gradually.
Frequently Asked Questions About How to Lace Up Hiking Shoes
How do I stop my heel from slipping in hiking boots?
Use the Surgeon’s Knot technique at the ankle hooks. Wrap the laces around each other twice before crossing to lock the heel in place. This reduces internal volume and prevents blisters on descents.
What is the best way to relieve pressure on the top of my foot?
Try Window Lacing by skipping the cross over the painful area. Run laces straight up on the same side to create a gap. This removes direct pressure while keeping the rest of the boot secure.
Why do my toes hurt when hiking downhill?
Your laces may be too tight in the forefoot or your boots might be too short. Skip the lowest eyelets with Toe-Relief Lacing to expand the toe box. Persistent pain suggests you need a larger size.
How tight should hiking shoe laces be?
Laces should be snug enough that you cannot fit a finger underneath them. However, they must not be so tight that they restrict blood circulation. Aim for even tension across the entire foot.
Can I use any type of lace for these techniques?
You should match the original lace shape and length for best results. Flat laces generally grip better than round ones. Ensure replacement laces are long enough to accommodate double wraps or knots.
Key Takeaways for Learning How to Lace Up Hiking Shoes
Knowing how to lace up hiking shoes properly transforms your trail experience by preventing pain and injury. Specific techniques like the Surgeon’s Knot and Window Lacing solve common fit issues that basic tying cannot fix. Remember that lacing adjustments are tools to enhance comfort but cannot fix a fundamentally poor boot fit.
Prioritize proper sizing first, then use these methods to fine-tune your setup. Carry spare laces and inspect them regularly to ensure they hold your chosen knots securely. With the right boots and the correct lacing method, every step will feel confident and secure.